Posts Tagged: Svalbard
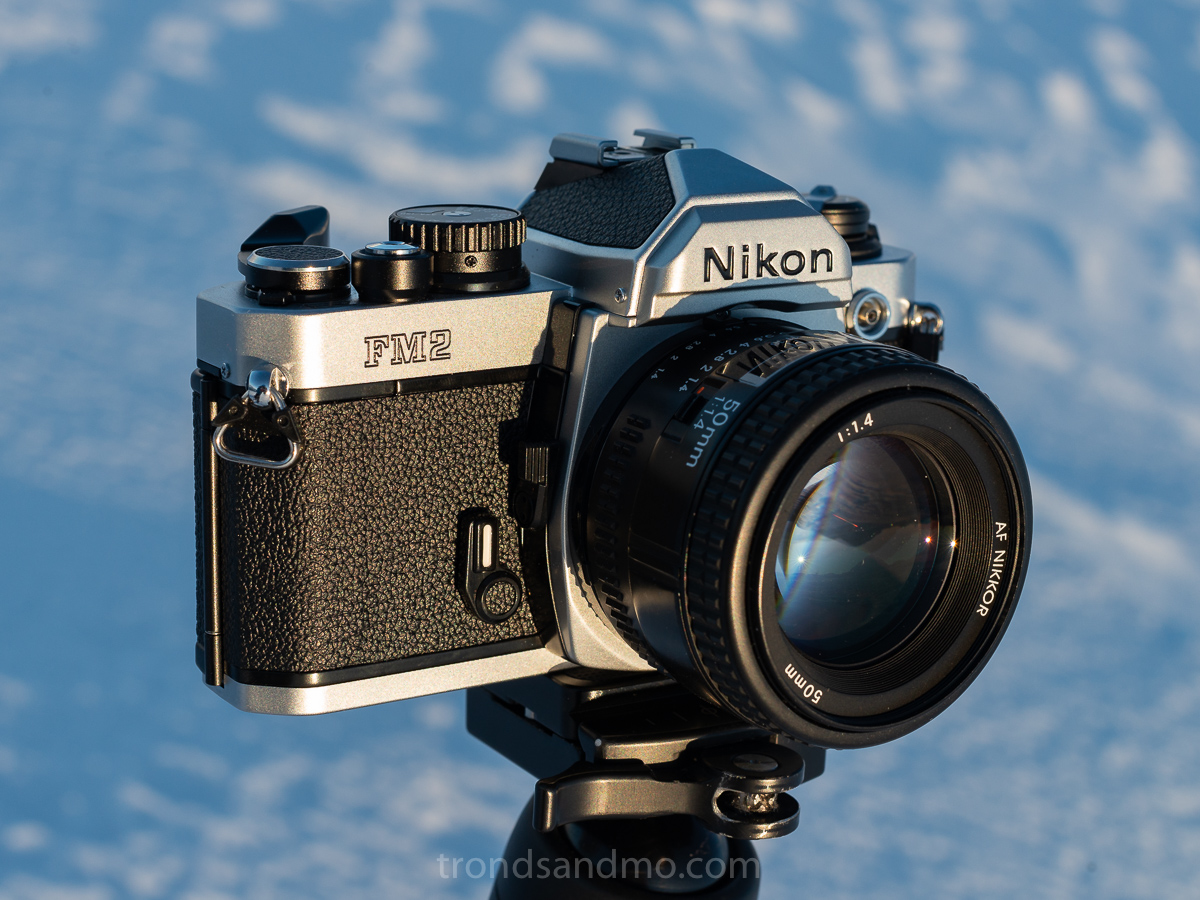
Nikon FM2n
Ny-Ålesund, Svalbard
Since I have used Nikon DSLR for many years. In fact, ever since my interest in photography started, it was only natural that my first analog SLR was also a Nikon. Otherwise the main requirements I had for a used SLR was that it had to function without the battery and be solid. That one have to focus manually and set the shutter and aperture was no problem for me because I think I learn a lot more if the camera is all manual. I landed quickly on Nikon F series and FM2 matched perfectly with my requirements. After a long (and good…) search session on ebay.com, an excellent item from japan appeared in my mailbox. In addition, I had got myself three lenses 35, 50 and 85 mm, which should cover most situations the camera should be used for.

Ny-Ålesund, Svalbard
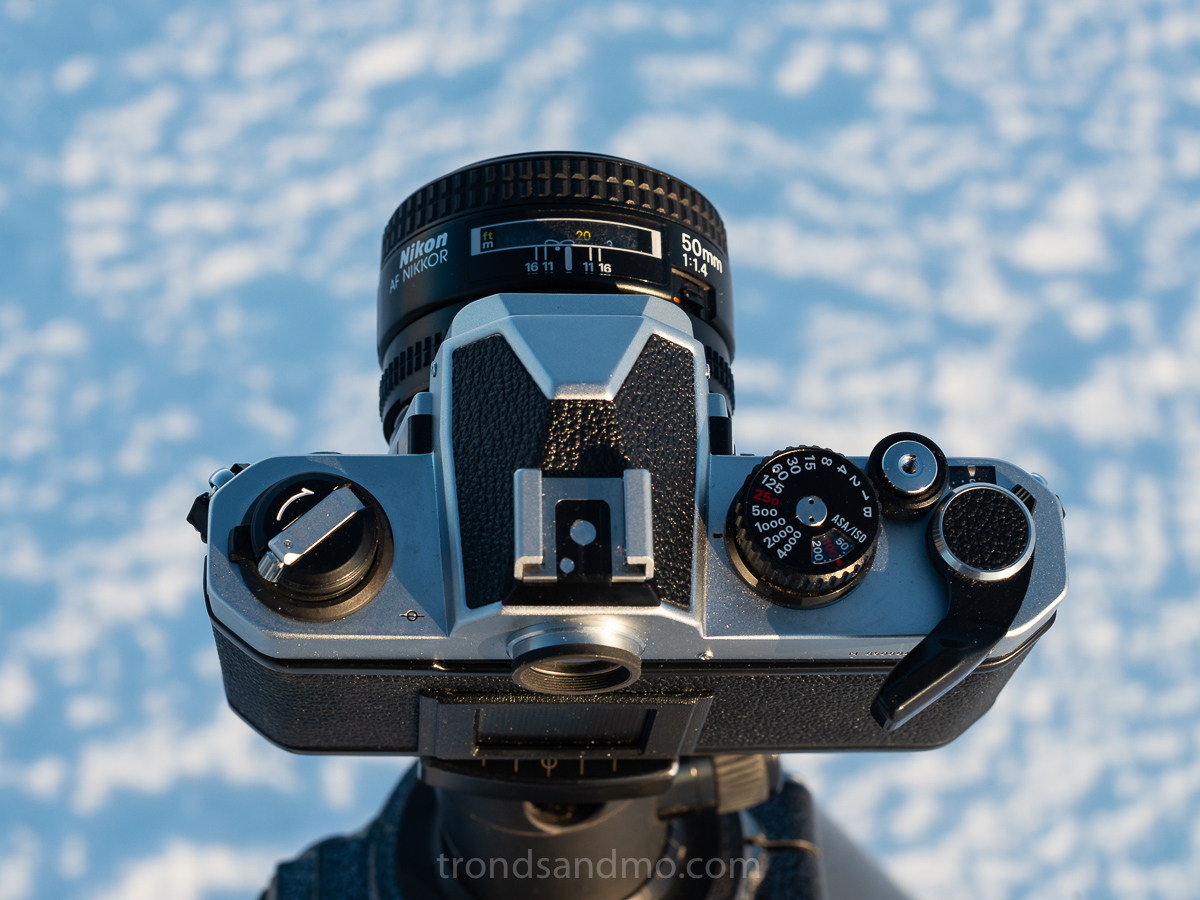
Key features
Type: 35mm single-lens reflex (SLR) focal plane shutter camera
Film: 135 film cartridge.
Shutter speed settings: 1s ~ 1/4000s, Bulb
Viewfinder: Eye-level 93% coverage with shutter speed, f/number, and LED exposure display for exposure. Split-image micro prism focusing screen (K2).
Exposure meter: TTL center-weighted full aperture exposure measuring system
Frame counter: S, 0~36. Automatically reset.
Film sensitivity range: ASA/ISO 12~6400
Self-Timer: Set/cancel type provided. Approximately 10s.
Multiple exposure lever: Provided, disengages frame counter for correct count
Lenses
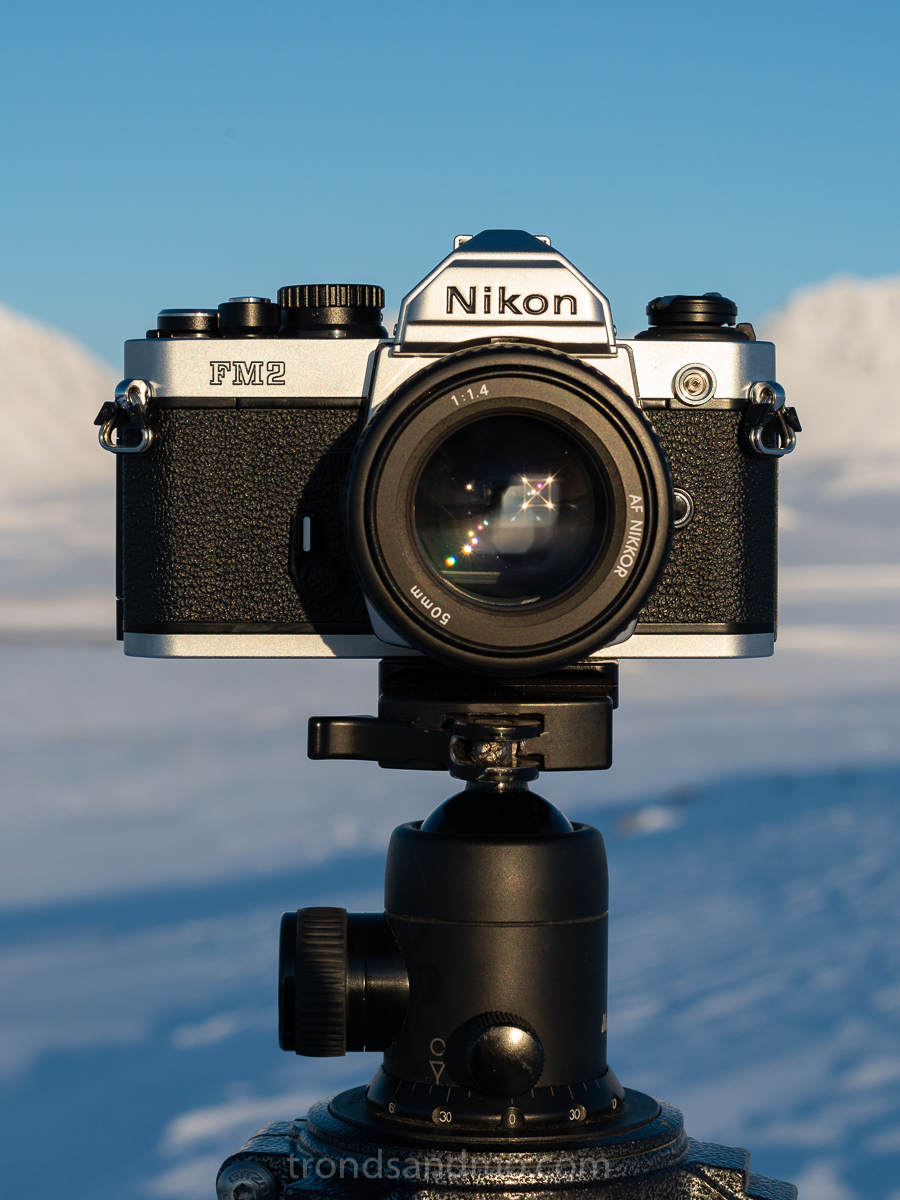
There are a lot of lenses that fit this system, but I chose three different Nikkor AF-D lenses to go with this camera house. 35mm 50mm and 85mm. This camera house is not made with autofocus however I chose these lenses because I could also use them on my digital cameras. Nikon FM2N takes all Nikon F bayonet mount lenses that supports the Automatic indexing feature (AI). Nikon-made AI lenses of this type are the AF-S, AF-I, AF-D, AF, AI-S, AI and E types. The three focal lengths 35mm, 50mm and 85mm worked great for me. 35mm for landscape, 85mm for close portraits and details, and 50mm for everything in between. The lenses are small in size and all together is packed quite compact. And that is important to me because I am hiking a lot, and wants a lightweight backpack.
Ny-Ålesund, Svalbard
Other accessories worth mentioning
Interchangeable focusing screen: Matte/Fresnel with focusing spot (B2) and matte/Fresnel with focusing spot and etched grid lines (E2). Split-image rangefinder/microprism system K2 is standard
Motor Drive: The use of the MO-12 motor drive unit with the FM2 enables automatic film advance when the unit’s trigger button is pressed.
Flash: Speedlight can be directly mounted onto the FM2’s built-in hot shoe. Sync cord terminal.
Remote: Screw thread cable release
What I liked
- Due to its titanium honeycomb curtains it can go 1/4000s at its fastest. This is super fast especially for a camera made in the 80ties. I can take photos indoors on a higher ISO speed and continue outside without overexposure. At least to a certain degree. And it also give me the possibilities for a low depth of fields shot even in daylight.
- The focus screen area is large and I find it easy to obtain correct focus.
- Since the camera is fully manual, I can operate it without batteries. I very often run out of batteries when shooting in the cold arctic… The batteries is for the light meeter only, and the camera will function without it. A little harder to get correct exposure though.
- The camera is very solidly built, and I can imagine it will withstand some beating.
- All in all the weight and size of this system is low. I can easily carry it with me on my hiking.
What I didn’t like
Well, actually I can’t pinpoint any major problem with this camera system. But I can say that his camera is not for the person who depend on full automation. Another disadvantage is that analog photography has become increasingly popular in recent years and camera prices have unfortunately increased to values higher than I think they are worth. I have also read that the left-eyed people will have a problem with the film advance lever. The lever needs to be out in order to take a shot.
Ny-Ålesund, Svalbard
Some reflections
This is a very robust and steady camera. Easy to use and very convenient to throw down the backpack. However, after all the film rolls I have run through the camera, I have come to the conclusion that I prefer a larger format. That is no fault with the camera, only a limitation in the film format it uses. I find the full frame format (24mmx36mm) to be limited when making digital scans, and the grain can be a bit too much. And especially prominent at higher ISO film. Of course, there are cases where I’m looking for exactly that grainy expression, but if I have to choose, I prefer the medium format over the full frame format. So far, I have not made darkroom prints from the 35mm format, so I have no experience of how the resolution and grain appear on the paper. Hopefully, it will change soon because I want to build a darkroom with an enlarger.
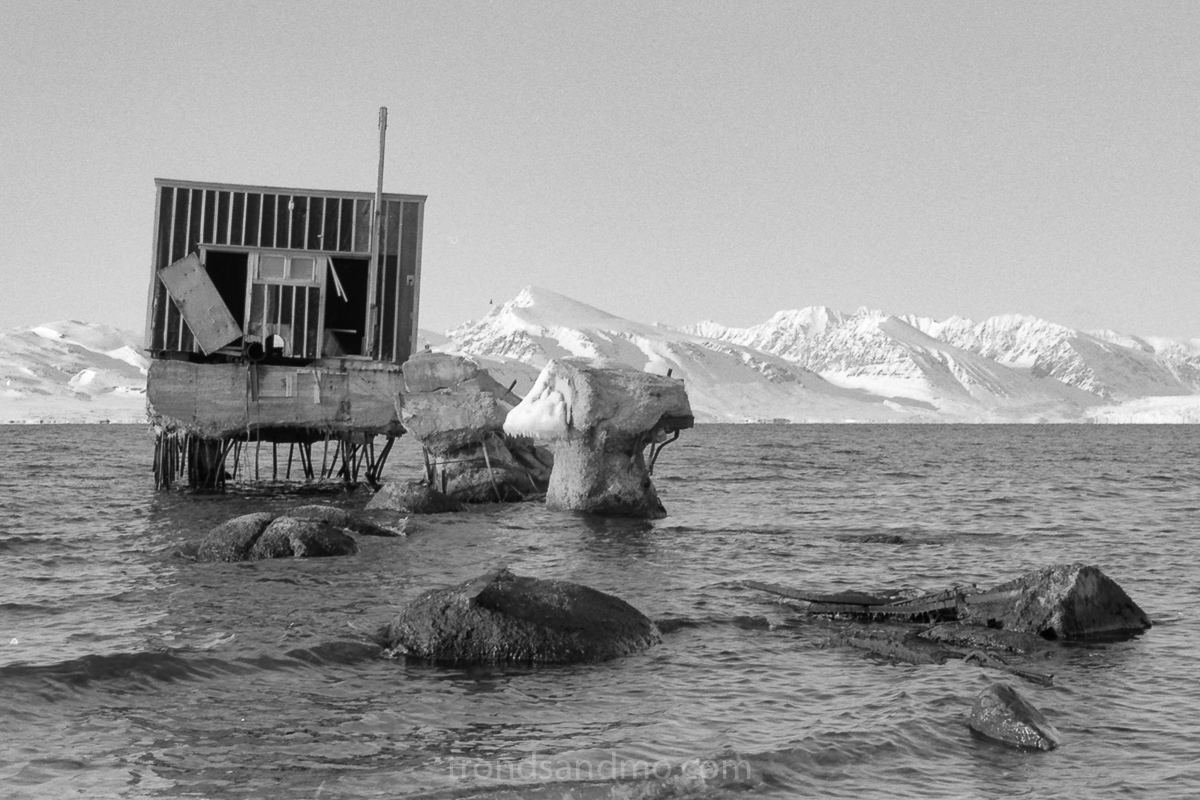
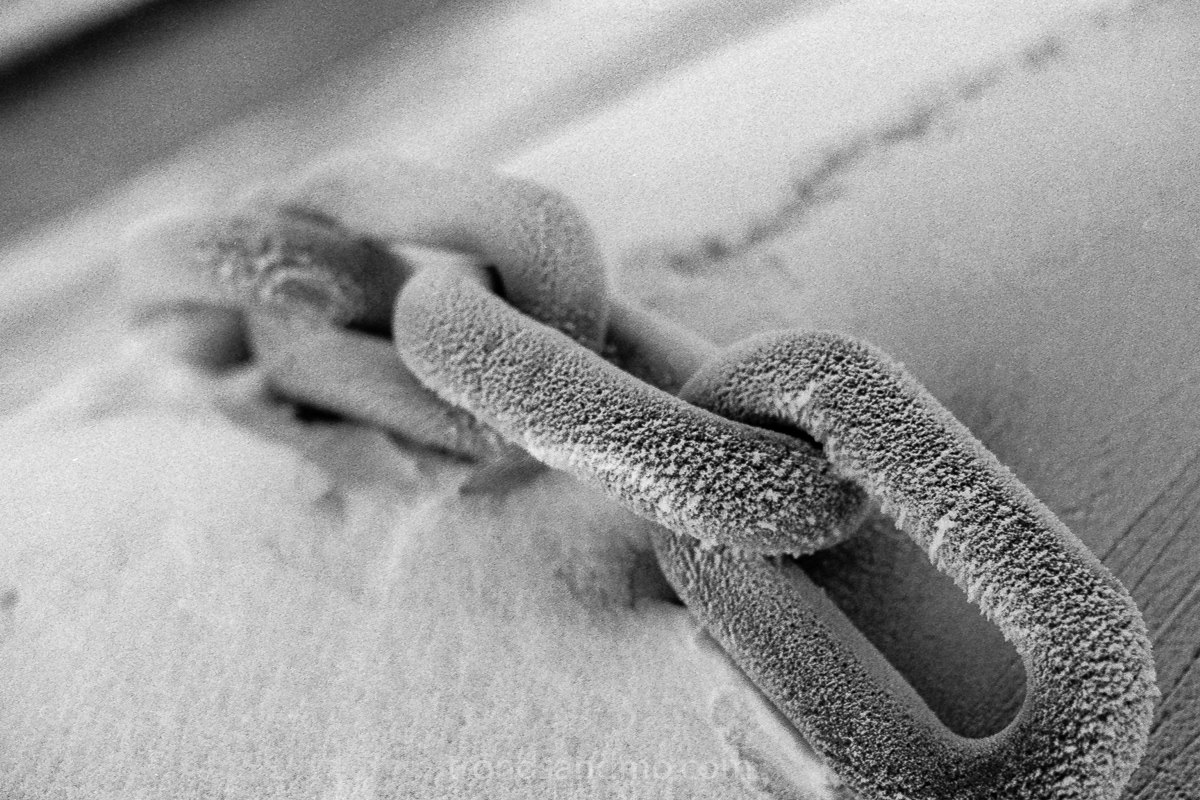
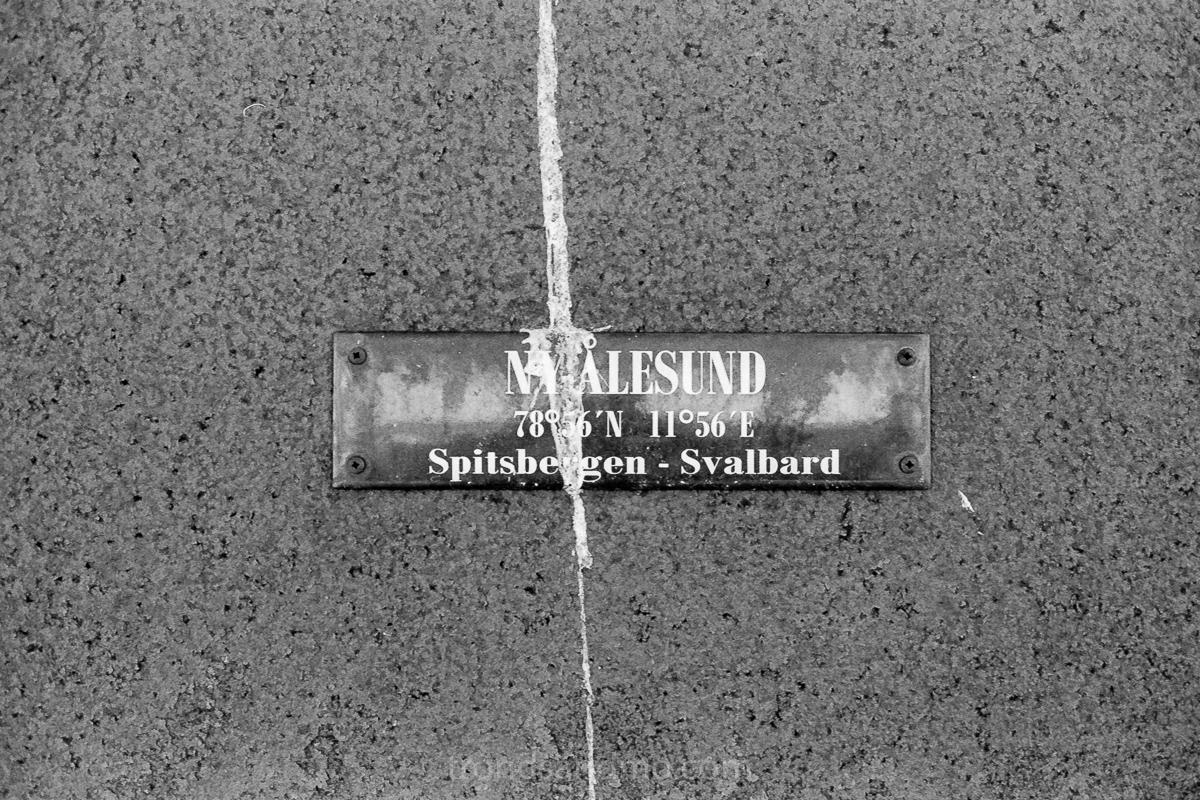
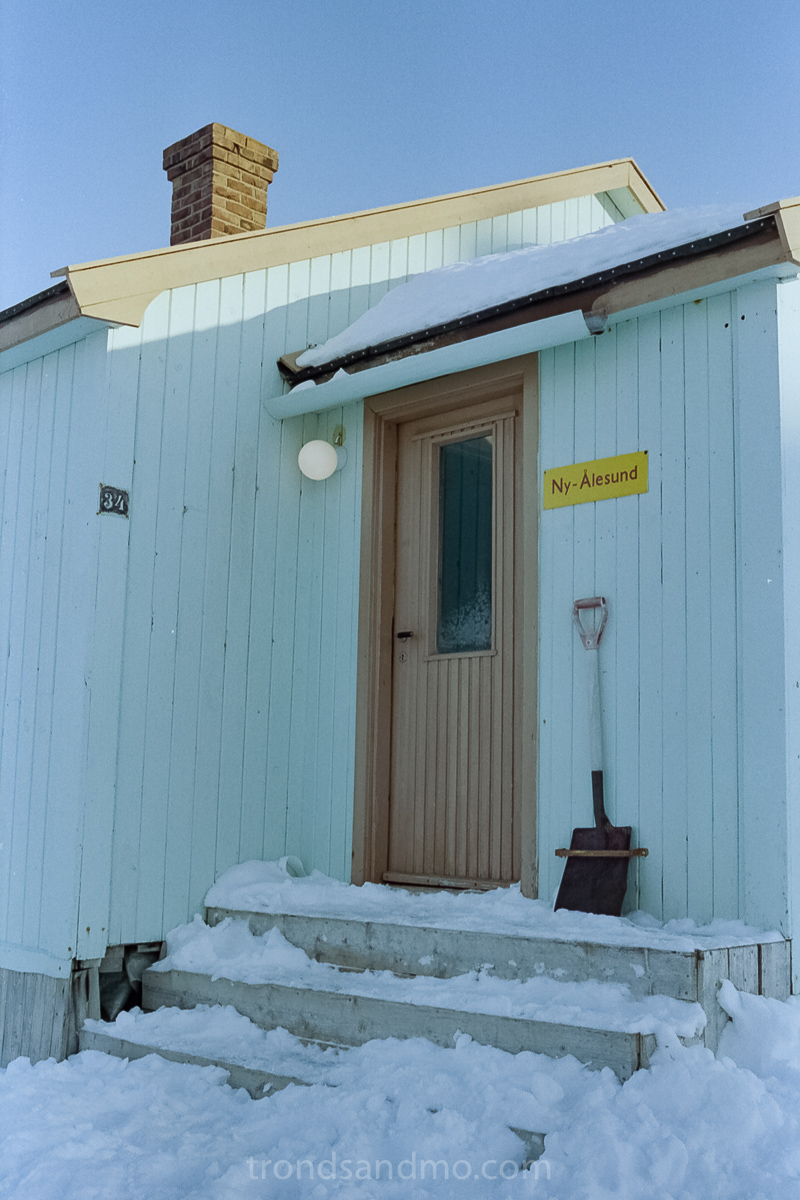
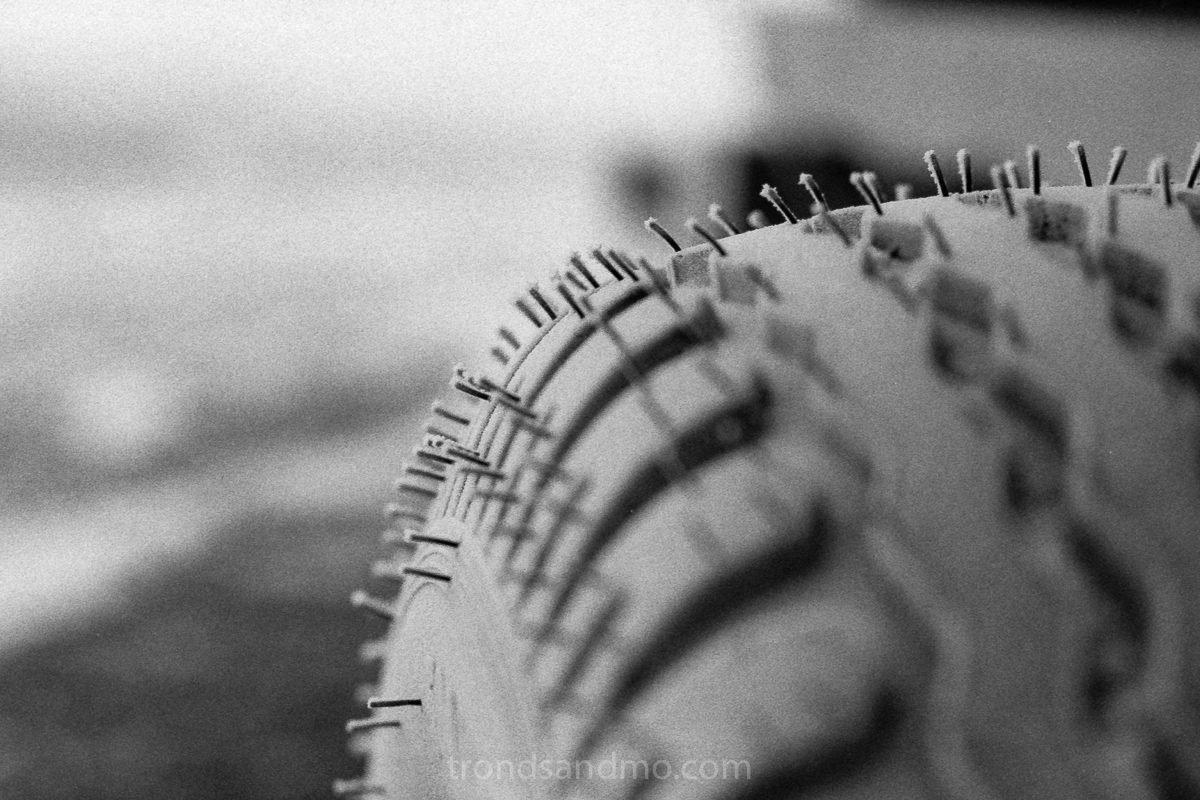
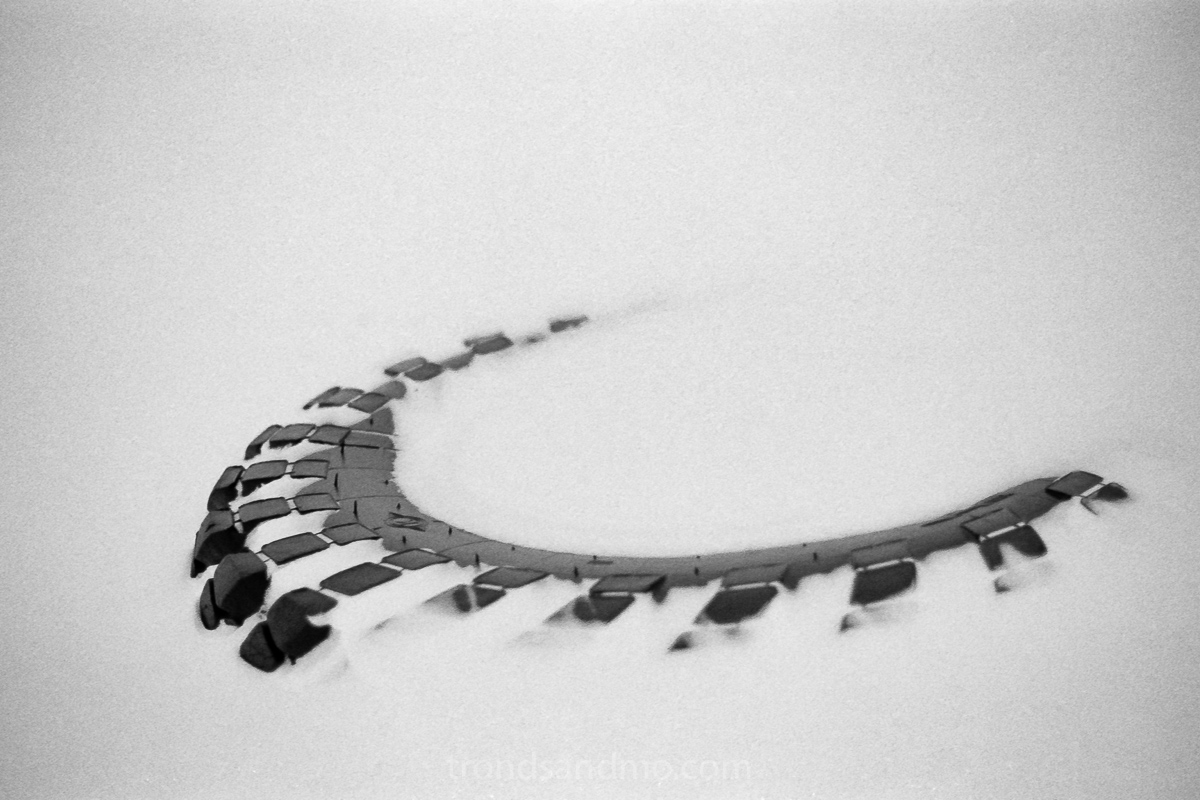
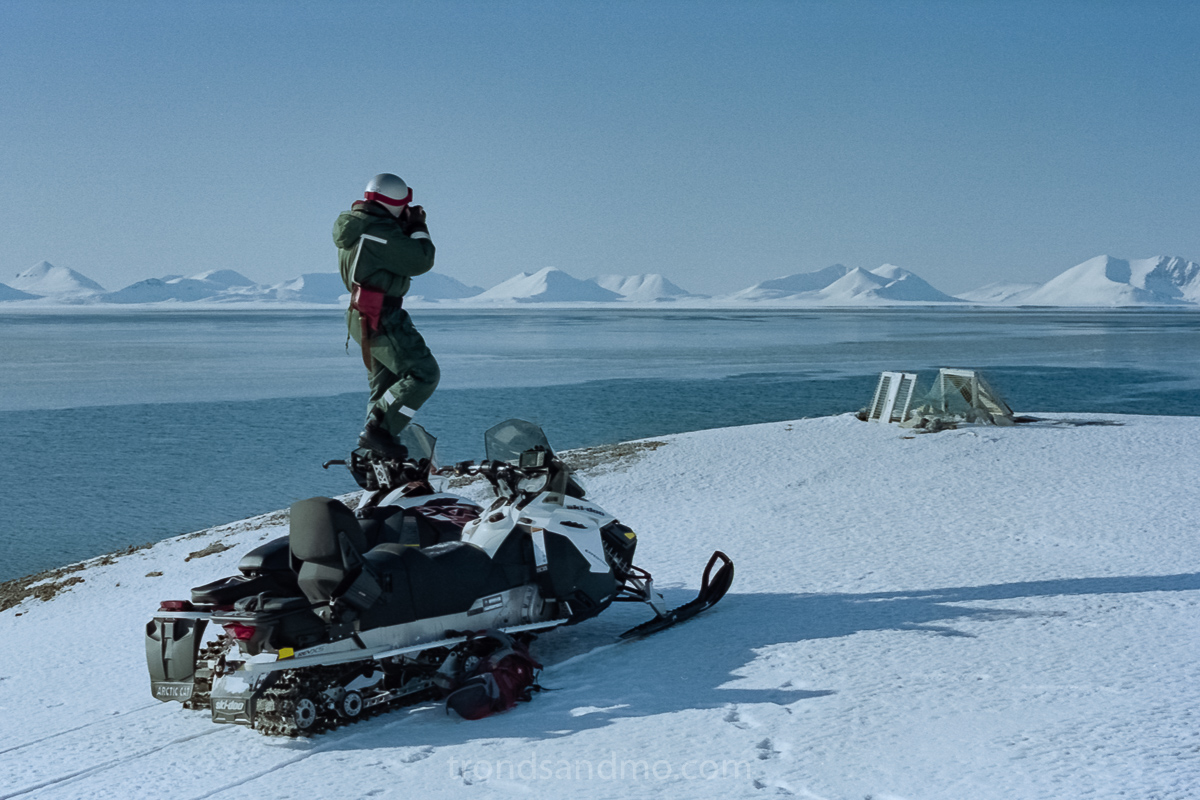
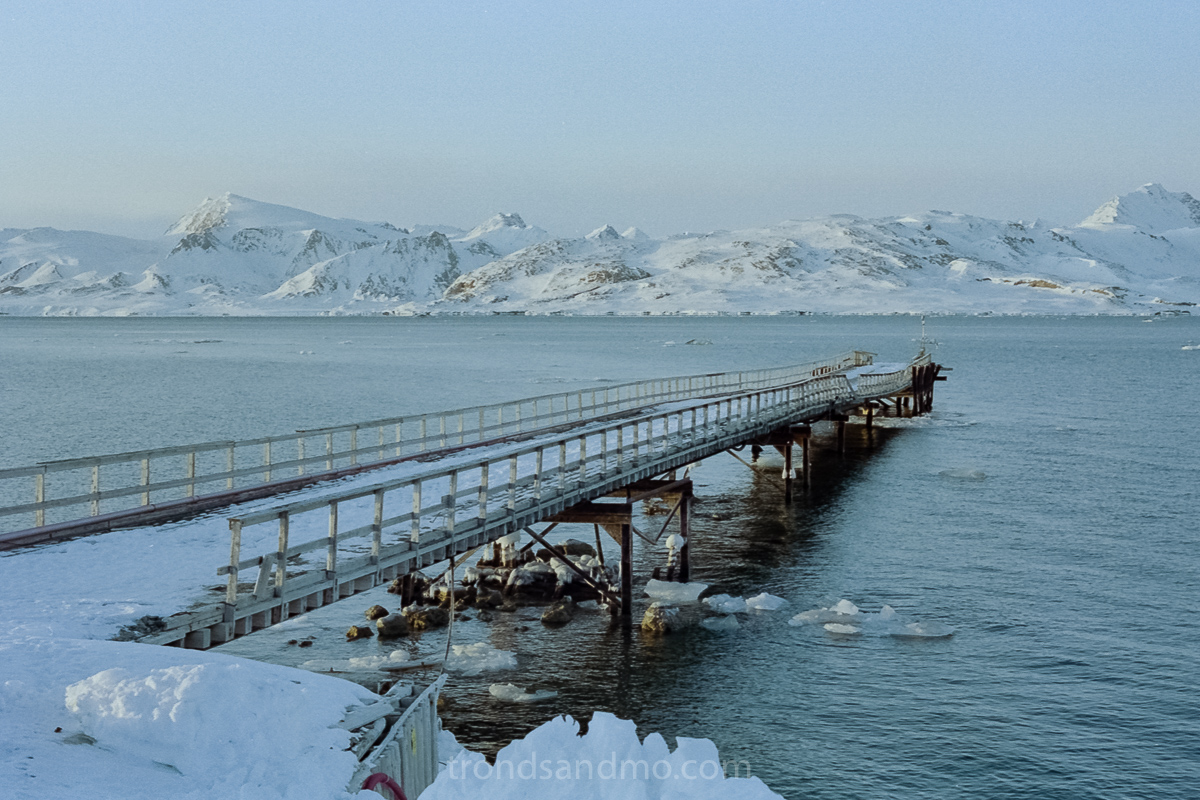
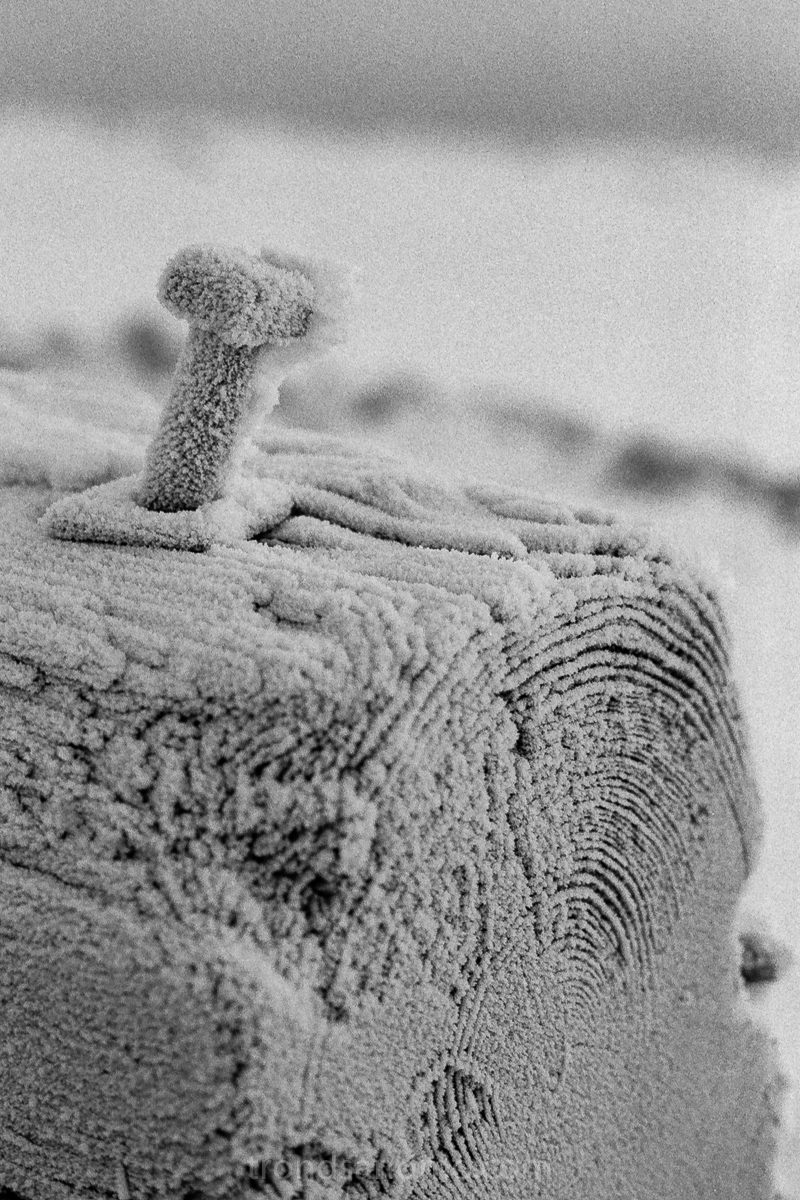
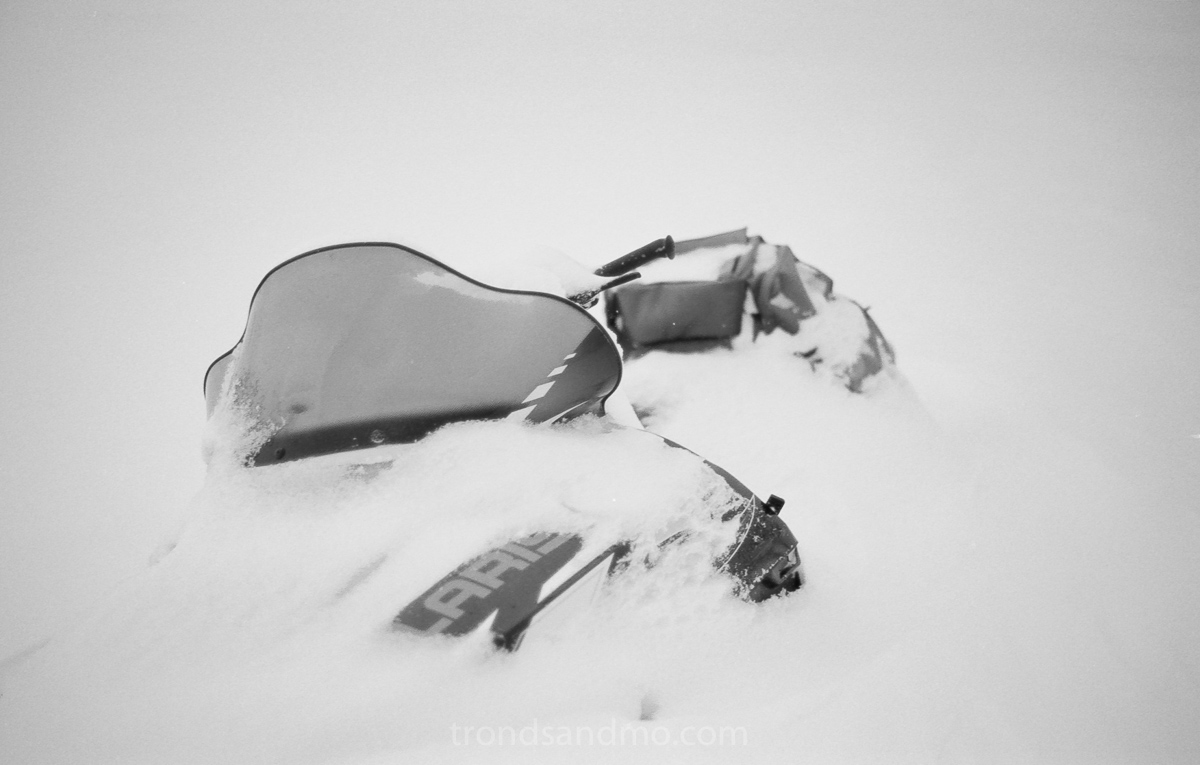
Here are a few photos taken with the Nikon FM2N :
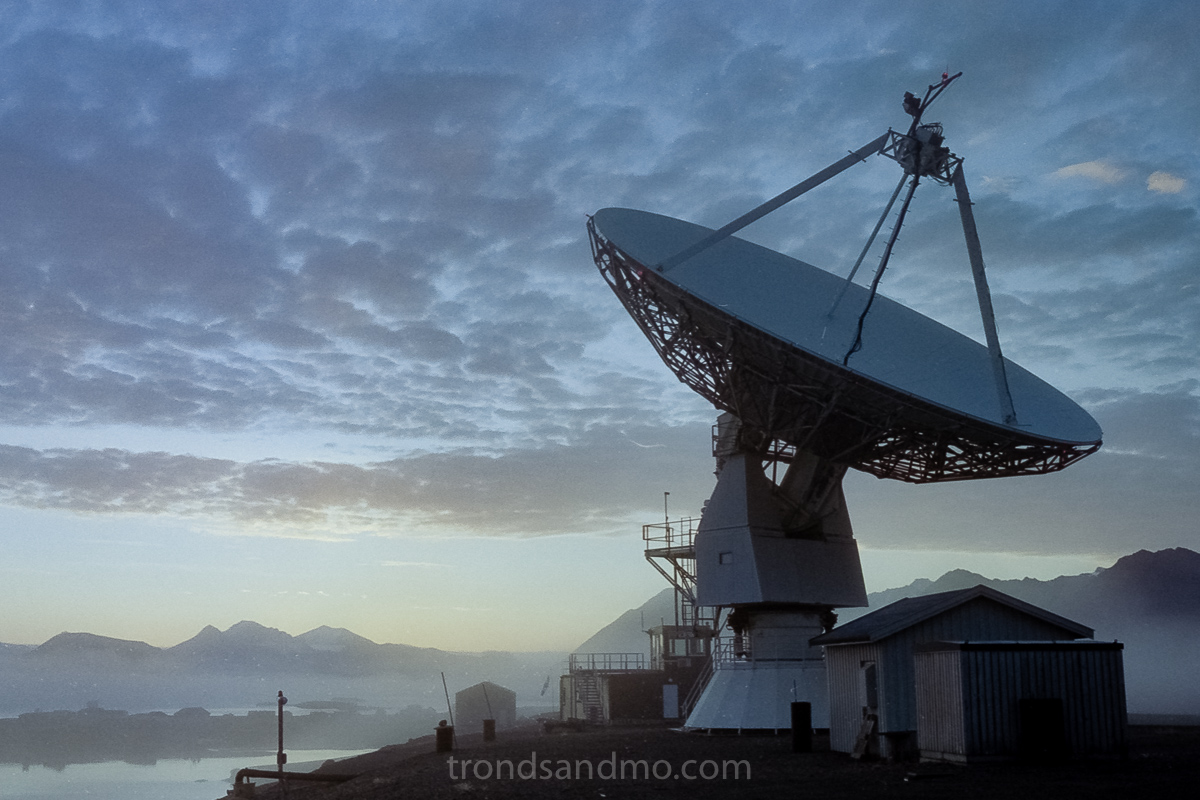
Ny-Ålesund, Svalbard
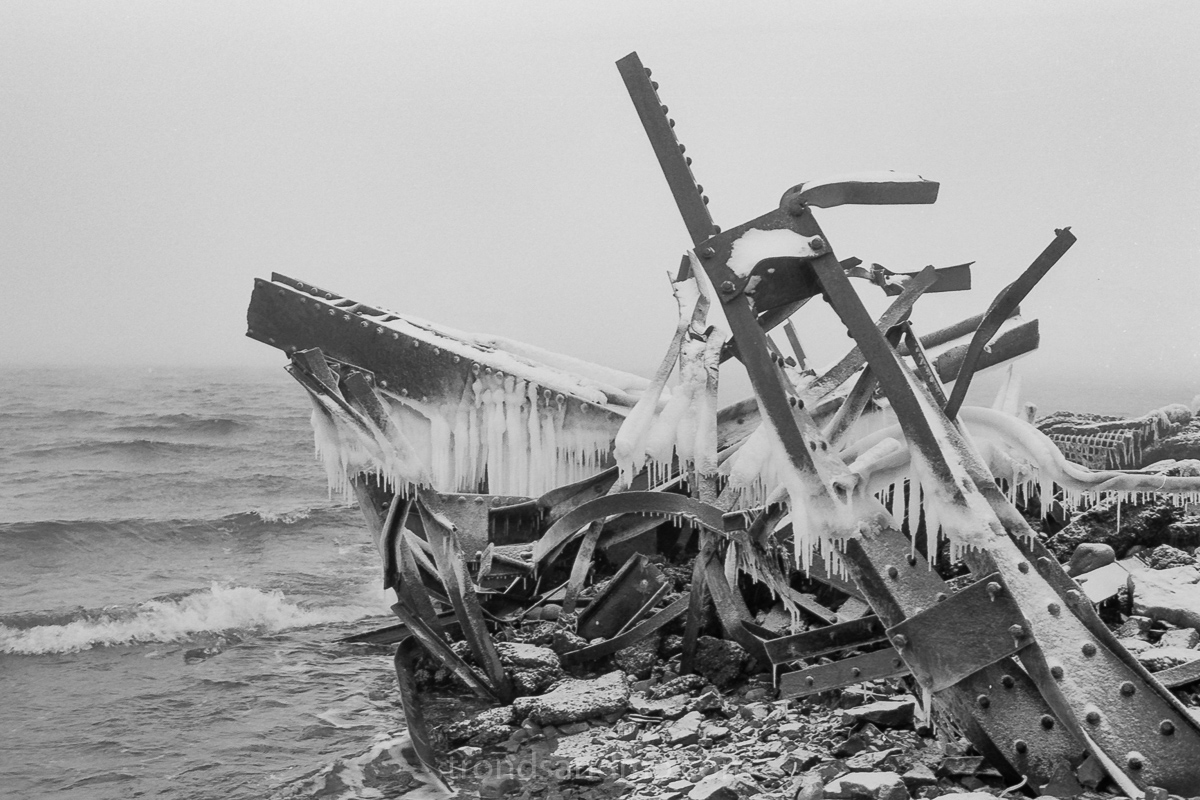
Ny-Ålesund, Svalbard
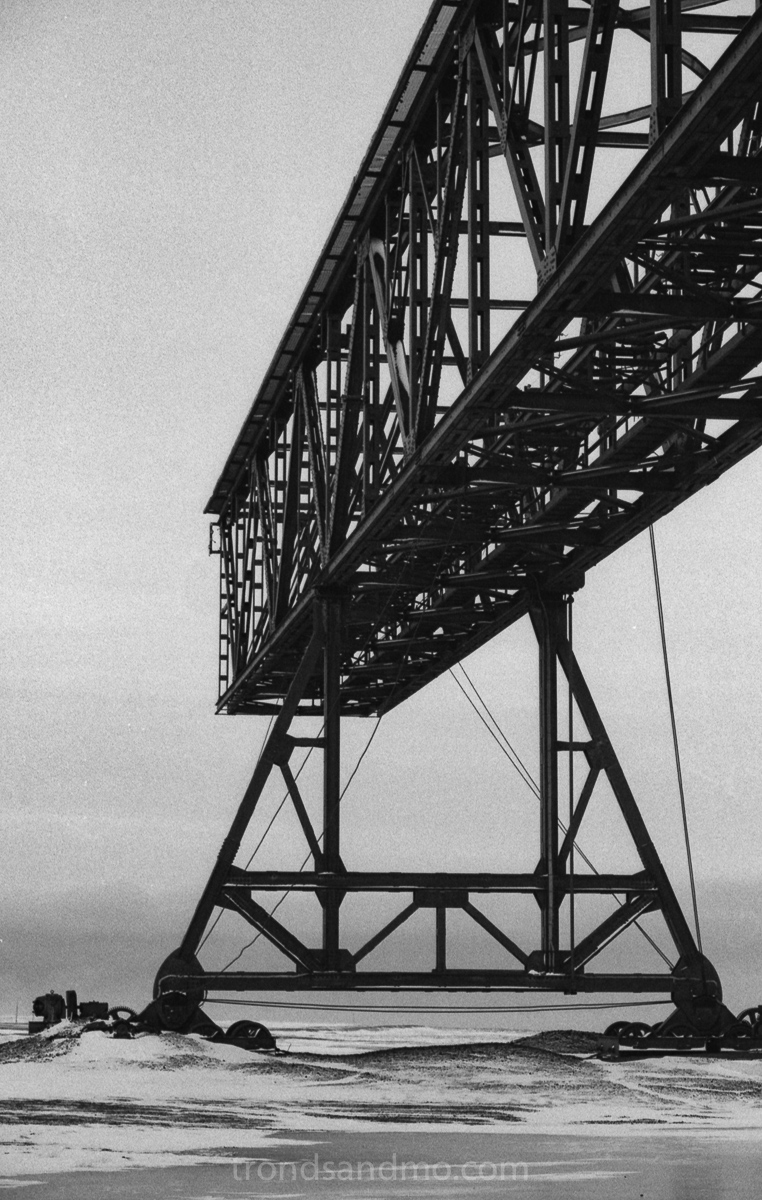
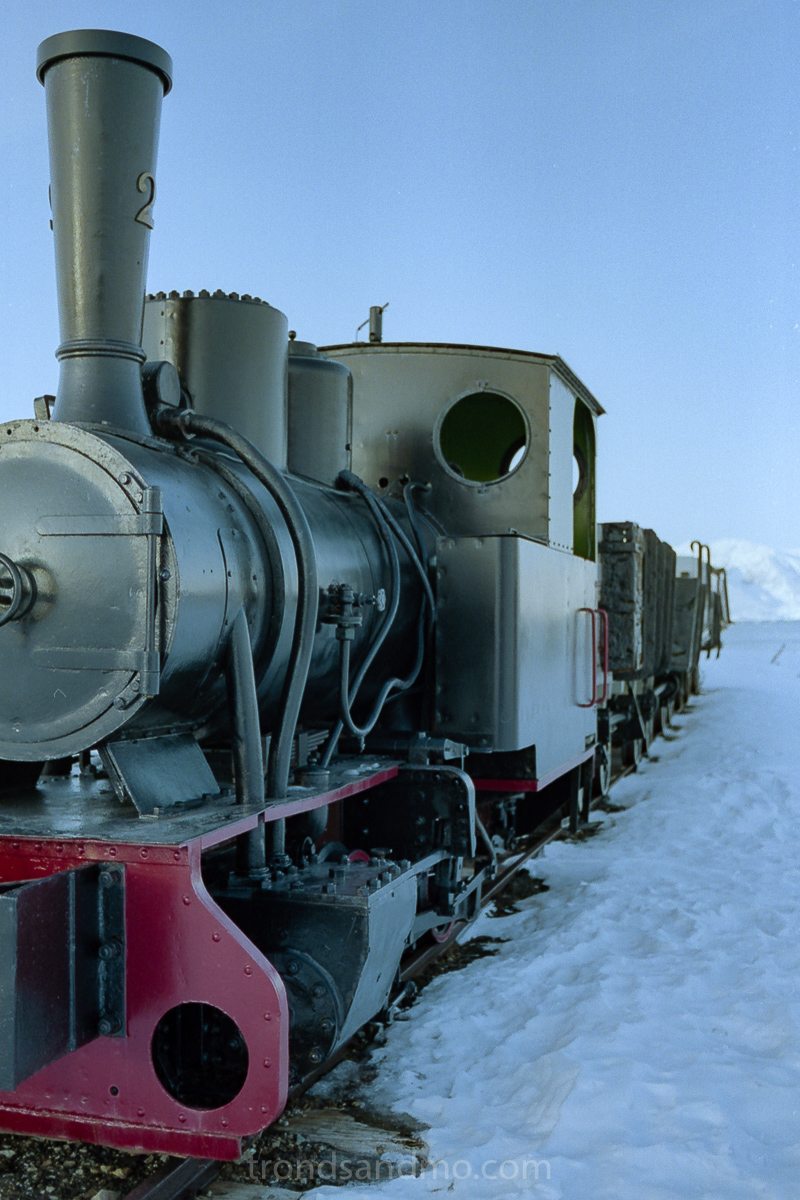
Longyearbyen, Svalbard
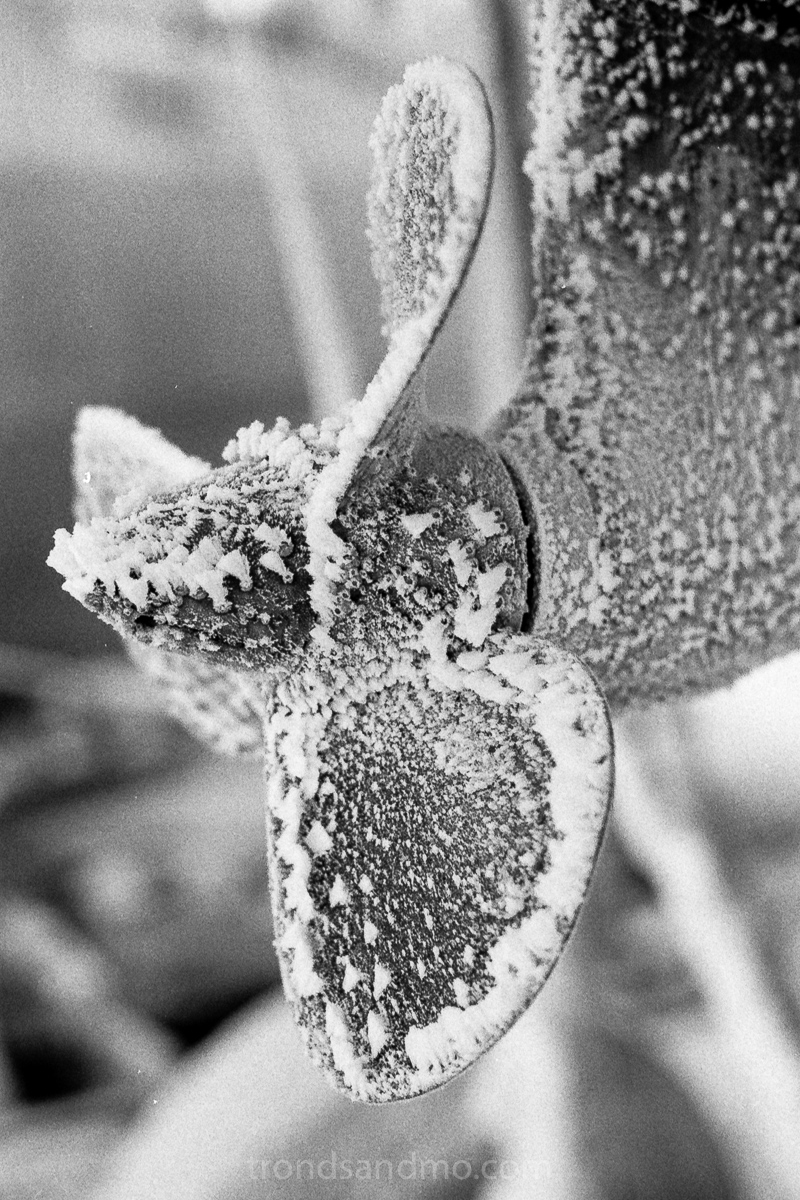
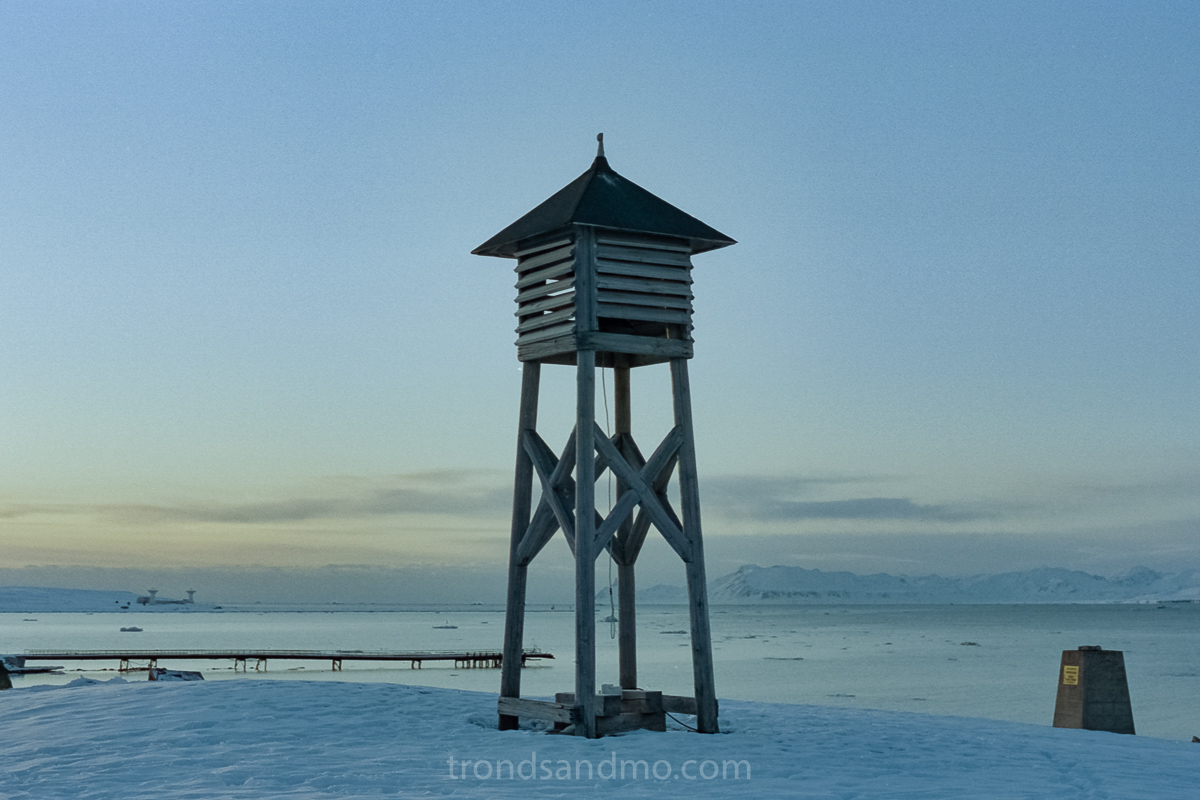
Longyearbyen, Svalbard
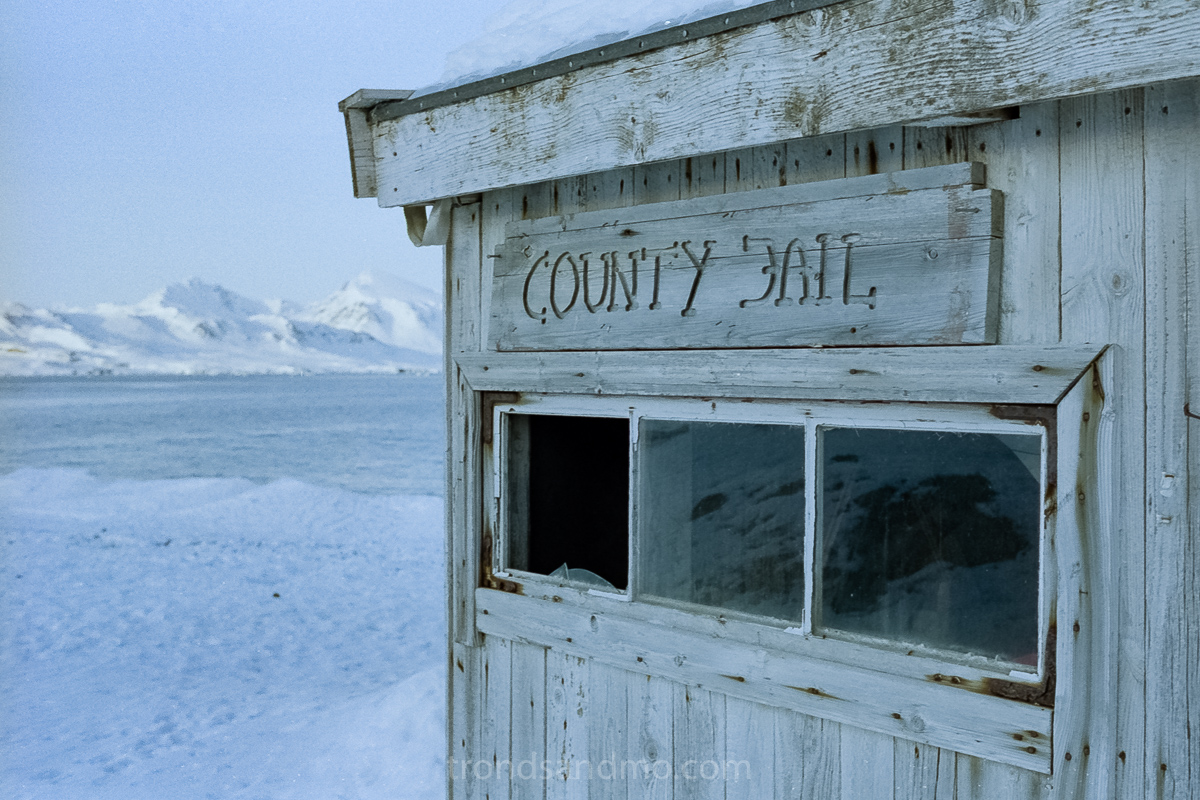
Ny-Ålesund, Svalbard
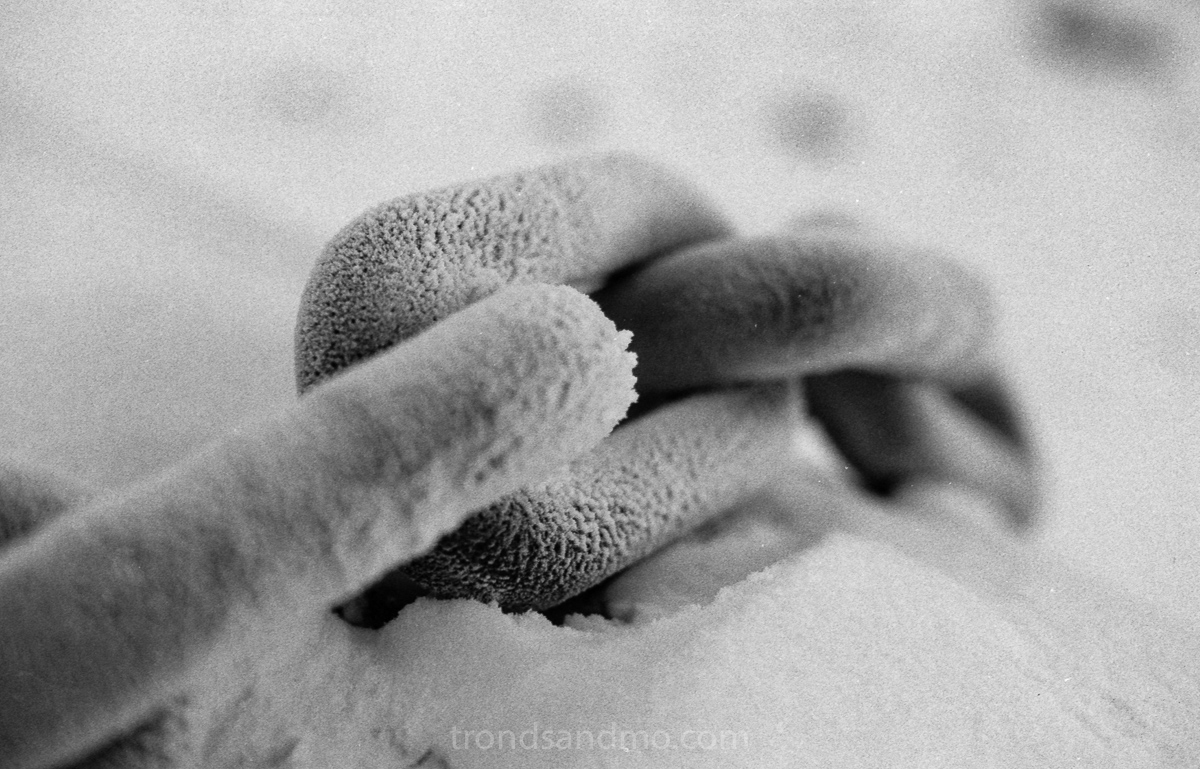
Longyearbyen, Svalbard

Ny-Ålesund, Svalbard

Ny-Ålesund, Svalbard
Ny-Ålesund, Svalbard
Ny-Ålesund, Svalbard
Longyearbyen, Svalbard

Coles bay, Svalbard
Ny-Ålesund, Svalbard
Ny-Ålesund, Svalbard
Longyearbyen, Svalbard
Longyearbyen, Svalbard
Longyearbyen, Svalbard
Ny-Ålesund, Svalbard
Longyearbyen, Svalbard
Ny-Ålesund, Svalbard
Source: Nikon FM2n manual.
Grumant
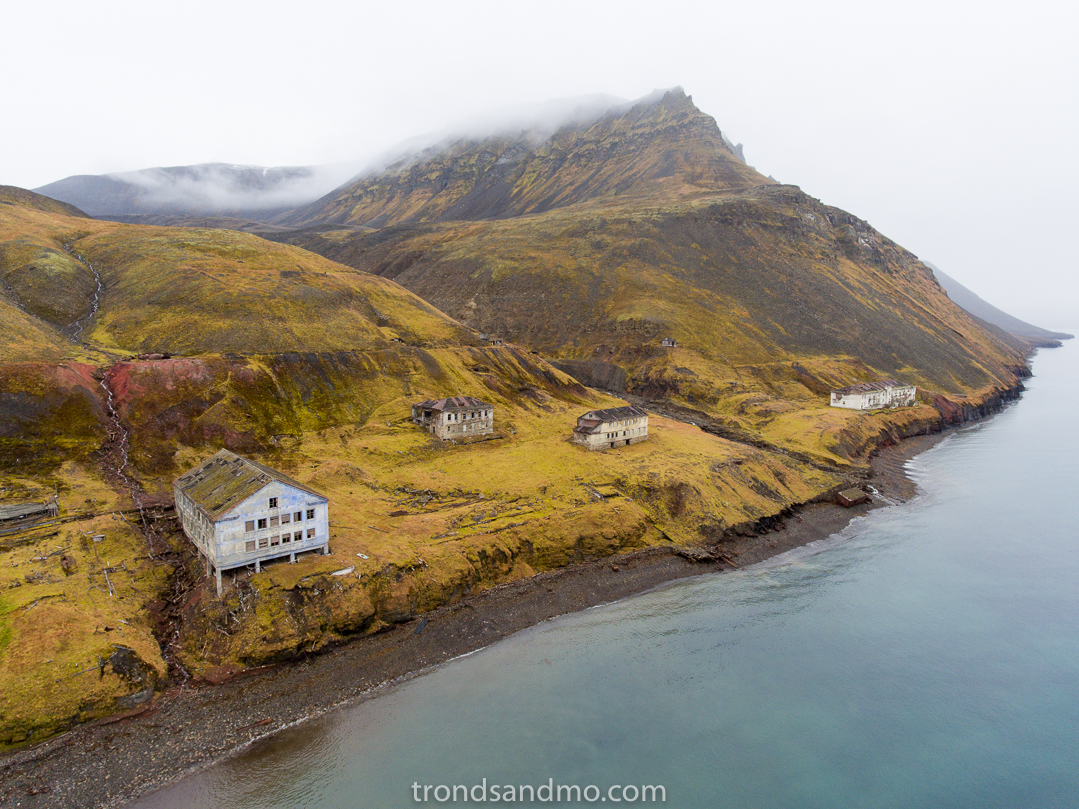
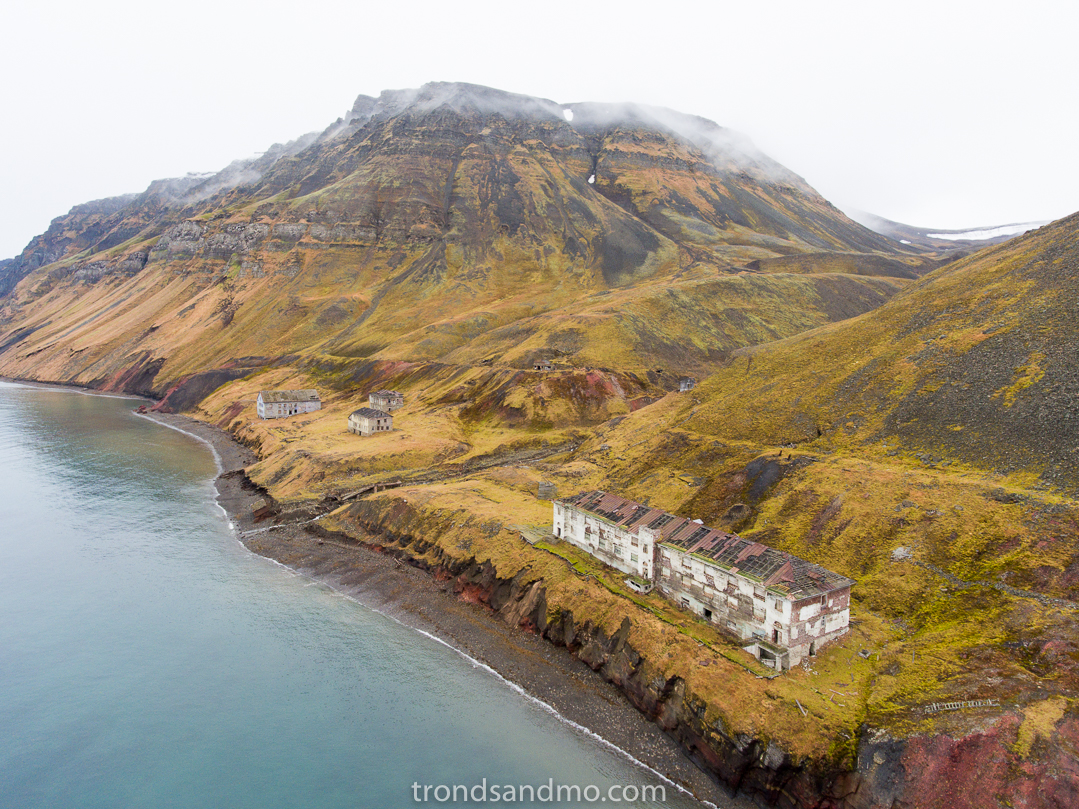
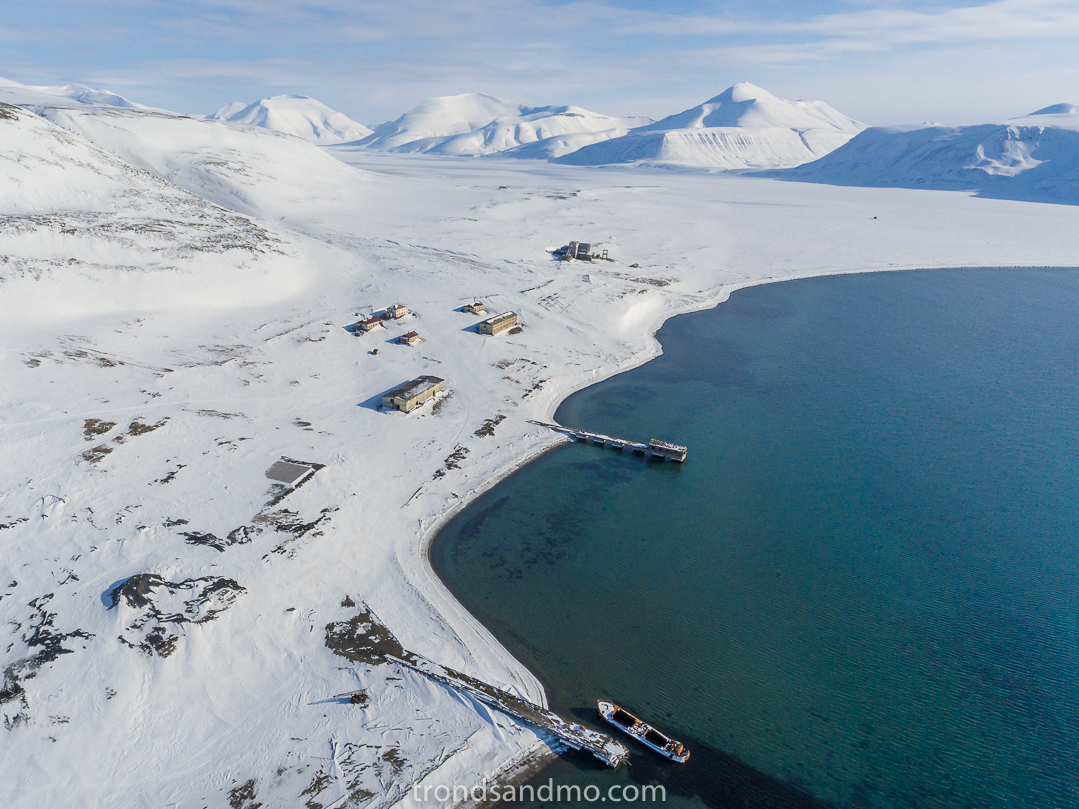
Drone shot III over Grumant / Svalbard
I continue my series about abandoned places here at Svalbard. This time there is also an abandoned Soviet mining town I want to present. Previous post about Coles Bay is closely related to Grumant. And I encourage you to read it first. Urban/Rural exploration is a nice hobby that combines photography and my fascination with abandoned human activity. I urge people to experience these places but to explore carefully and not damage anything.
How to get there
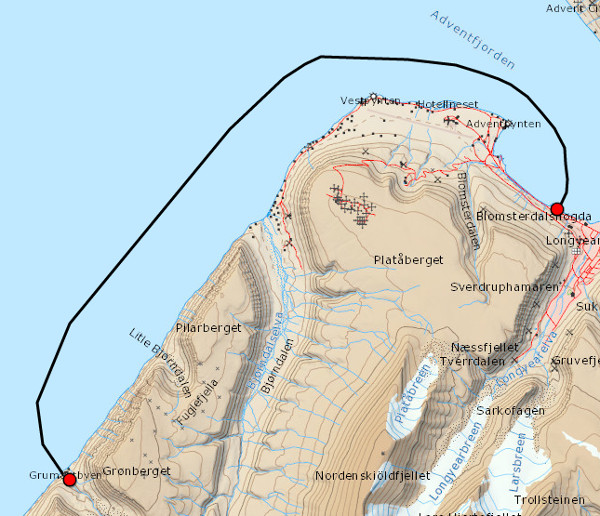
Map Grumant Longyearbyen Svalbard
There are no fences around Grumant or other obstacles that keeps you out of Grumant, however the settlement is quite inaccessible. The safest route is probably by boat in the summer time. It is less than 20km one way and should not take long. There is not a particularly good harbor in the area around Grumant, and I recommend that you enter at calm sea. The other routes on foot in summer time and by snowmobile in winter is both dangerous and difficult for most people. I would not describe them here considering what situation people might put themselves in. No liner or regular tours go there. It is best if visitors acquire a local tour guide who is willing to show you Grumant.
What is it
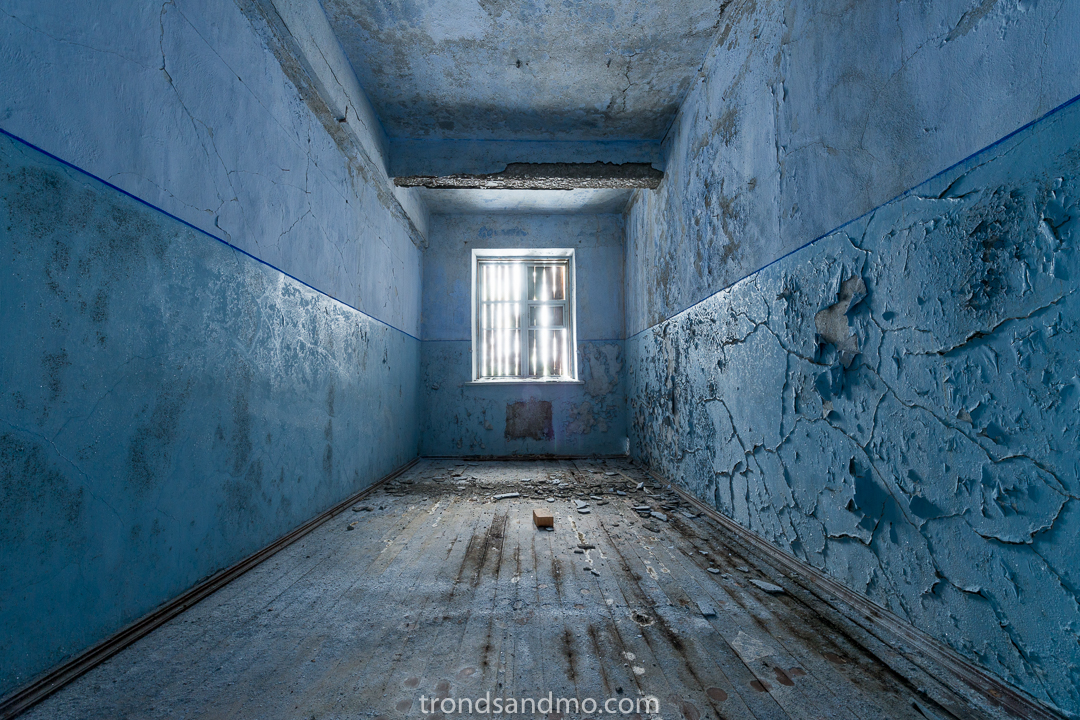
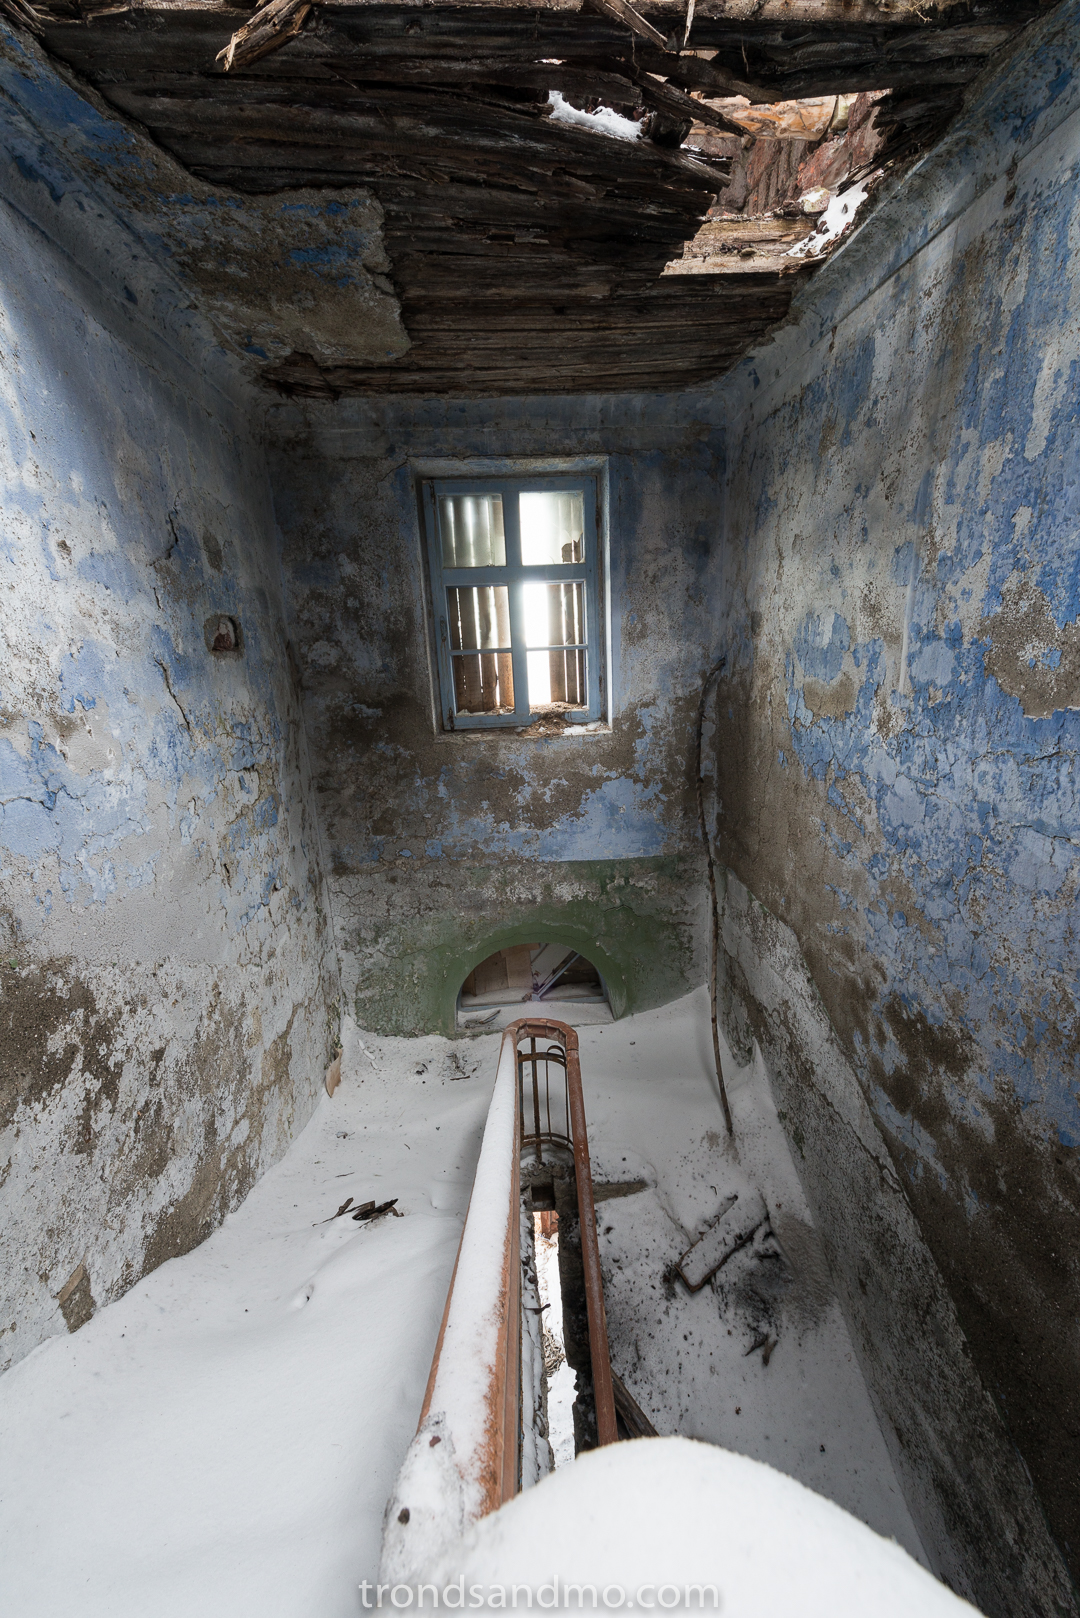
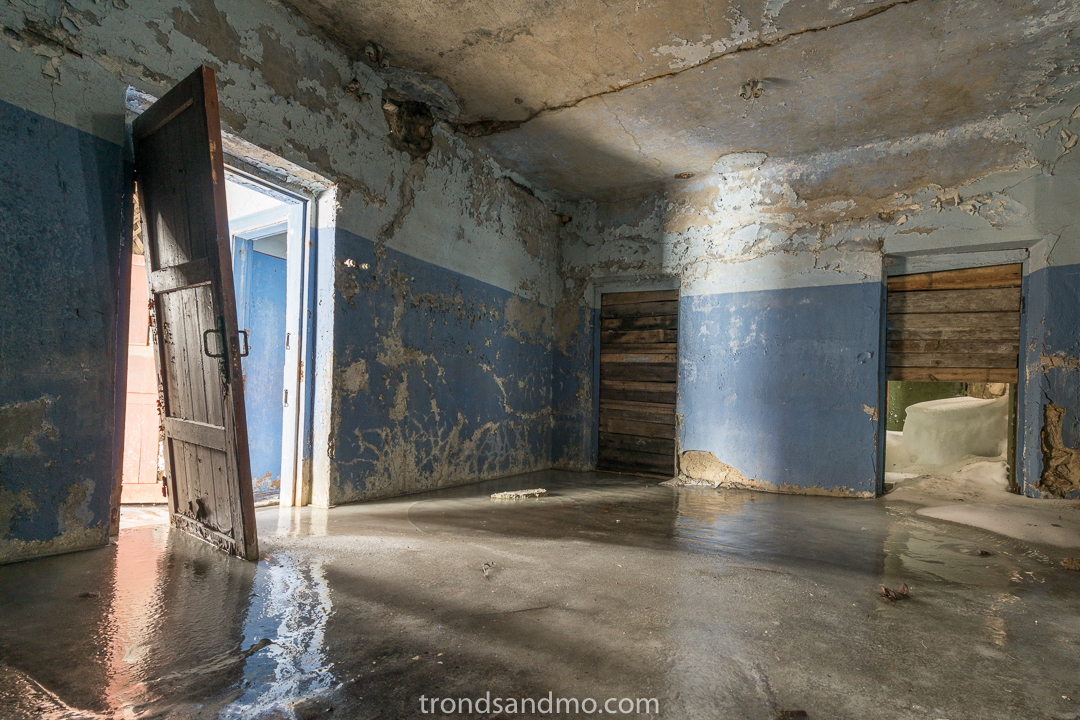
Blue room at Grumant / Svalbard
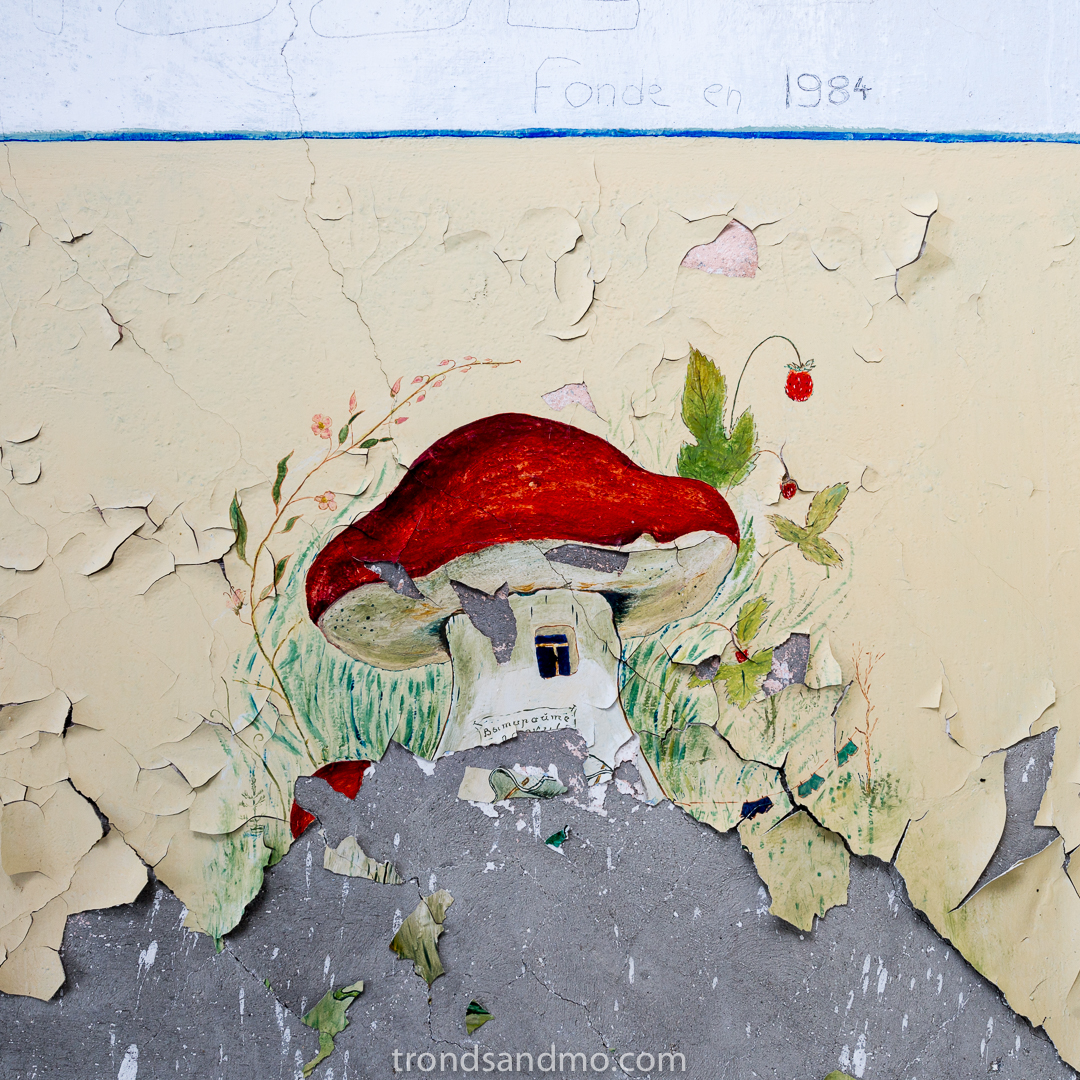
As described in my previous article about Coles Bay, Grumant and Coles Bay was connected by railway. Grumant had a poor harbor and Coles Bay suited much better for shipment of coal and other transport that went by sea. Grumant is a small town between high mountains near the Icefjord, and at the most there were 1,100 residents in the 50s. Grumant had the coal-mine entrances and other buildings with related industrial workplaces. In addition the workers had their living quarters in that narrow valley. I am lucky to have lived in a time that we still could visit the houses and see the beautiful wall paintings and ceiling decorations. It is clear that they had a canteen there and a building for either an infirmary or a kindergarten. Maybe both!
Condition

Wall paintings III. In Grumant / Svalbard
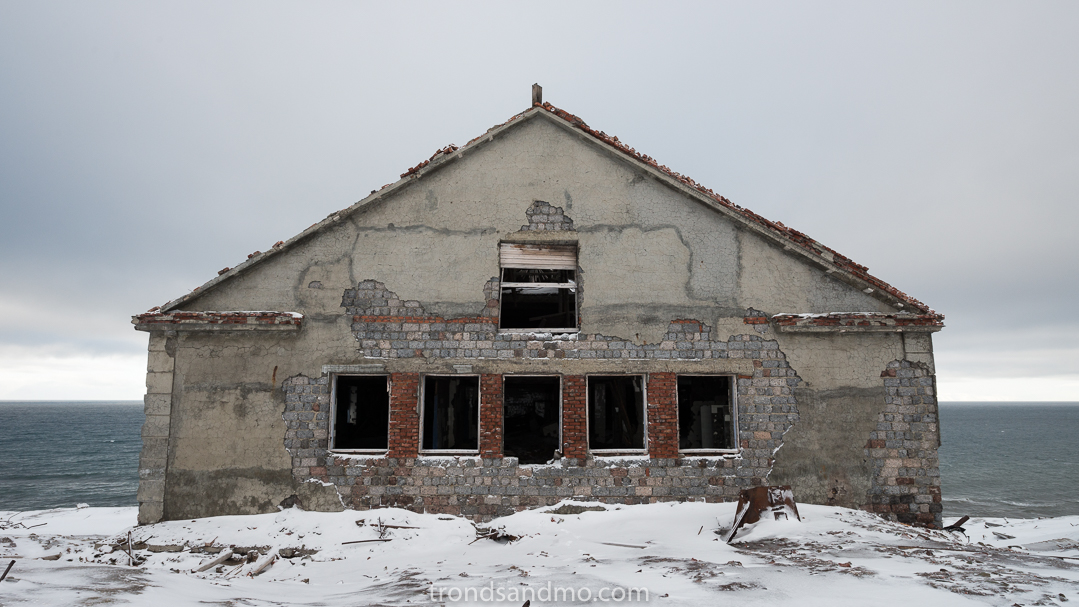
There are not many buildings left in Grumant and those still standing are in a miserable condition. It is especially the severe weather conditions that is the problem. Roofs have collapsed, erosion from the seaside has came dangerously close to the buildings and the permafrost is constantly moving the ground under the houses. Slowly, but surely this destroys the concrete structures in Grumant. Considering the condition I would discourage people to enter in the buildings that still stand.
“Take nothing but pictures. Leave nothing but footprints” Is a good rule to follow. These places exist because there was activity in the area and the facilities and location served people a purpose. Today they are a memory of a bygone era. Let us not destroy them or affect them in any way with today’s activity.
A few shots from Grumant
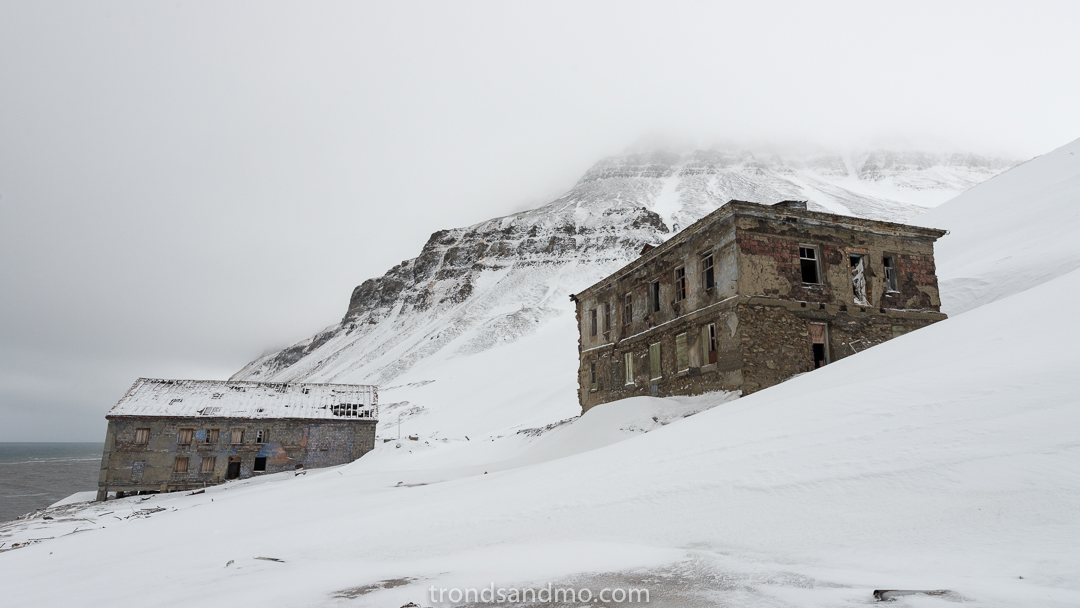
Houses at Grumant II / Svalbard

Details in the corridor. Grumant / Svalbard

View over Grumant. Photo taken from Grønberget. Svalbard.
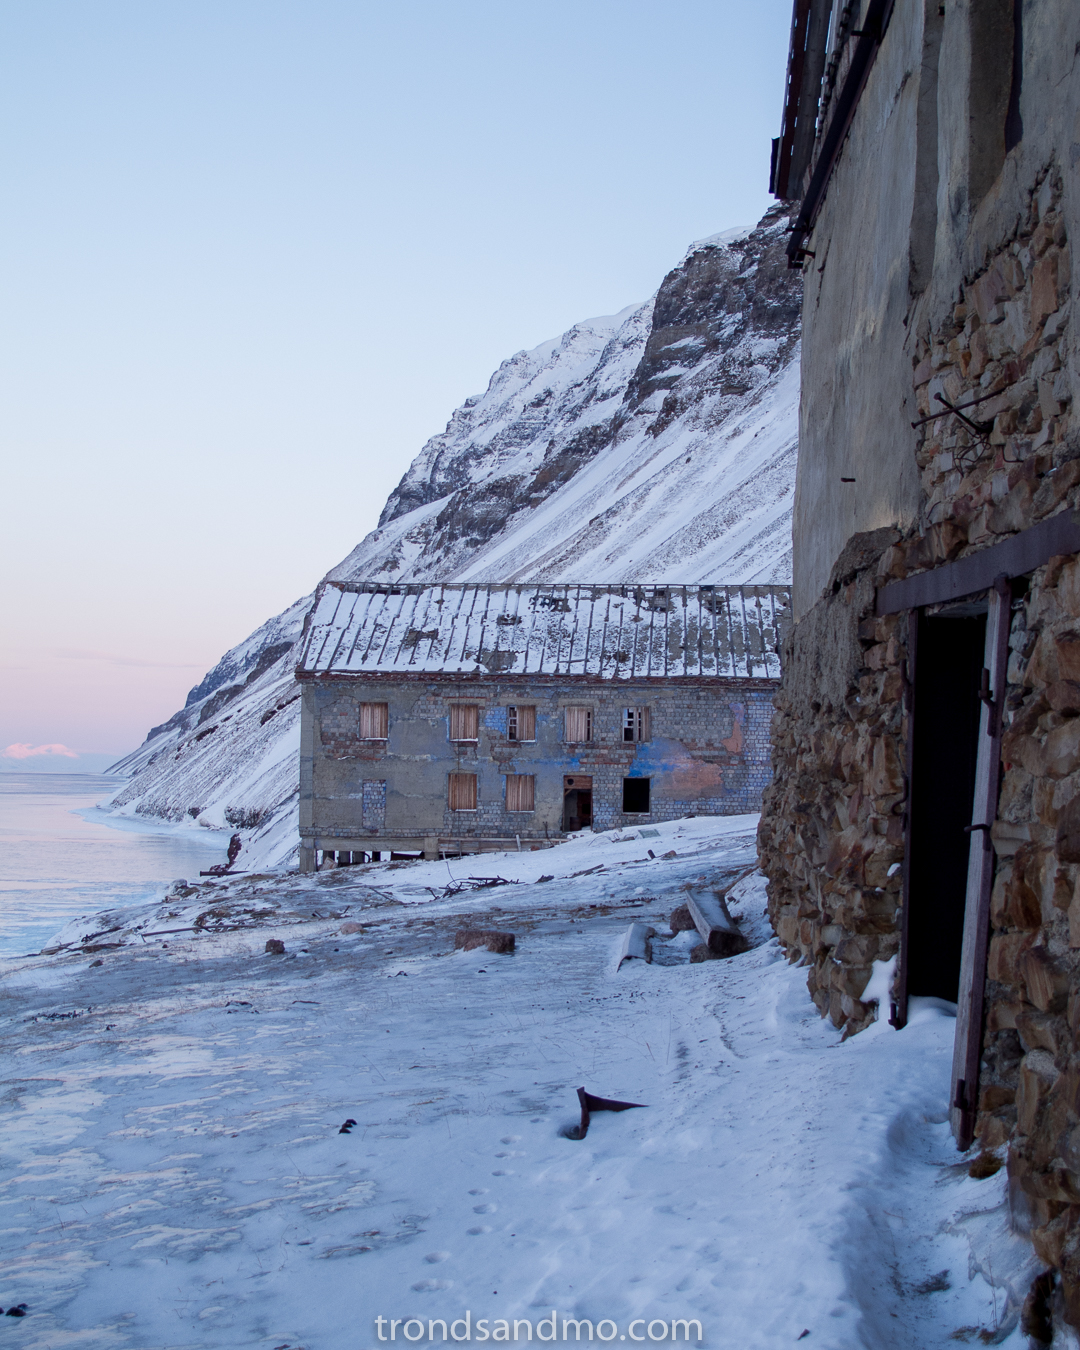
Photo shot at Grumant Svalbard
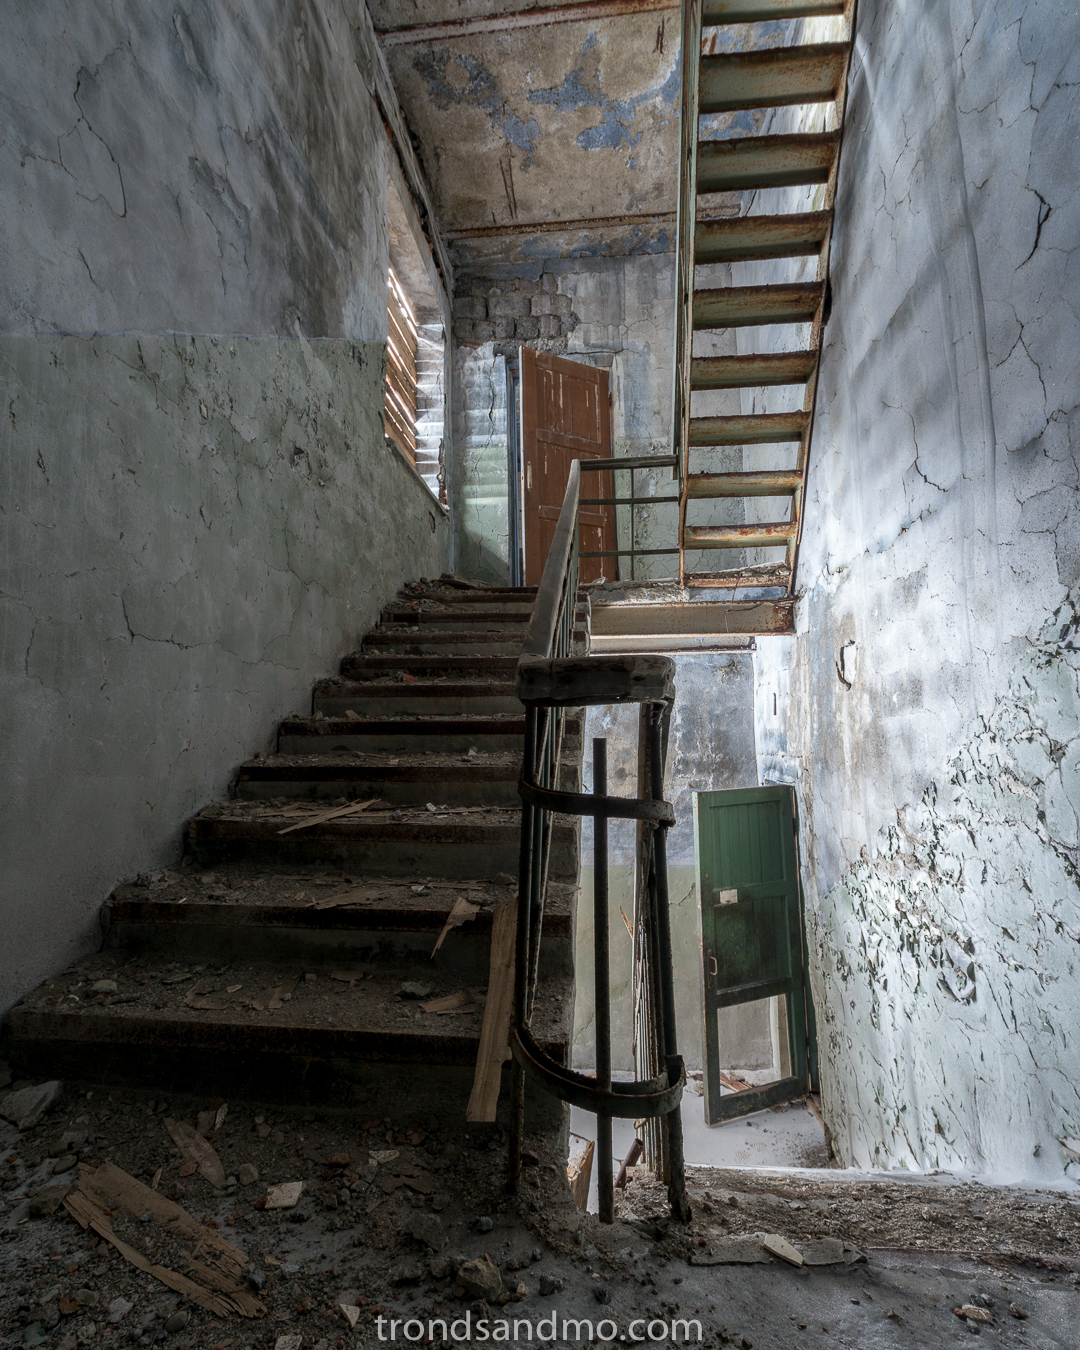
Stairway I. At Grumant / Svalbard
Stairway III. At Grumant / Svalbard

Collapsed building. Grumant / Svalbard
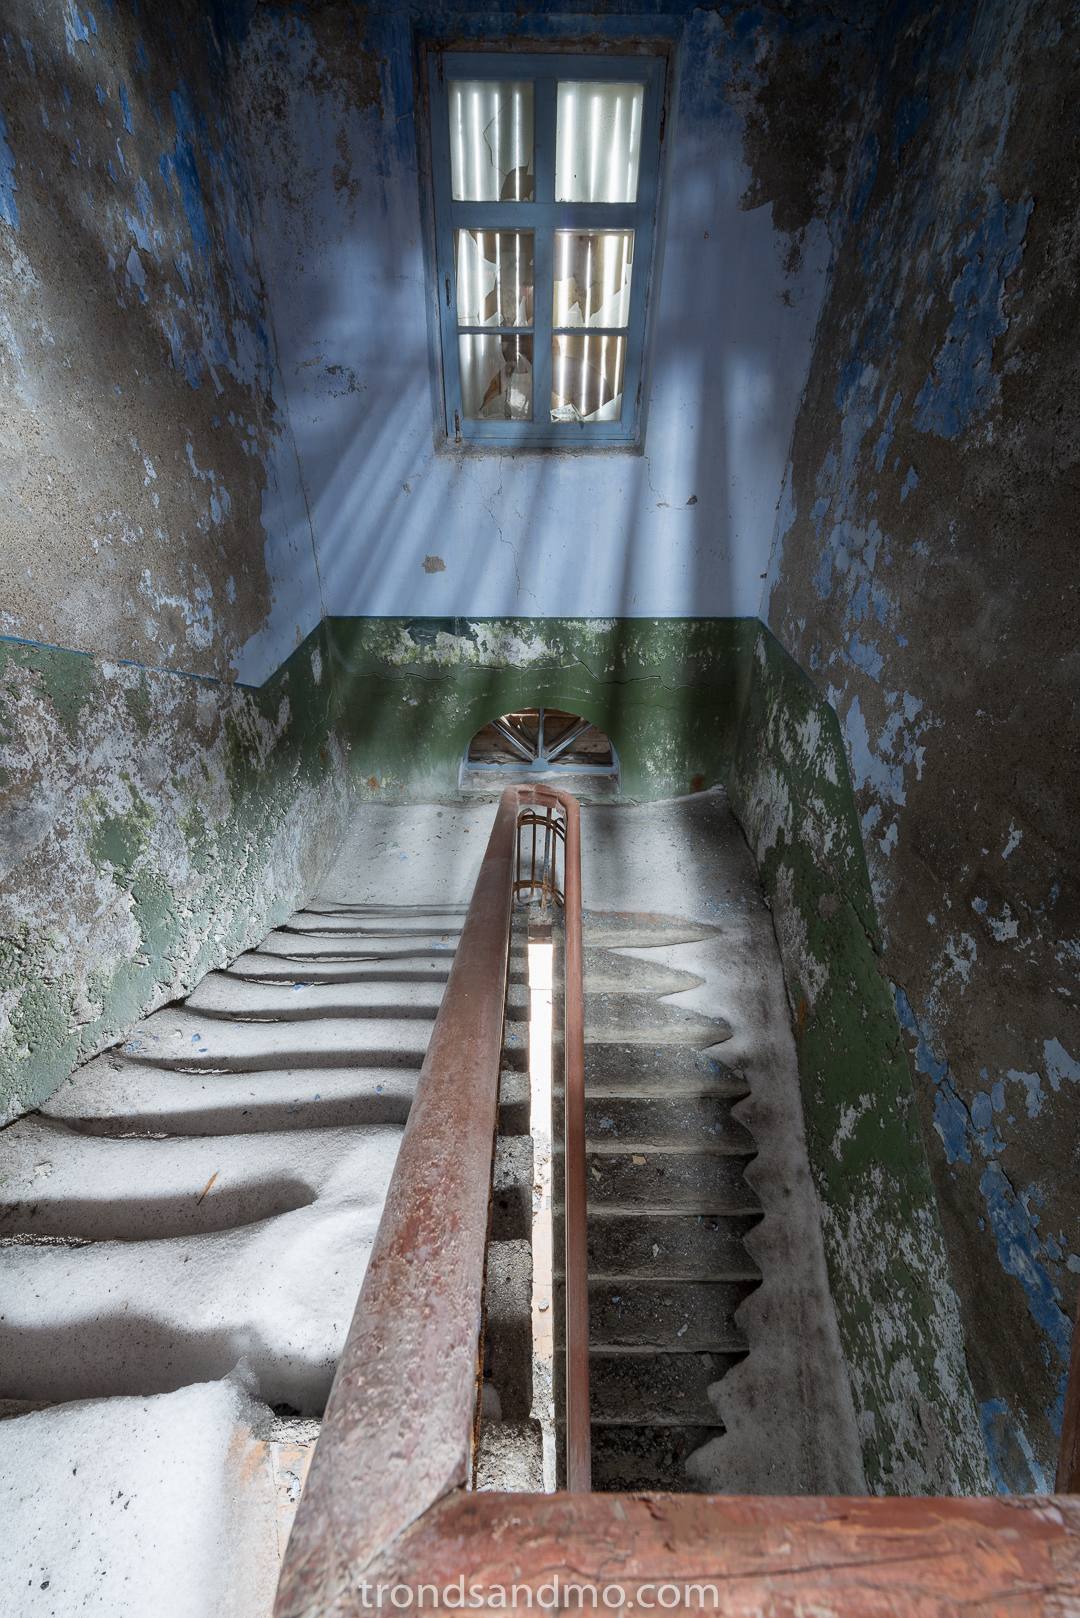
Stairway IV. At Grumant / Svalbard
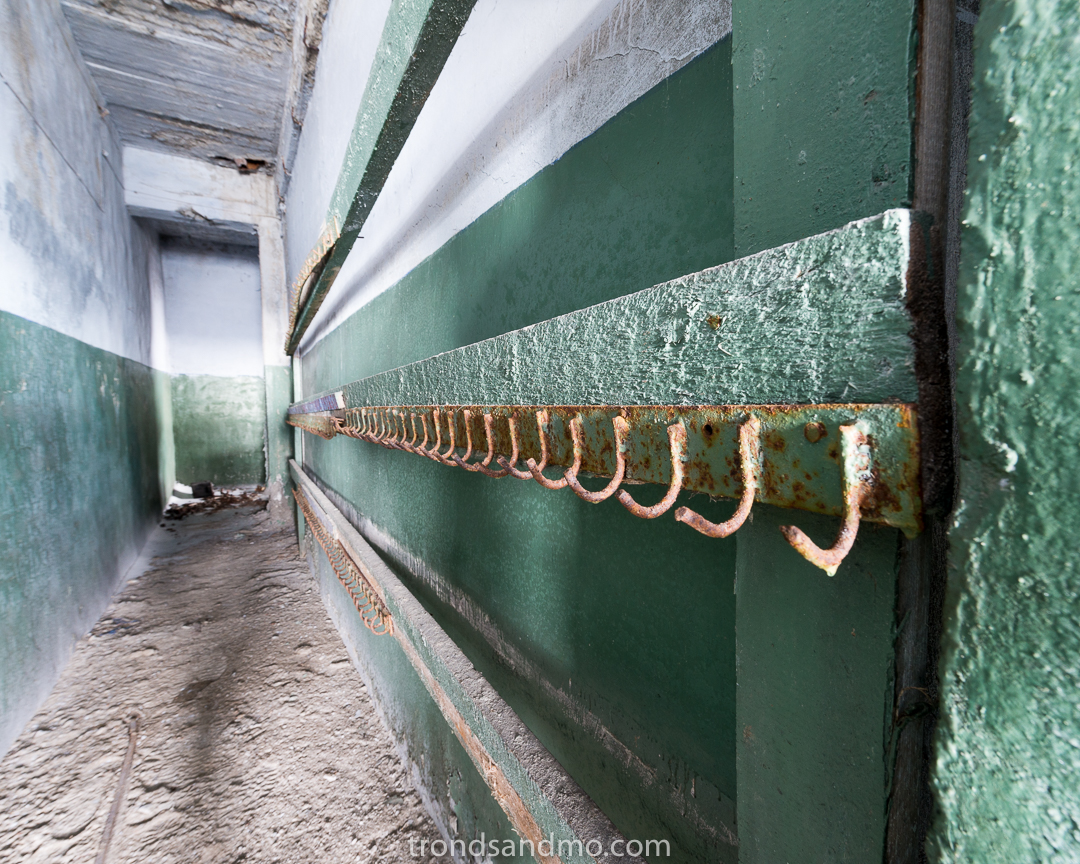
Coat rack at Grumant / Svalbard
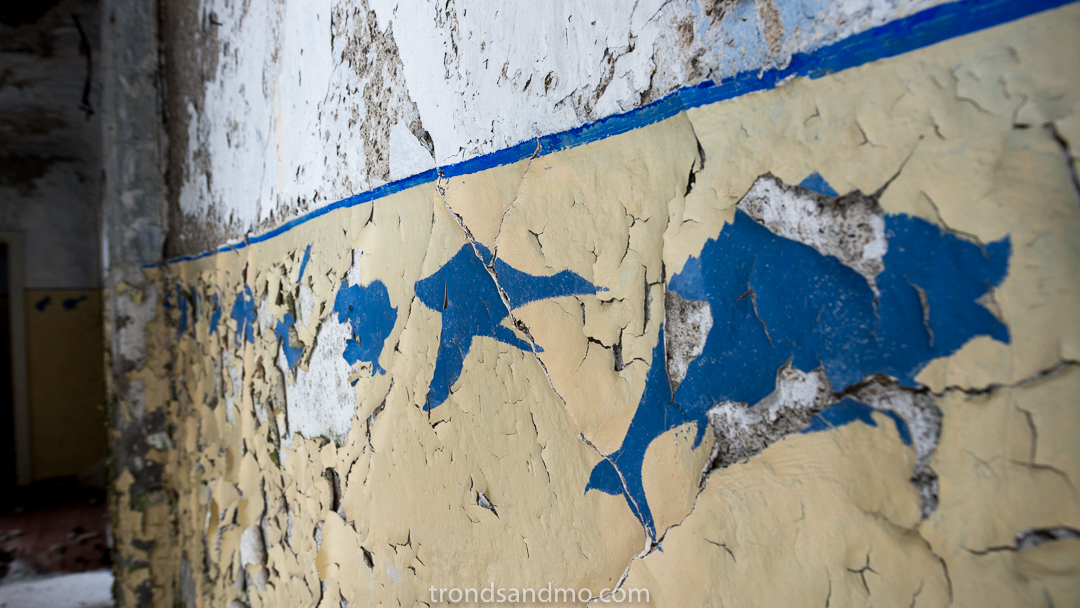
Wall paintings I. In Grumant / Svalbard

Drone shot I over Grumant / Svalbard
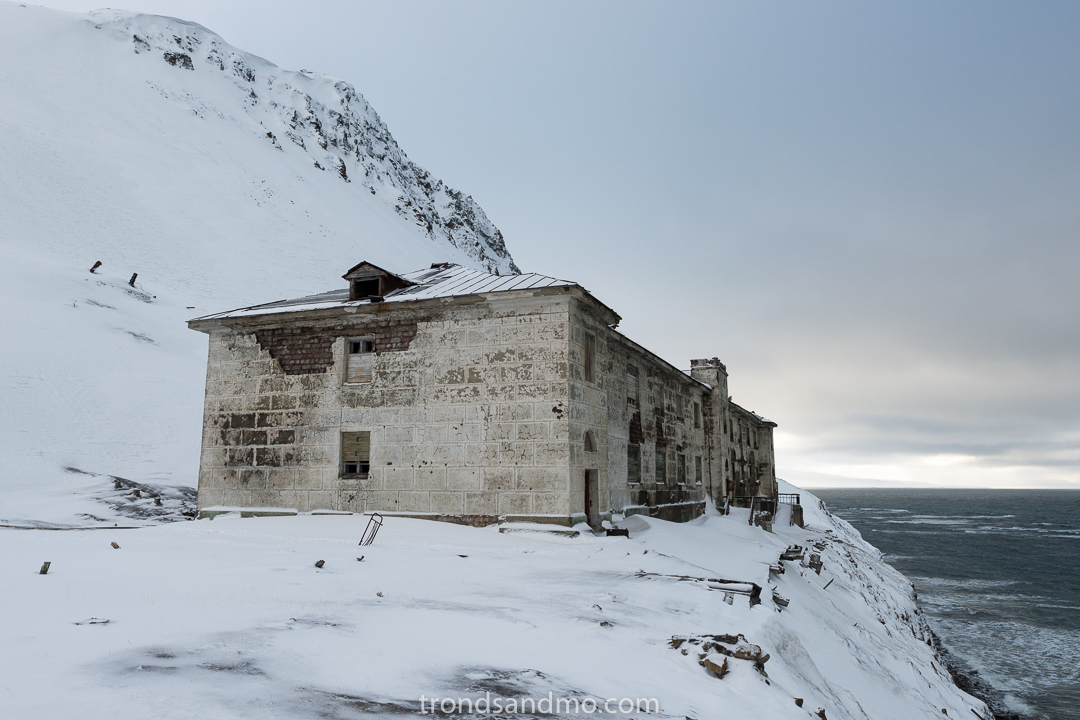
Houses at Grumant IV. Svalbard
Ice on floor. Grumant / Svalbard
Drone shot II over Grumant / Svalbard
Wall paintings II. In Grumant / Svalbard
Houses at Grumant III. Svalbard
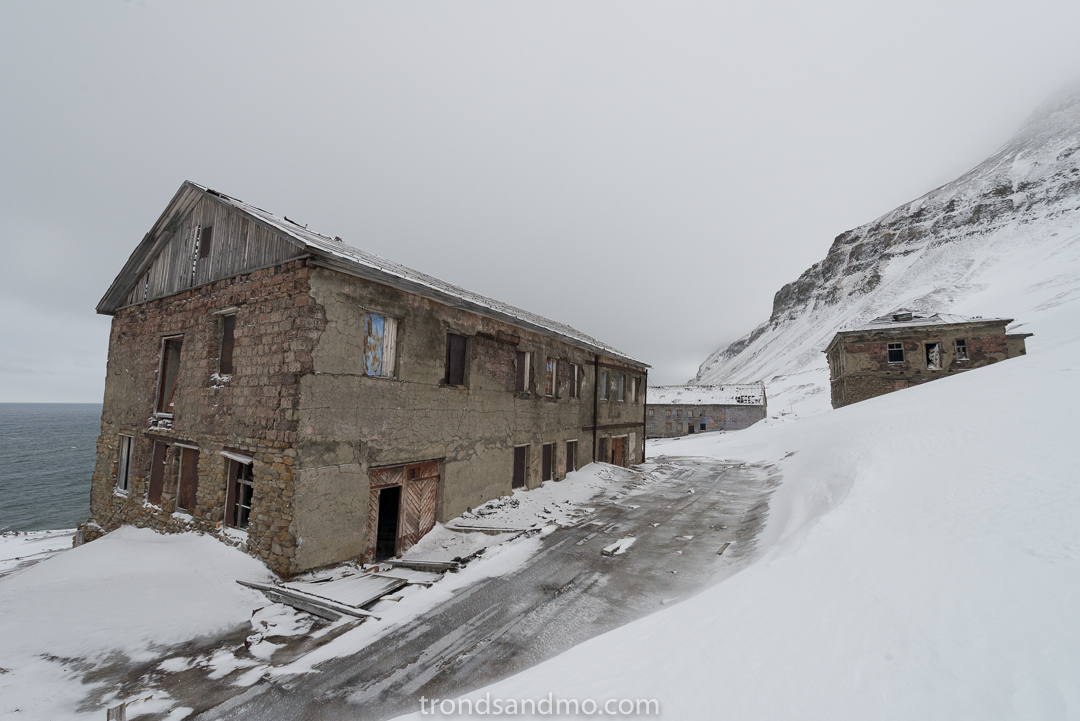
Houses at Grumant / Svalbard

Stairway II at Grumant / Svalbard
Coles Bay
Coles Bay Svalbard. Drone shot
Urban/rural exploration has been a hobby that has given me much joy over the years. Both the historical aspect of it and the joy of taking pictures and documenting old ruins. Svalbard has many such places, and I thought it was a good idea to introduce them here. Maybe others will have an interest in visiting these places as well? Coles Bay is one of the abandoned settlement that is easiest to visit, and I thought to introduce it first.
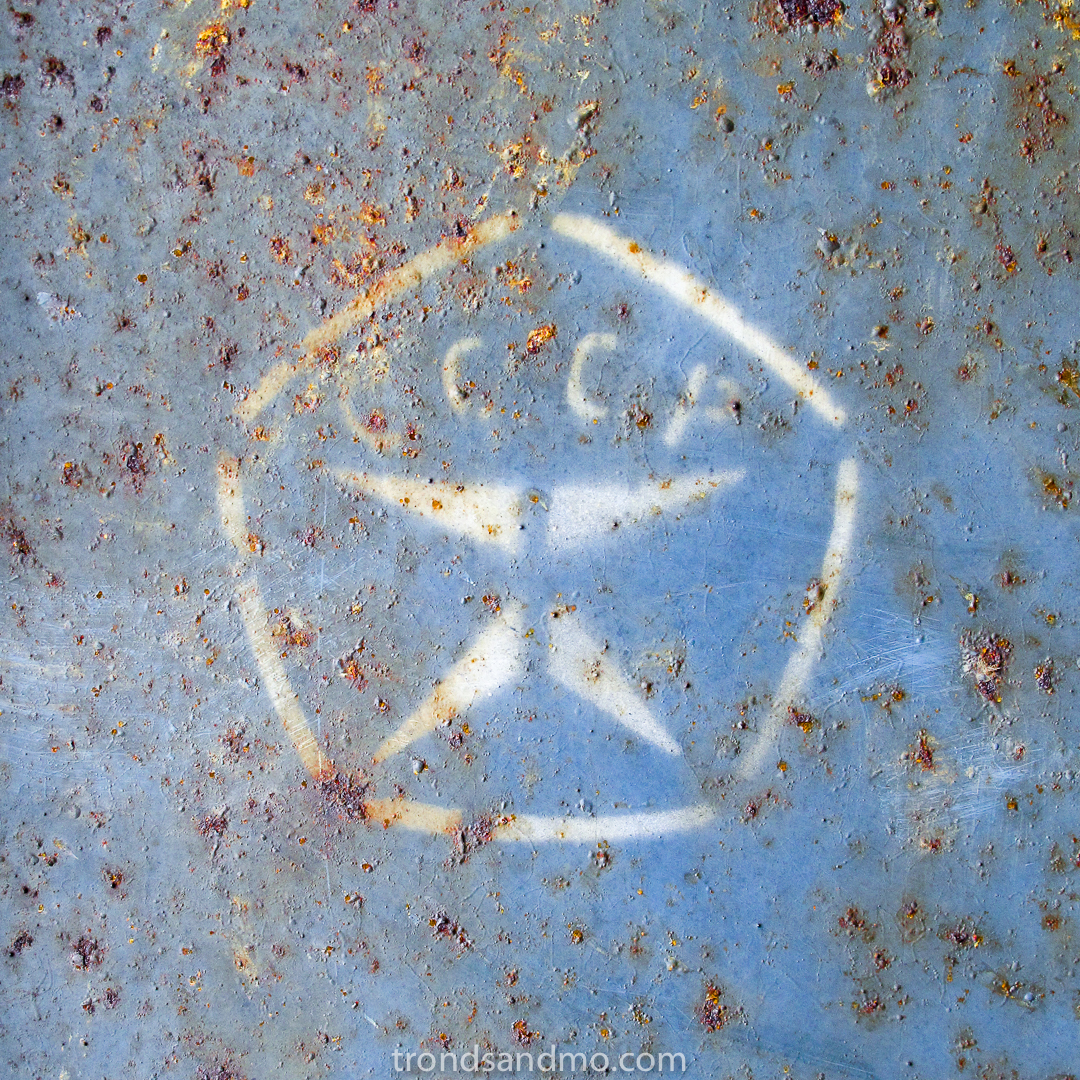
CCCP detail found at Coles Bay Svalbard. The russian abbreviation for USSR.
What is it: Coles Bay area has a history of Norwegian trappers dating back to 19th century, but the buildings and ruins we see today stems from the Soviet mining operations that came later in the 20. century. Coles Bay and Grumant further north was linked by railways. Coles Bay had a good harbor and functioned as an export port for the Grumant settlement. Grumant and Coles Bay had a total of over 1,100 inhabitants at its peak in 1951-1952.
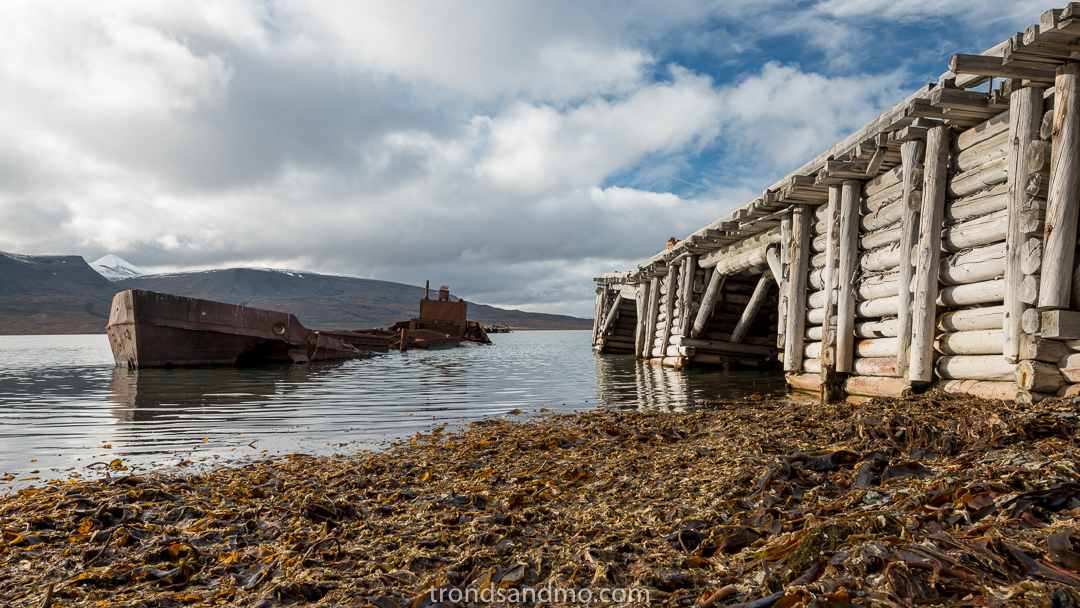
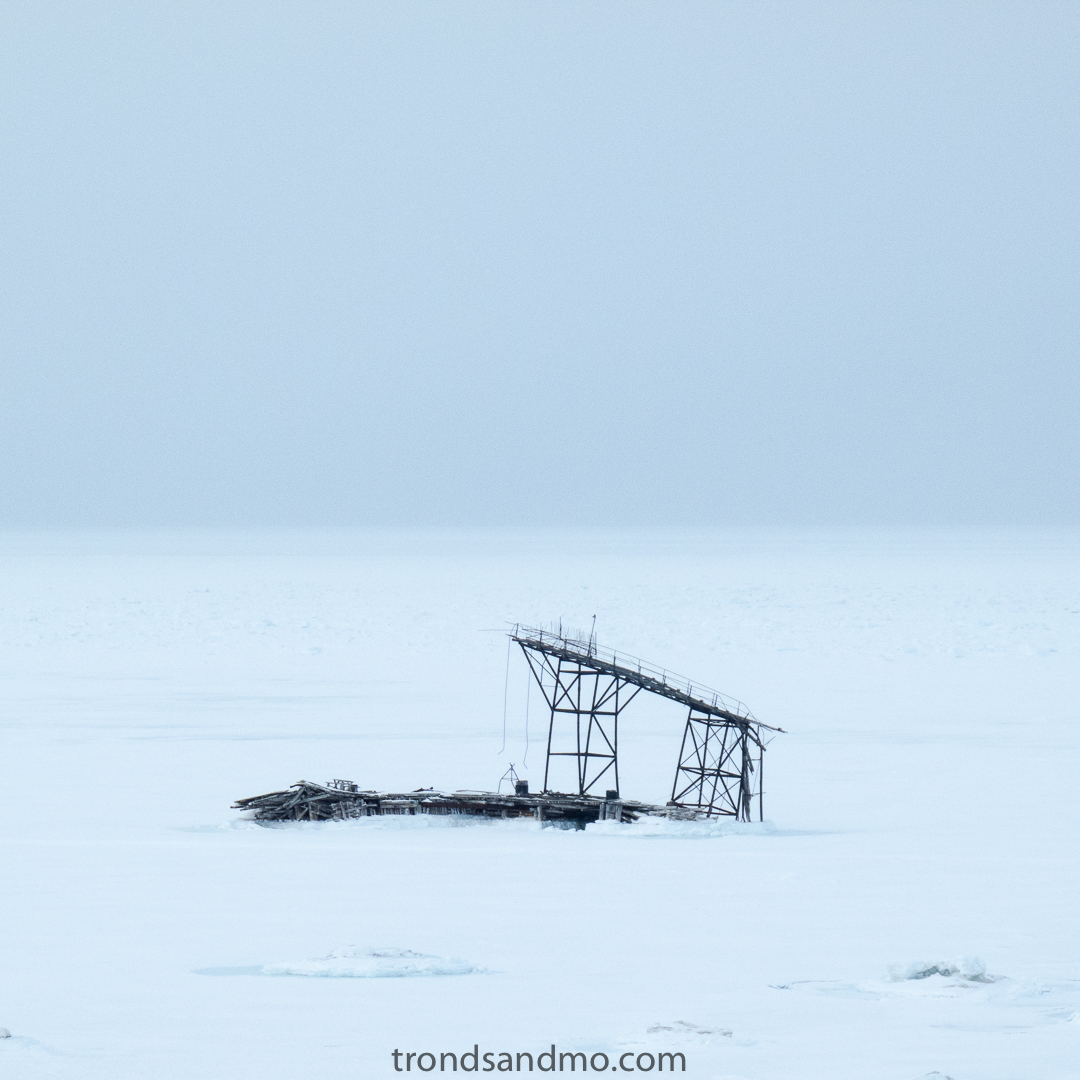
Shipwreck at port of Coles Bay Svalbard
What to explore: In the area there are about 10 to 12 large and small buildings that are more or less intact. Several ruins can also be seen in the area. There are two ports in Coles Bay and at one of them lies a shipwreck half sunk. Traces of the old railway is seen north-west of town going toward Grumant. The old power plant and the graveyard is seen in easterly direction from the main buildings.
Remains of Coles Bay Svalbard. These structures are lost in the bay, and not visible anymore.
Condition: Most buildings have roofs intact but may have such a state that those are not recommended to enter. Some houses have locked doors and windows in good condition, while the other houses are open. Intrusion by force to closed buildings is not ok.
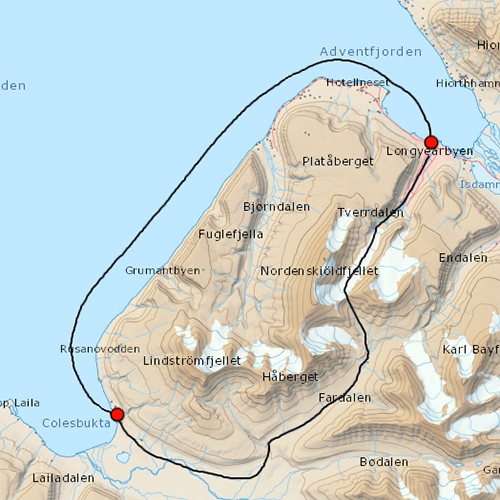
Map showing route between Longyearbyen and Coles Bay.
How to get there: You can travel to Coles Bay with either boat in the summer time or snowmobile in the winter time. Coles Bay has a good harbour and is a safe lie in. The trip from Longyearbyen by boat is approximately 25 kilometers one way. No liner go there ohwever regular tours go there in winter time. In winter you can travel with snowmobile over the mountains near Longyearbyen and down Colesdalen. Also about 25 km one way. It is recommended to travel with a local guide to get to Coles Bay. Hiking between Longyearbyen and Coles Bay is not recommended. At least not for people without mountain experience.
“Take nothing but pictures. Leave nothing but footprints” Is a good rule to follow. These places exist because there was activity in the area and the facilities and location served people a purpose. Today they are a memory of a bygone era. Let us not destroy them or affect them in any way with today’s activity. Be careful.
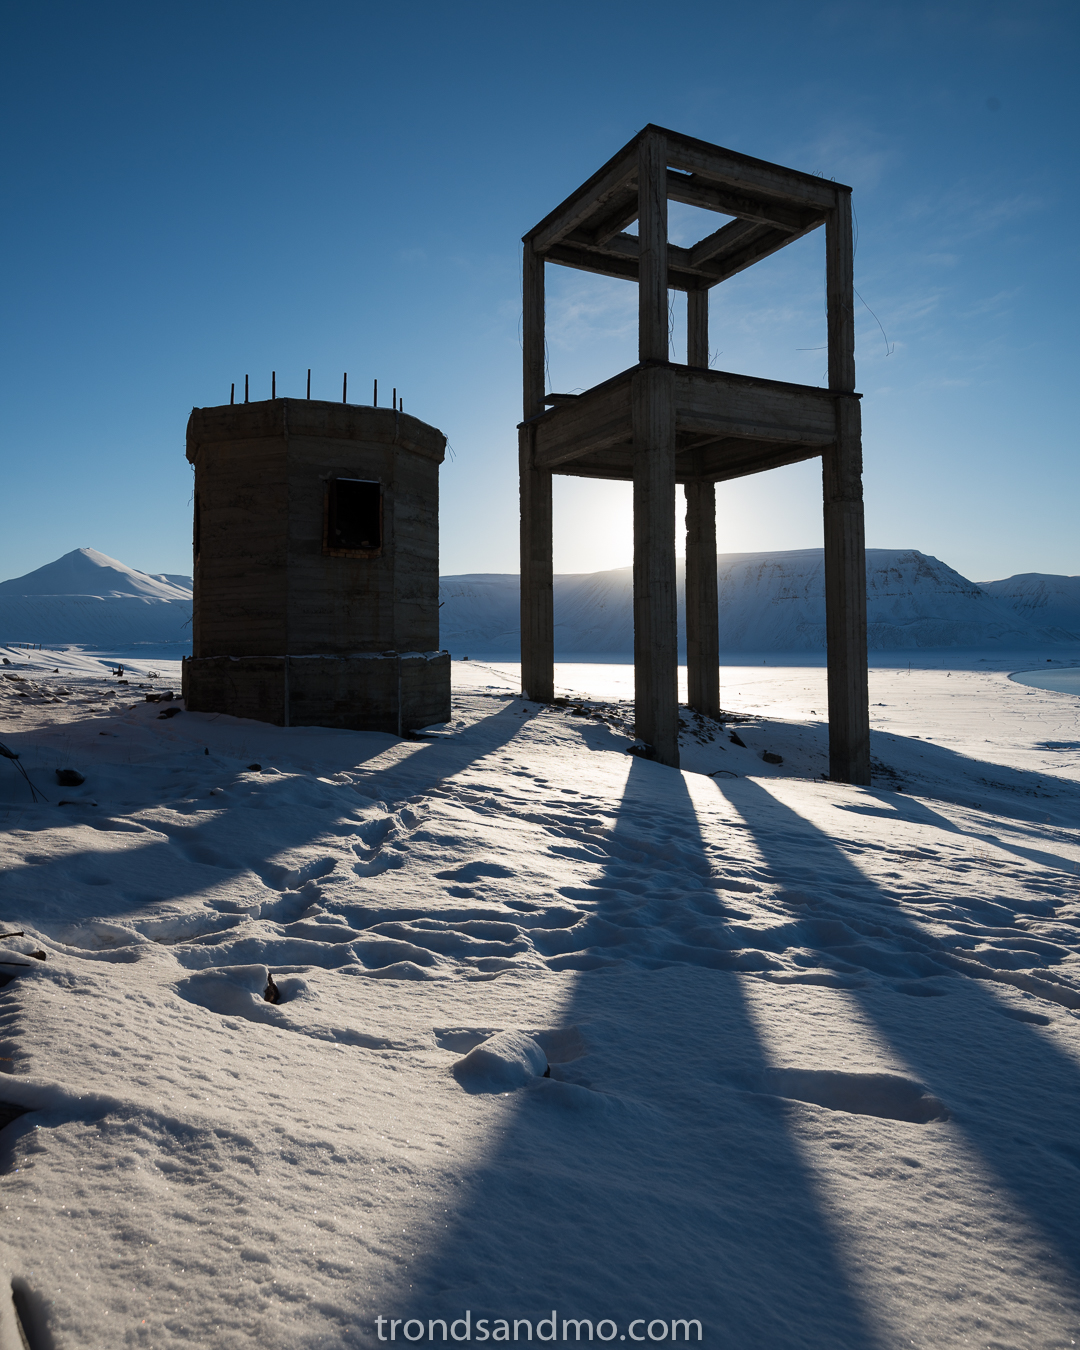
Concrete structures in Coles Bay Svalbard

Coles Bay Svalbard. Drone shot

Broken. Detail from ruins at Coles Bay Svalbard. Mountain in background is called Vesuv.
Testing coffee toning
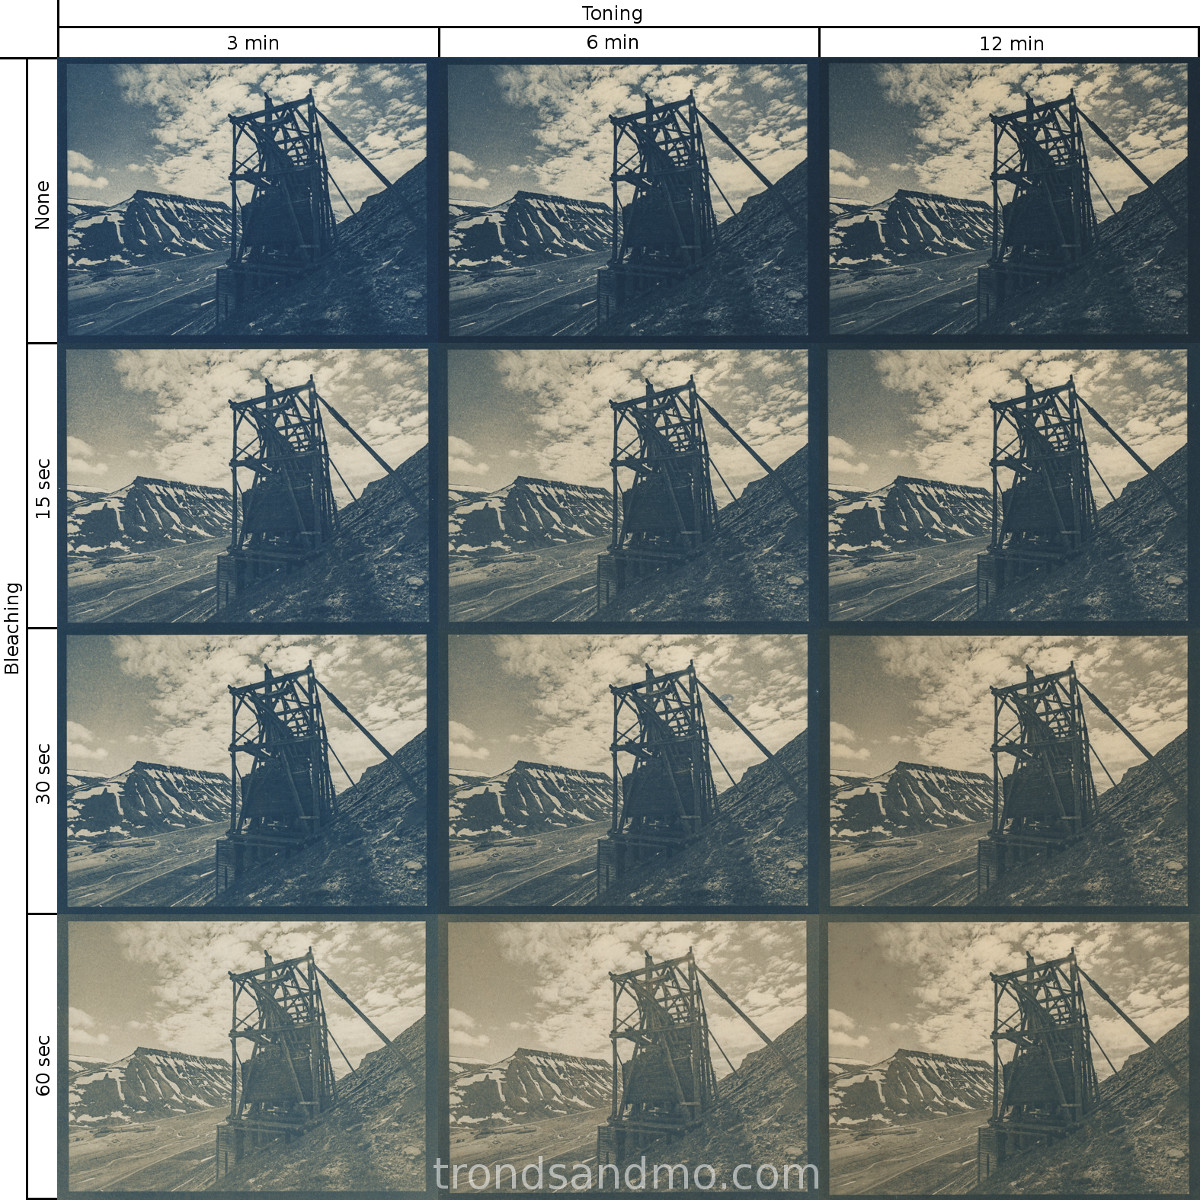
I have done another toning test similar to the tea toning test I did before Christmas. I used the same concentration of washing soda for bleaching and the same type of watercolour paper (Arches satin hot pressed 300g).
The recipe is as follows:
Bleach bath: 1 teaspoon Sodium Carbonate (washing soda) for each liter hot water. I mixed up 3 liters.
Toning bath: 3 tablespoons instant coffee (Nescafe gold) for each liter hot water. Also 3 liters in total.
Cool down the bleach and toning bath to room temperature before starting the process. I have been precise when it come to the timing. Especially with the bleach bath. A few seconds longer or shorter time submerged in bleach will produce a noticeable difference in the result. I might consider using a lower concentration on the bleach. I think it should make it easier to get the best result. Golden in the highlights and purple in the shadows is what I try to achieve. Another important ting is the pre-soaking in water (1 minute) and thoroughly cleanse between bleach and toning.
The original:
Failed Solargraphy
Early 2016 I placed six pinhole cameras in the terrain around Longyearbyen, and let them collect sunlight for about one year. The cameras were made from a beer can with a photographic paper curled inside the can and with a small pinhole to let in sunlight. Apart from the pin hole, the camera was lightproof and mounted on a wooden frame.
When I collected the cameras I soon understood that I had made a mistake. The sun and weather has dried and cracked the wooden frame and it must have caused a movement to the camera during the exposure time. I saw warped wood on all six of my pinhole cameras. The picture below is the one with least movement.
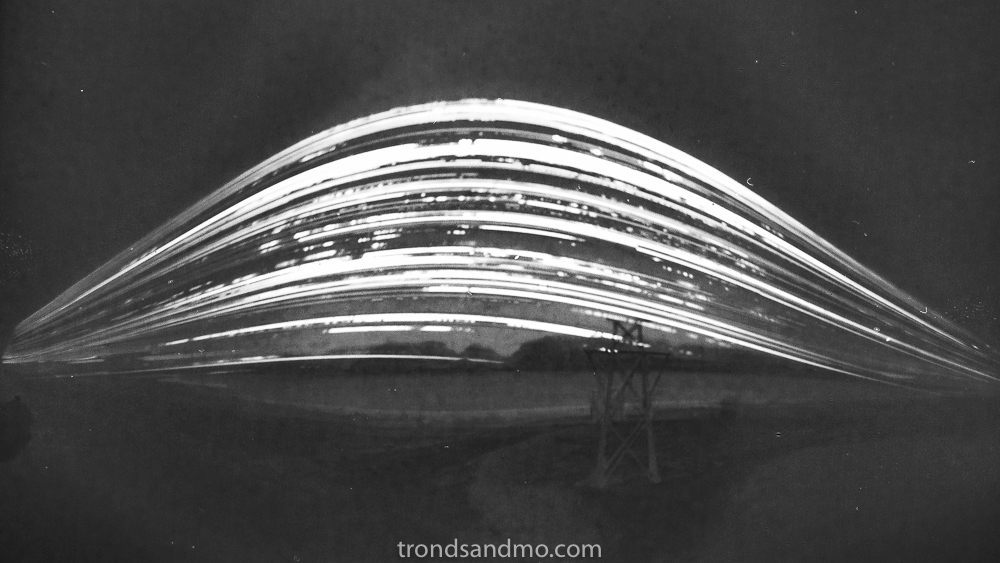
Some edit is needed in lightroom and/or photoshop:
- Horizontal flip. The camera obscura produces a left-right flipped and upside down image
- Color invert. The photographic paper is a negative. More light means darker imprint.
- Convert to BW. Pink converts to blue and I think black/white looks a little better.
- Work with contrast settings so the image become more apparent.
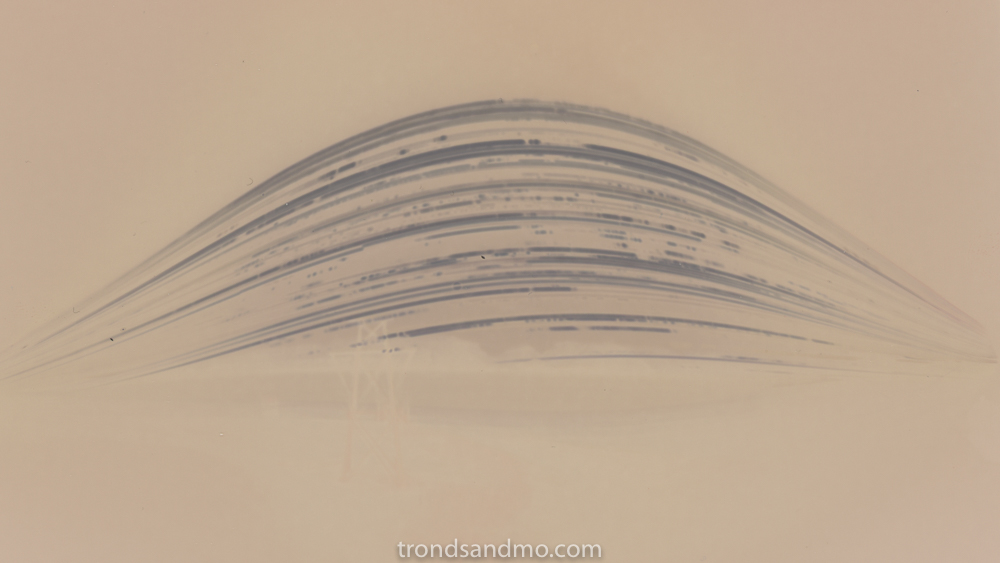 This last image is the original photographic paper straight from the pinhole camera to the flat bed scanner. No development or other chemicals added. If the paper is submerged in developer it will turn completely black. Don’t do that!
Lesson learned: Create a better foundation for the camera. It must withstand the weather conditions without creating any movement. One year is too long to wait to find out that one has camera movements …