Posts in Category: Pinhole photography
Failed Solargraphy
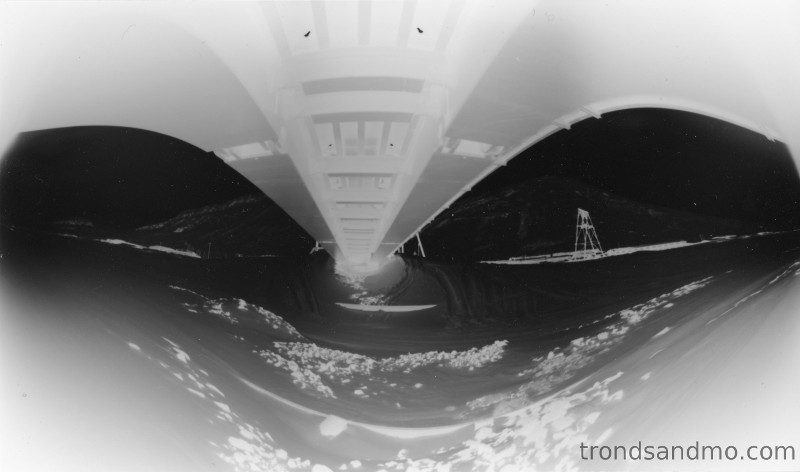
Early 2016 I placed six pinhole cameras in the terrain around Longyearbyen, and let them collect sunlight for about one year. The cameras were made from a beer can with a photographic paper curled inside the can and with a small pinhole to let in sunlight. Apart from the pin hole, the camera was lightproof and mounted on a wooden frame.
When I collected the cameras I soon understood that I had made a mistake. The sun and weather has dried and cracked the wooden frame and it must have caused a movement to the camera during the exposure time. I saw warped wood on all six of my pinhole cameras. The picture below is the one with least movement.
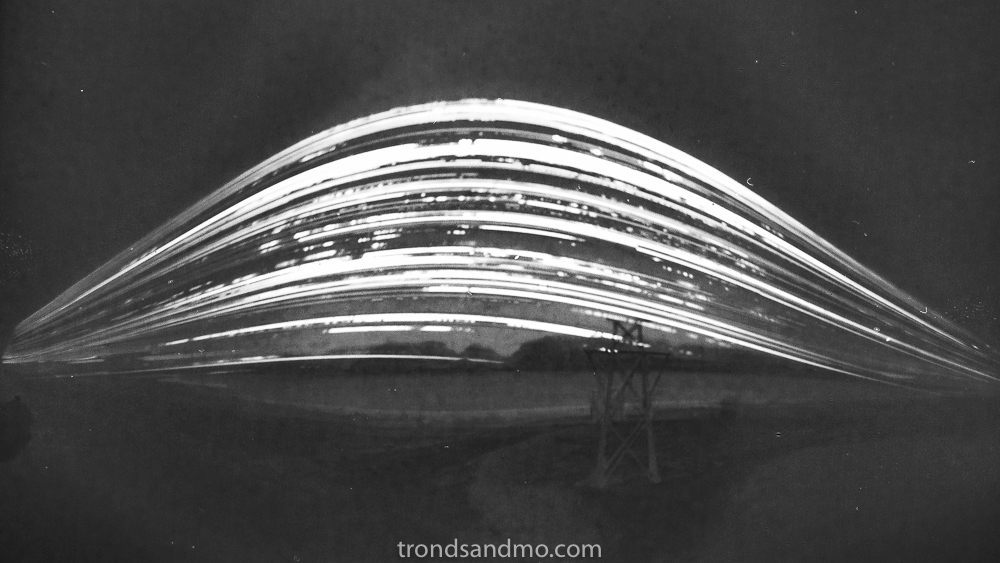
Some edit is needed in lightroom and/or photoshop:
- Horizontal flip. The camera obscura produces a left-right flipped and upside down image
- Color invert. The photographic paper is a negative. More light means darker imprint.
- Convert to BW. Pink converts to blue and I think black/white looks a little better.
- Work with contrast settings so the image become more apparent.
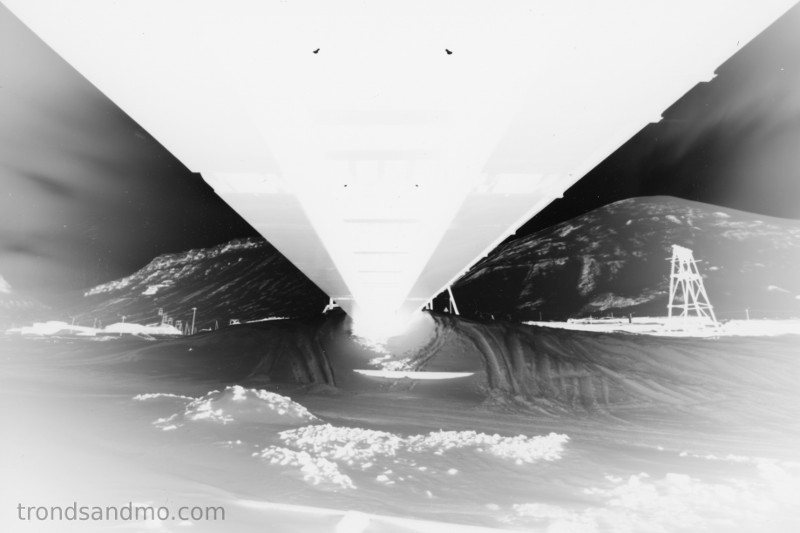
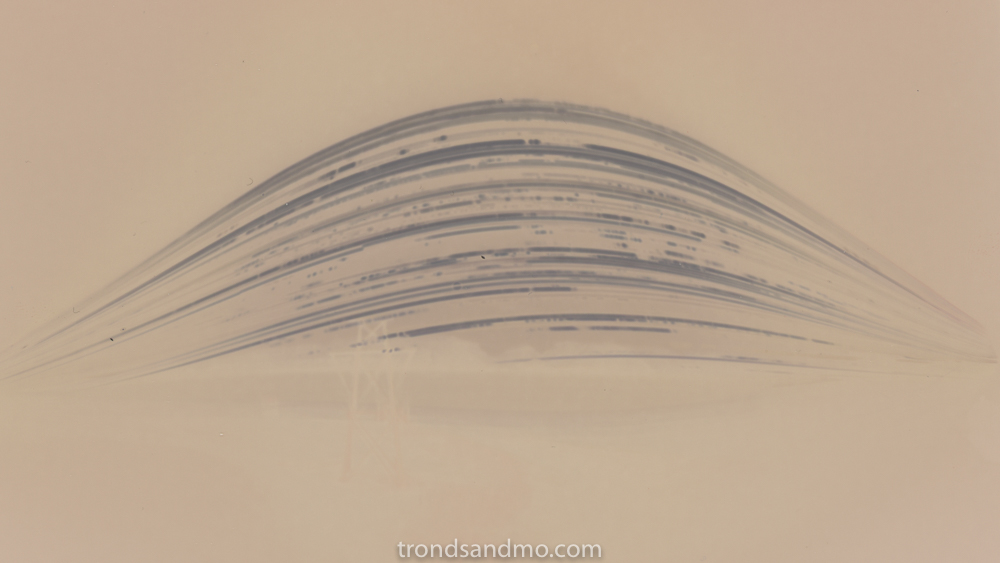 This last image is the original photographic paper straight from the pinhole camera to the flat bed scanner. No development or other chemicals added. If the paper is submerged in developer it will turn completely black. Don’t do that!
Lesson learned: Create a better foundation for the camera. It must withstand the weather conditions without creating any movement. One year is too long to wait to find out that one has camera movements …
DIY Pinhole II
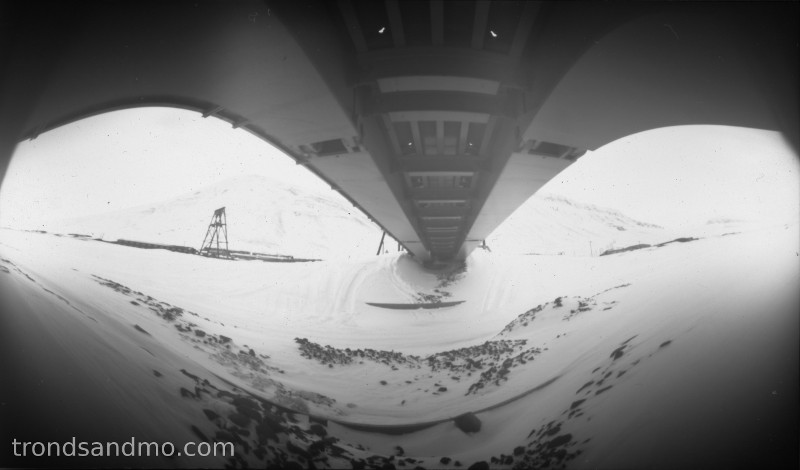
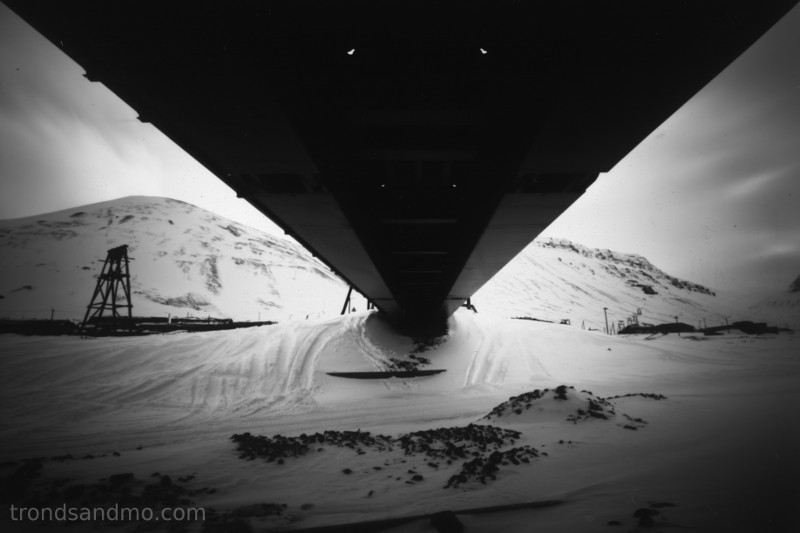
 A pinhole photo made inside a rectangular box will make no lens distortion, wide angle images remain absolutely rectilinear. However if you want a more distorted look to the pinhole photo, why not try out a pinhole camera made from a coffee can! The left and right side of the image looks stretched while the center is normal.
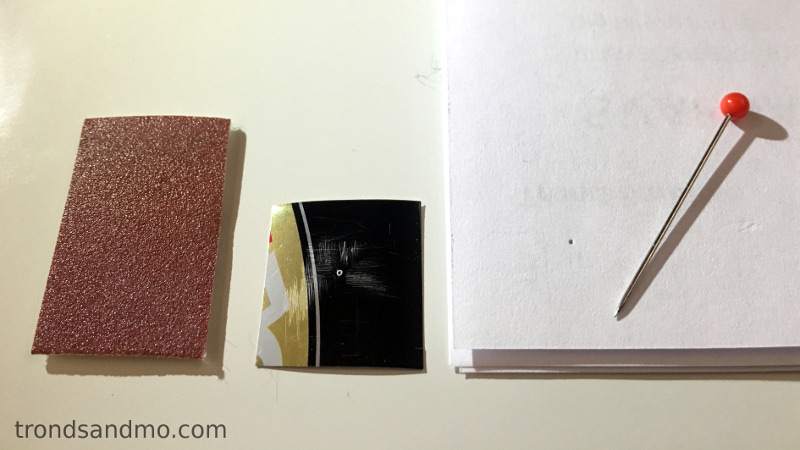 Create the pinhole. Like the box-camera, I made the pinhole with a thin piece of aluminum (from a beer can) and the diameter size is 0.3mm in diameter. A standard needle will make a hole to big and the picture will not appear sharp. So I experimented a little… By only using the tip of the needle against a hard surface and a few sheets of paper between I was able to punch a hole smaller than the needle itself. Sanding down the edges is important!
Add photographic paper. In the darkroom, slide a photographic paper inside the can (with size 10×17 cm for this coffee can). The light sensitive side of paper should be facing the pinhole. The lid should be light proof, and remember to cover the pinhole with a black tape. The coffee can was shiny on the inside, so I used black spray paint to eliminate reflections.
The rest of the process (exposure timing, development and more) is the same as for the box pinhole camera. You can read the DIY Pinhole I there 🙂
This is how the coffee can pinhole photo looks like:
DIY Pinhole I
 It started with pinhole photography. Making my own pinhole camera were my way in to the analog photography world. It is a relatively easy project that everyone can do, and doesn’t cost much. All you need is a box, photographic paper, developer chemicals, a red light bulb and a dark room.
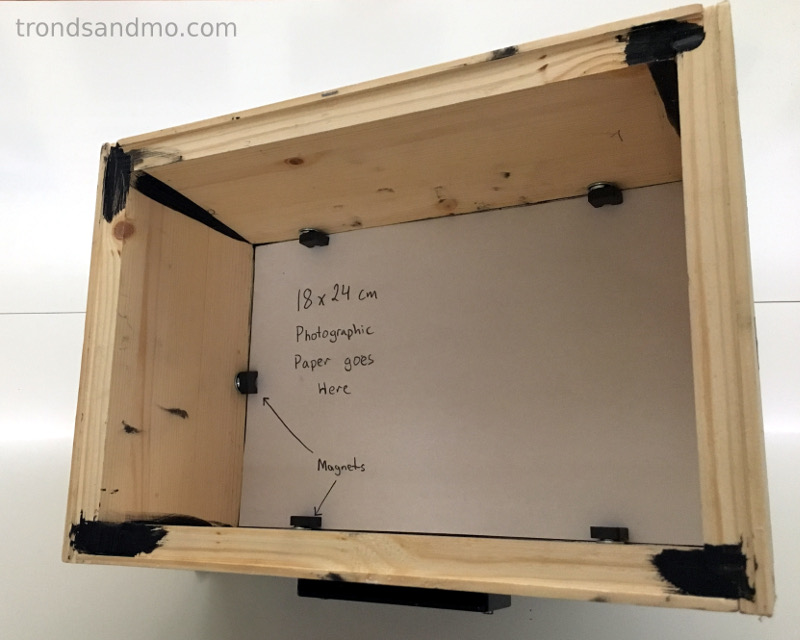 The box. I decided to work with photographic paper that is 18x24cm in size. The depth of the box is 12cm, and that gave me a OK wide angle field of view. So inside of the box is 18x24x12 (HxWxD). The box is made of a wood frame and a aluminum plate that makes the front. I used tec7 sealant to make sure no light leaks in to the box except through the pinhole. This is a simple construction that did not take much time to assemble. If you have 10 thumbs or not the time to build a box, you can easily make a pinhole camera out of a shoe box and black tape. However it will be less sturdy. The pinhole is made through a thin piece of aluminum (from a beer can) and has the size 0.5mm in diameter. I used a standard needle to make the pin hole and I carefully sanded down the edges.
 Loading the Camera. Inside a darkroom with safe light on, I load the camera with photographic paper with size 18x24cm. Emulsion side facing the pinhole. I secure the Ilford Multigrade IV photographic paper to the back wall of the box with magnets. The front of the camera is hold in place to the frame wall with tape. The tape will also make it light proof. Before I exit the dark room I make sure the pinhole is secured with a small piece of tape. It will function as the shutter!
F-number and pinhole size. The sharpest image is obtained using a pinhole size determined by the formula:
![]()
where d is pinhole diameter, f is focal length (distance from pinhole to image plane) and λ is the wavelength of light. For standard black-and-white film, a wavelength of light corresponding to yellow-green (550 nm) should yield optimum results. The f-number of the camera may be calculated by dividing the distance from the pinhole to the imaging plane (the focal length) by the diameter of the pinhole.
Exposure. Once I am out in field I use an App on my phone to measure the exposure time. Input to the App is ISO=4 and f-number=235. The pinhole box is mounted to a tripod because exposure time is typically several seconds to minutes depending on the light conditions. You don’t want camera shake or movement during exposure. I use a watch for exposure timing.
 Develop. To develop the image I mix the chemicals as described in the maker instructions. For a 18x24cm paper, 1 liter is sufficient. Under safe light in the darkroom open the box and put the paper into the developer. Soak the paper 1 min in developer bath. 10 sec for stop and 30 seconds for fix the bath. Wash for 2 minutes. If you correctly exposed the paper you should see an inverted image the paper. The image needs to be inverted and horizontal flipped in photoshop. I am not going to explain that here. It might be an topic for a later blog post.
Further reading: Pin-Hole Camera at Wiki