Posts in Category: Longyearbyen
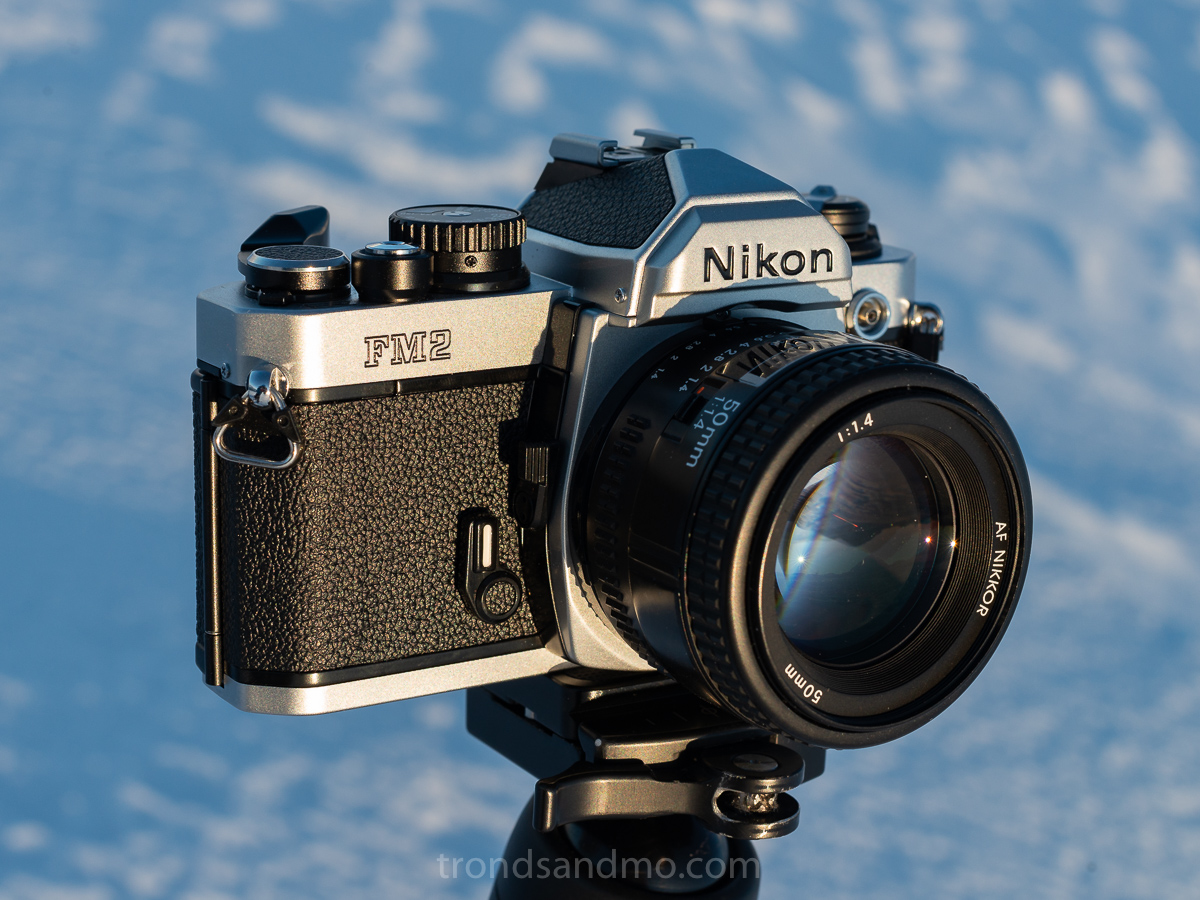
Nikon FM2n
Ny-Ålesund, Svalbard
Since I have used Nikon DSLR for many years. In fact, ever since my interest in photography started, it was only natural that my first analog SLR was also a Nikon. Otherwise the main requirements I had for a used SLR was that it had to function without the battery and be solid. That one have to focus manually and set the shutter and aperture was no problem for me because I think I learn a lot more if the camera is all manual. I landed quickly on Nikon F series and FM2 matched perfectly with my requirements. After a long (and good…) search session on ebay.com, an excellent item from japan appeared in my mailbox. In addition, I had got myself three lenses 35, 50 and 85 mm, which should cover most situations the camera should be used for.

Ny-Ålesund, Svalbard
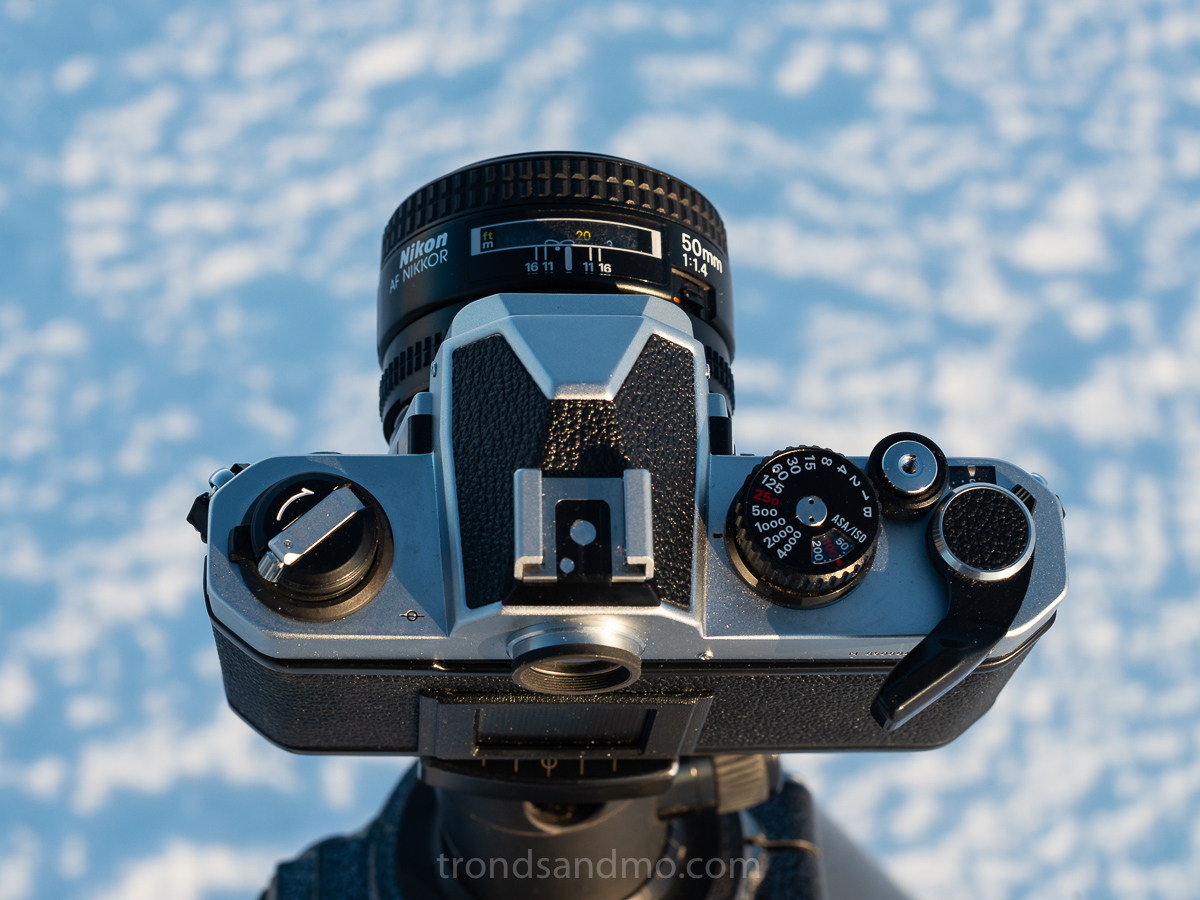
Key features
Type: 35mm single-lens reflex (SLR) focal plane shutter camera
Film: 135 film cartridge.
Shutter speed settings: 1s ~ 1/4000s, Bulb
Viewfinder: Eye-level 93% coverage with shutter speed, f/number, and LED exposure display for exposure. Split-image micro prism focusing screen (K2).
Exposure meter: TTL center-weighted full aperture exposure measuring system
Frame counter: S, 0~36. Automatically reset.
Film sensitivity range: ASA/ISO 12~6400
Self-Timer: Set/cancel type provided. Approximately 10s.
Multiple exposure lever: Provided, disengages frame counter for correct count
Lenses
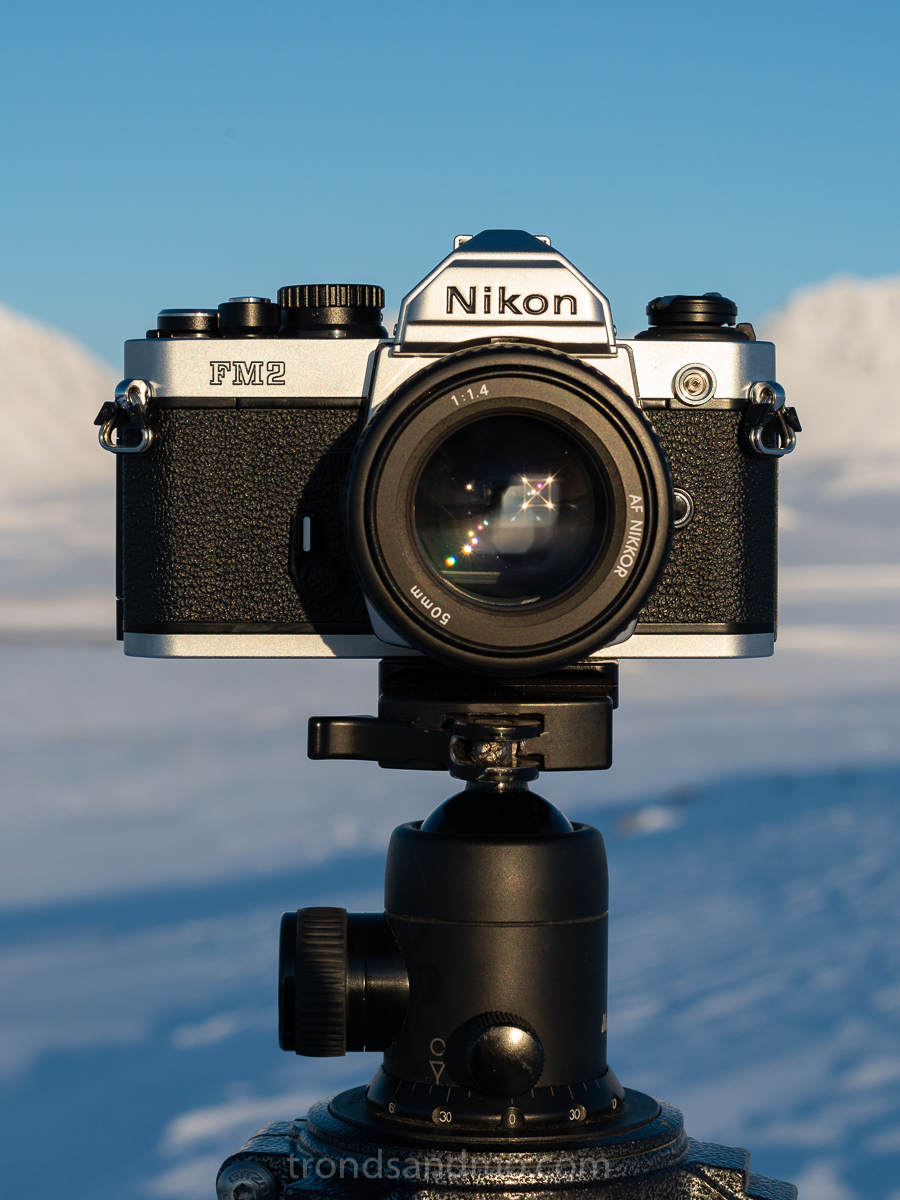
There are a lot of lenses that fit this system, but I chose three different Nikkor AF-D lenses to go with this camera house. 35mm 50mm and 85mm. This camera house is not made with autofocus however I chose these lenses because I could also use them on my digital cameras. Nikon FM2N takes all Nikon F bayonet mount lenses that supports the Automatic indexing feature (AI). Nikon-made AI lenses of this type are the AF-S, AF-I, AF-D, AF, AI-S, AI and E types. The three focal lengths 35mm, 50mm and 85mm worked great for me. 35mm for landscape, 85mm for close portraits and details, and 50mm for everything in between. The lenses are small in size and all together is packed quite compact. And that is important to me because I am hiking a lot, and wants a lightweight backpack.
Ny-Ålesund, Svalbard
Other accessories worth mentioning
Interchangeable focusing screen: Matte/Fresnel with focusing spot (B2) and matte/Fresnel with focusing spot and etched grid lines (E2). Split-image rangefinder/microprism system K2 is standard
Motor Drive: The use of the MO-12 motor drive unit with the FM2 enables automatic film advance when the unit’s trigger button is pressed.
Flash: Speedlight can be directly mounted onto the FM2’s built-in hot shoe. Sync cord terminal.
Remote: Screw thread cable release
What I liked
- Due to its titanium honeycomb curtains it can go 1/4000s at its fastest. This is super fast especially for a camera made in the 80ties. I can take photos indoors on a higher ISO speed and continue outside without overexposure. At least to a certain degree. And it also give me the possibilities for a low depth of fields shot even in daylight.
- The focus screen area is large and I find it easy to obtain correct focus.
- Since the camera is fully manual, I can operate it without batteries. I very often run out of batteries when shooting in the cold arctic… The batteries is for the light meeter only, and the camera will function without it. A little harder to get correct exposure though.
- The camera is very solidly built, and I can imagine it will withstand some beating.
- All in all the weight and size of this system is low. I can easily carry it with me on my hiking.
What I didn’t like
Well, actually I can’t pinpoint any major problem with this camera system. But I can say that his camera is not for the person who depend on full automation. Another disadvantage is that analog photography has become increasingly popular in recent years and camera prices have unfortunately increased to values higher than I think they are worth. I have also read that the left-eyed people will have a problem with the film advance lever. The lever needs to be out in order to take a shot.
Ny-Ålesund, Svalbard
Some reflections
This is a very robust and steady camera. Easy to use and very convenient to throw down the backpack. However, after all the film rolls I have run through the camera, I have come to the conclusion that I prefer a larger format. That is no fault with the camera, only a limitation in the film format it uses. I find the full frame format (24mmx36mm) to be limited when making digital scans, and the grain can be a bit too much. And especially prominent at higher ISO film. Of course, there are cases where I’m looking for exactly that grainy expression, but if I have to choose, I prefer the medium format over the full frame format. So far, I have not made darkroom prints from the 35mm format, so I have no experience of how the resolution and grain appear on the paper. Hopefully, it will change soon because I want to build a darkroom with an enlarger.
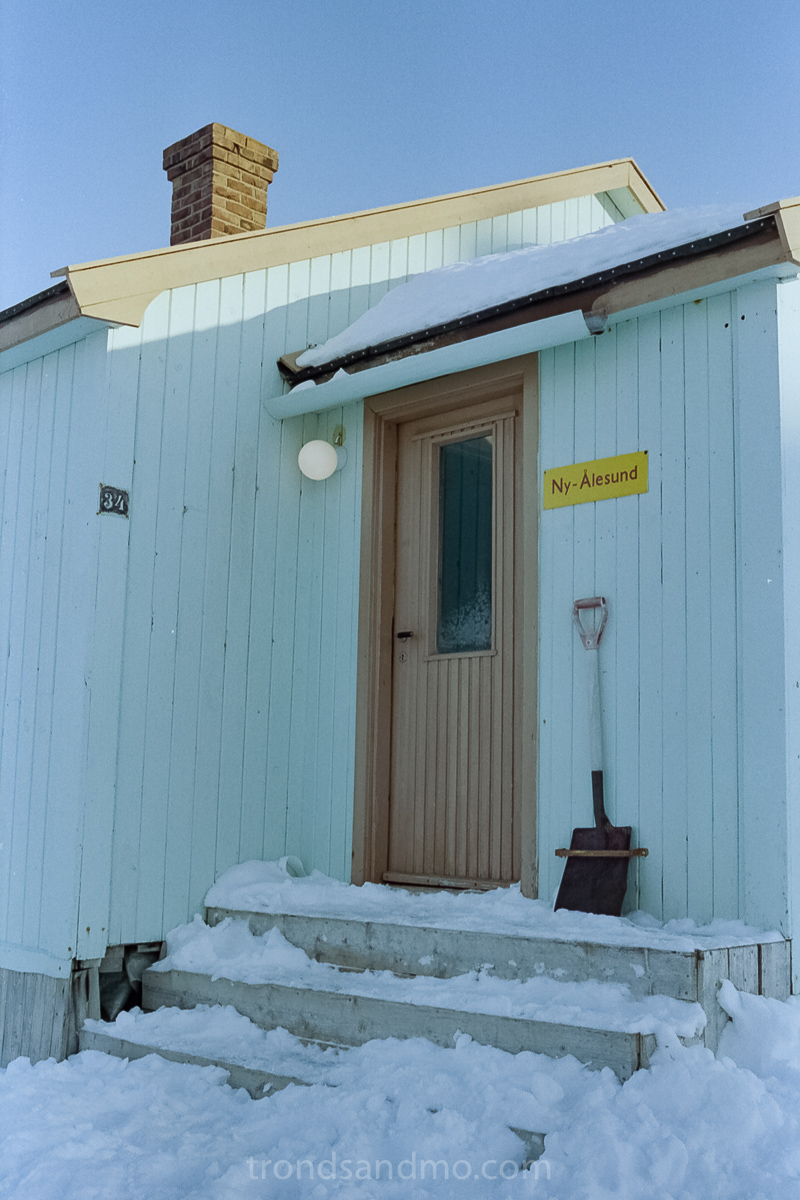
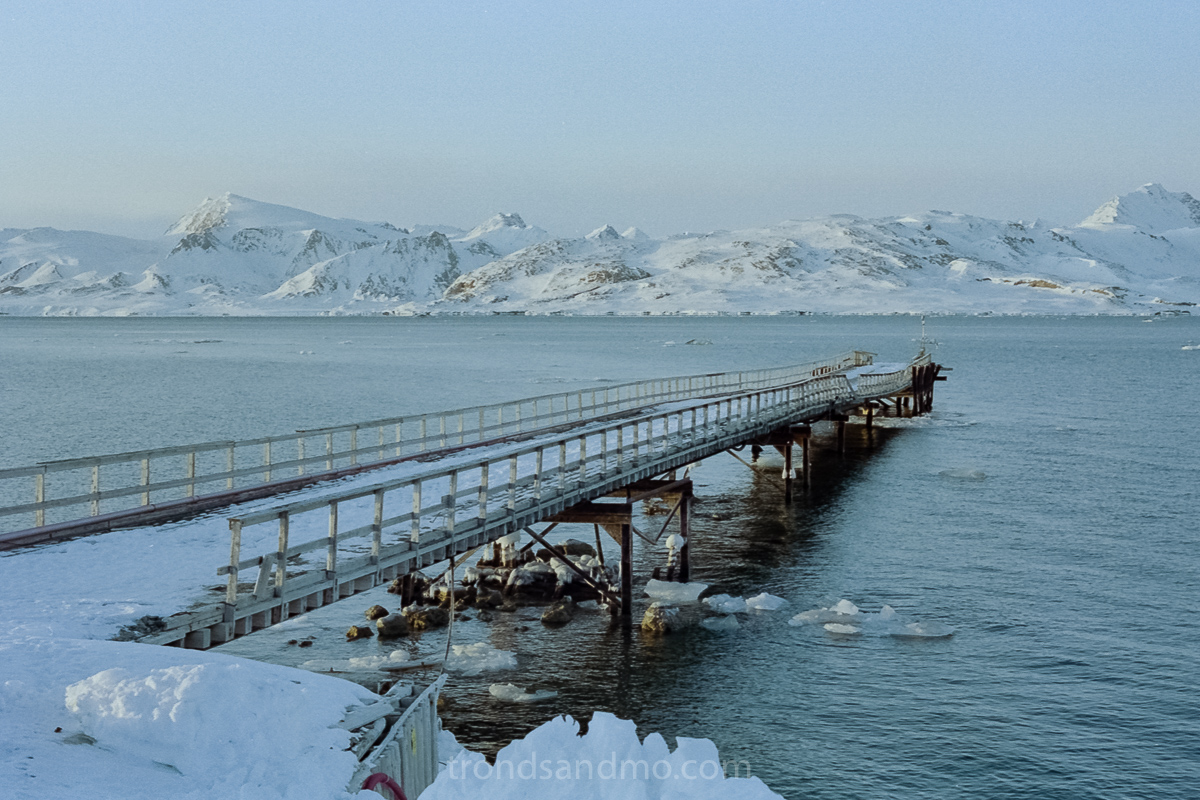
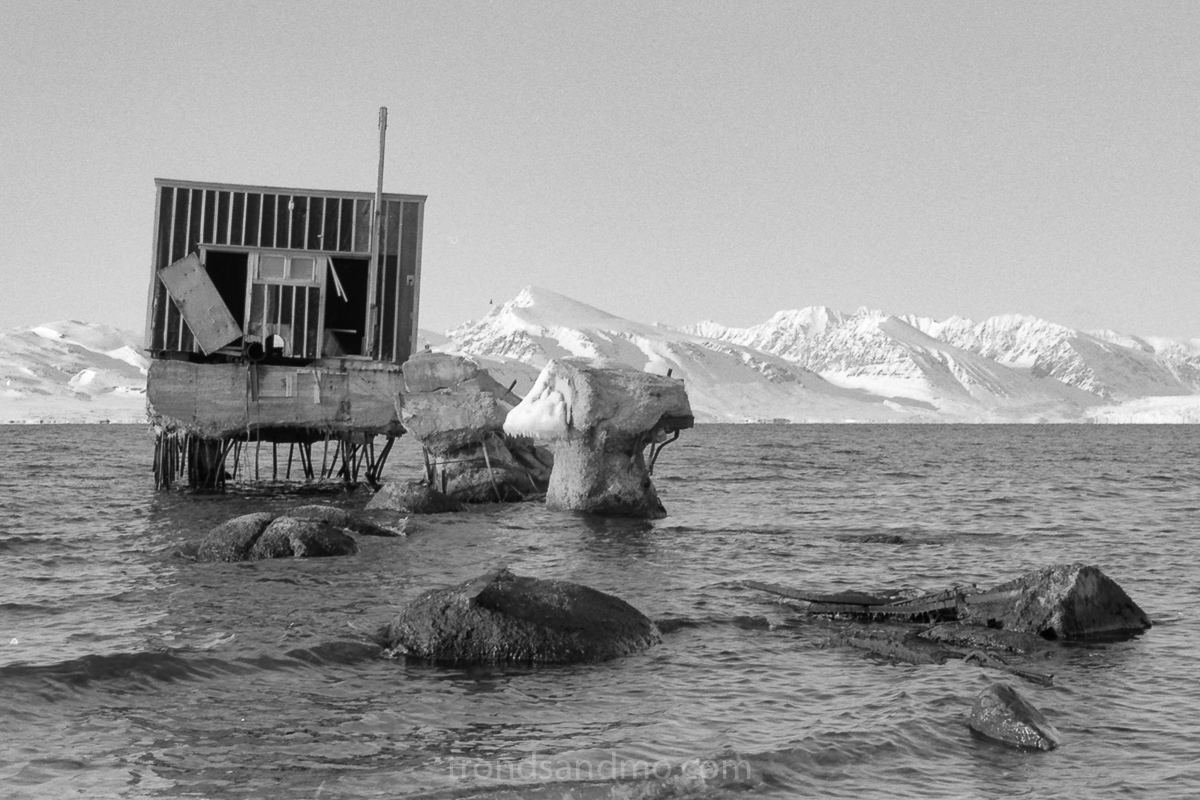
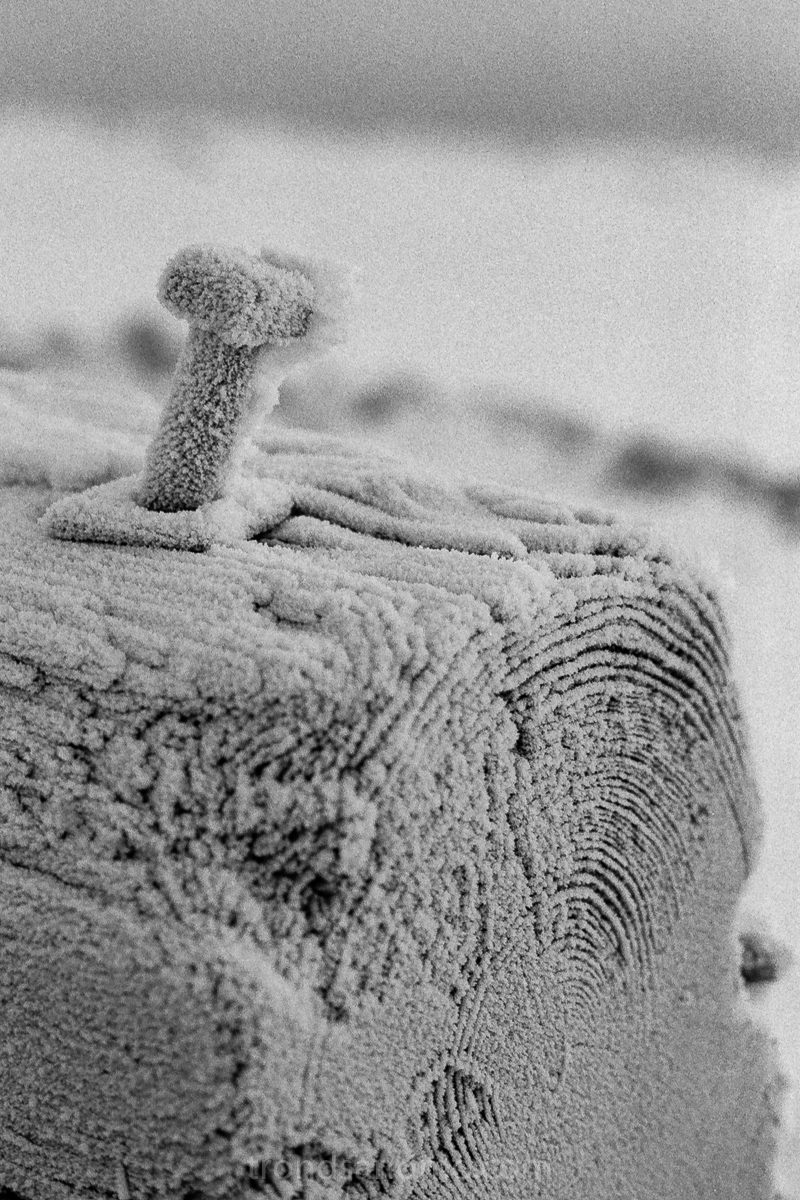
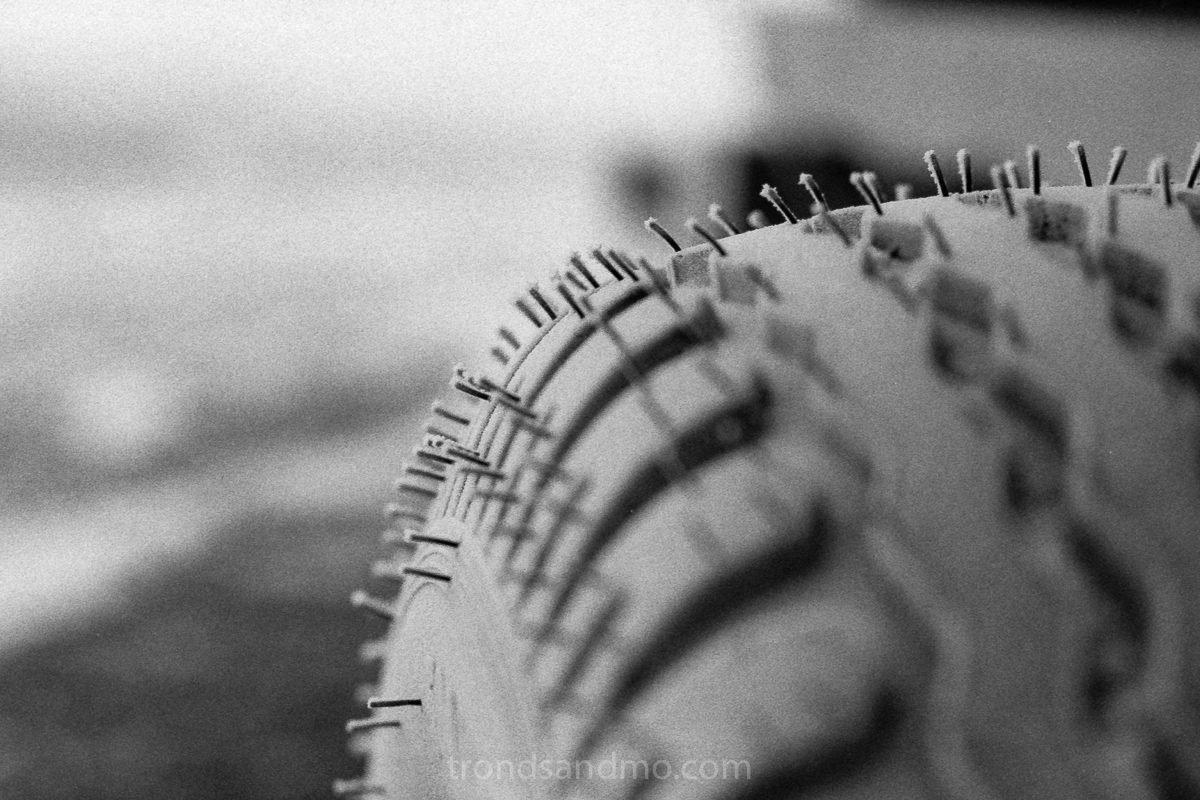
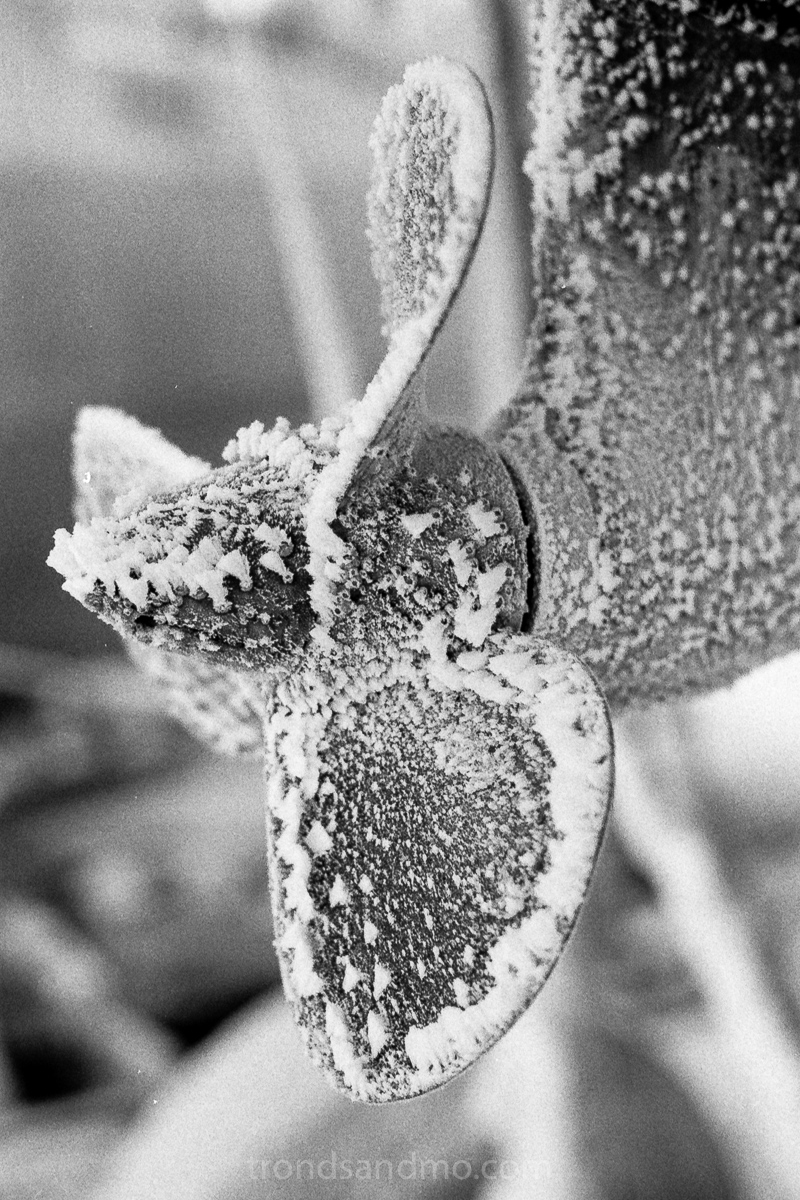
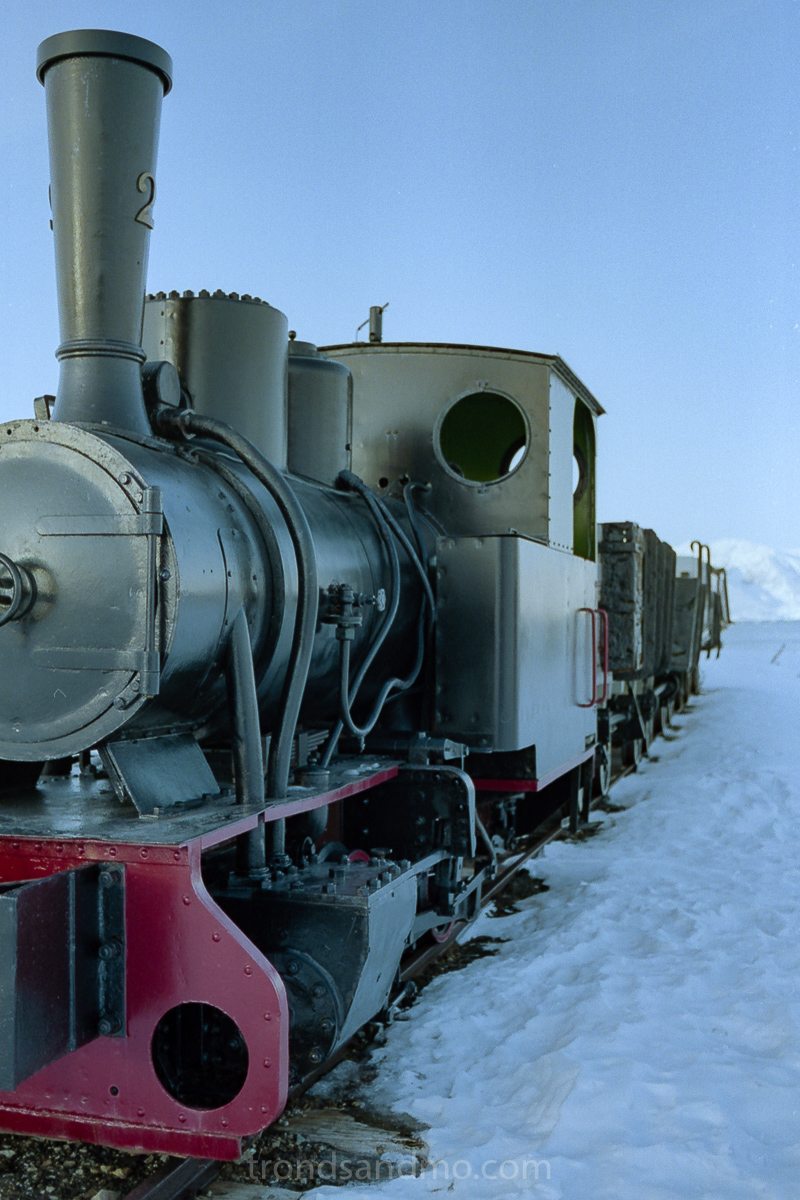
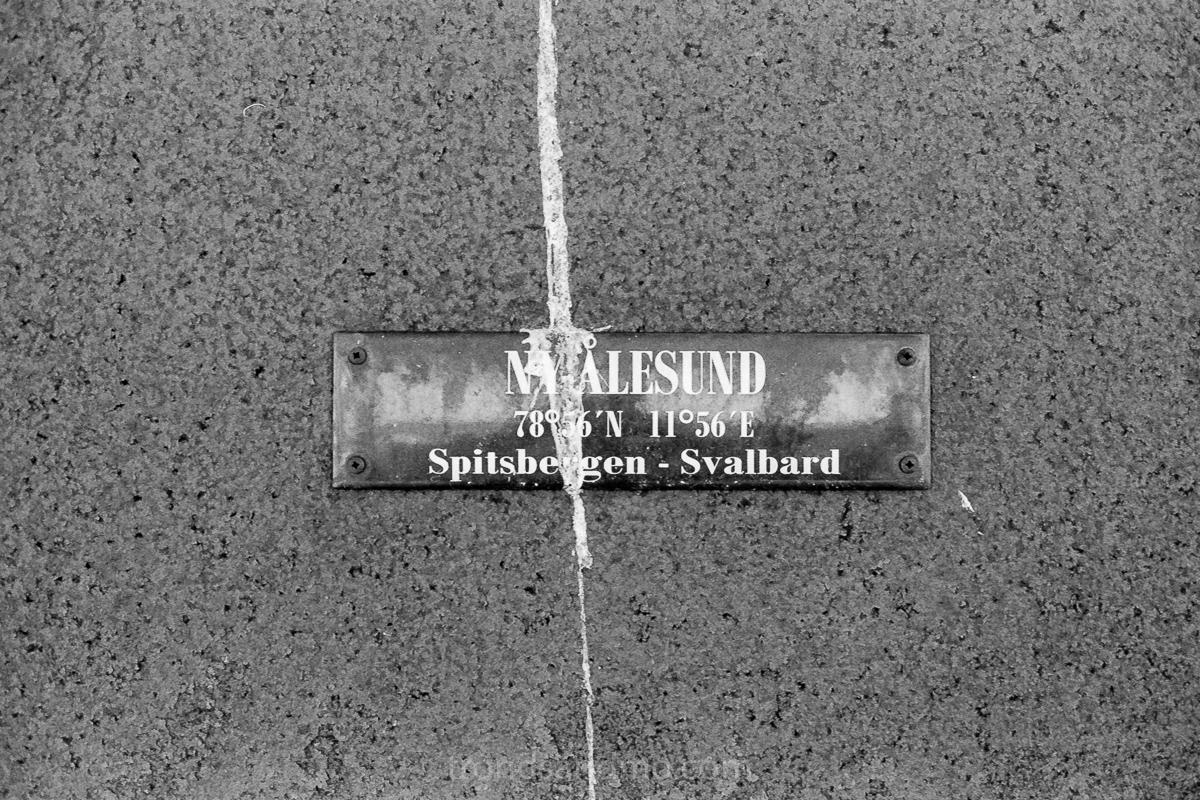
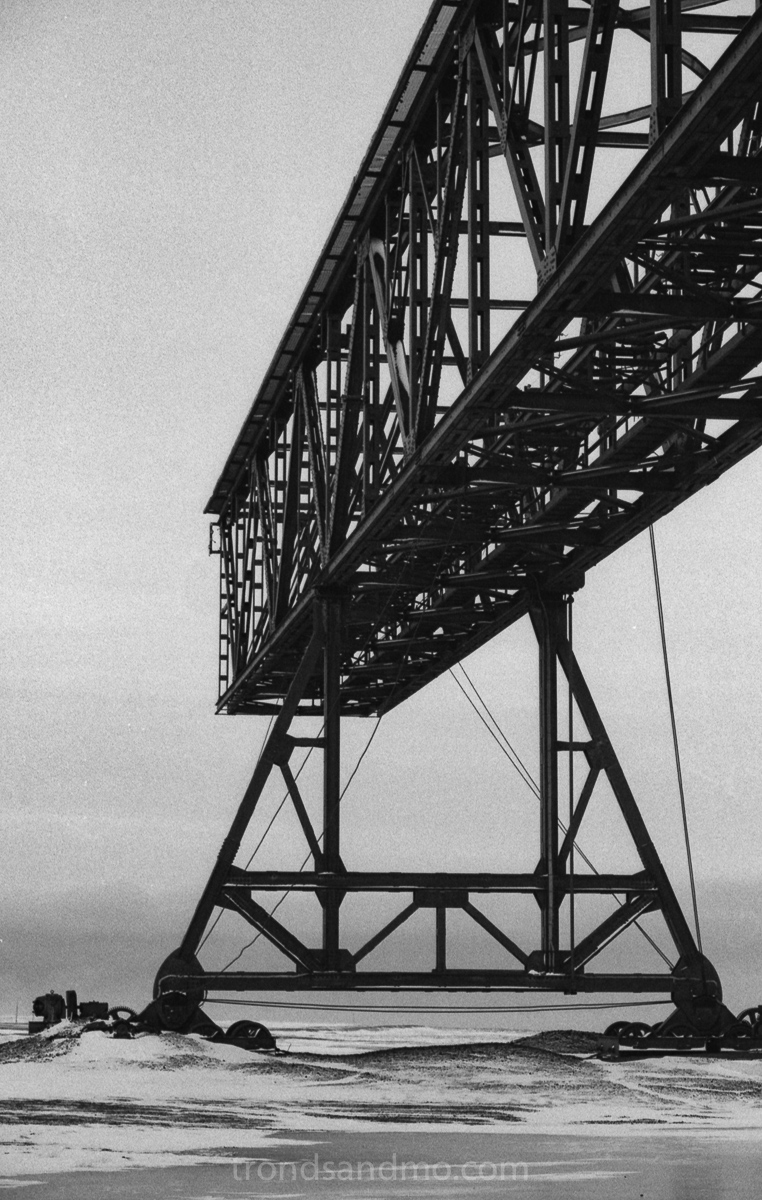
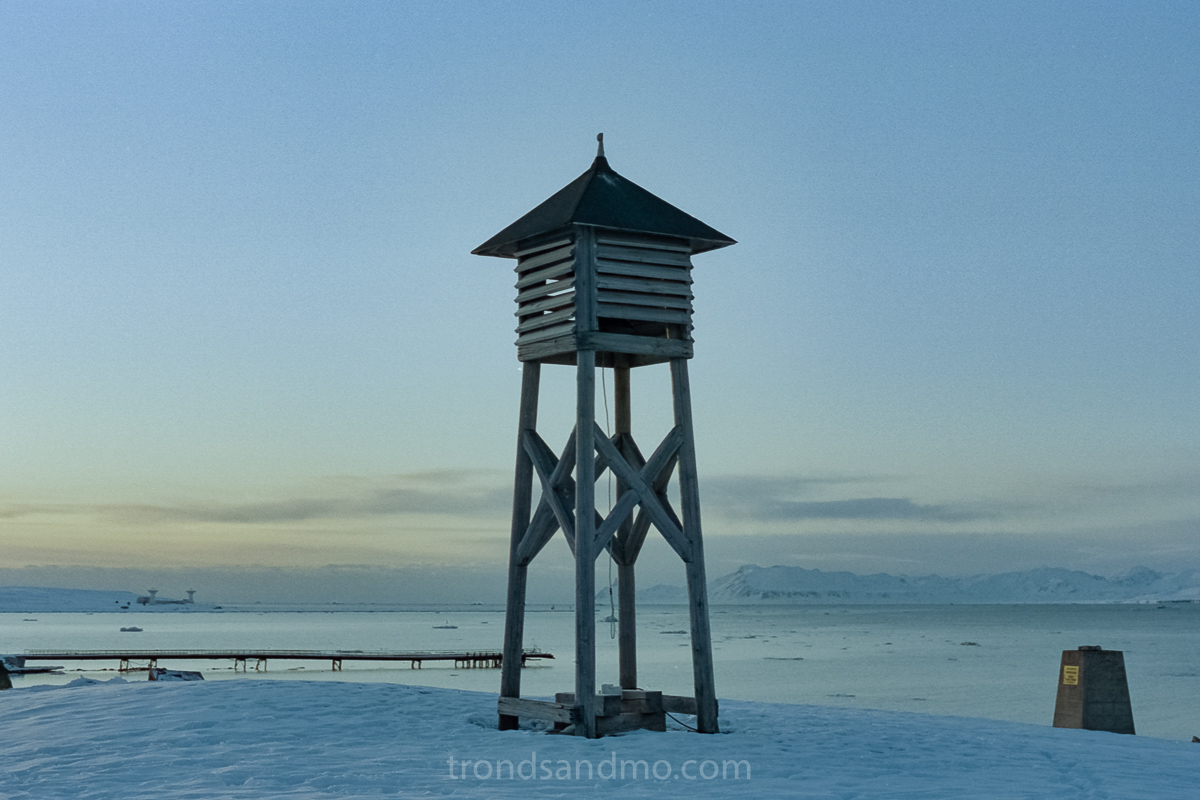
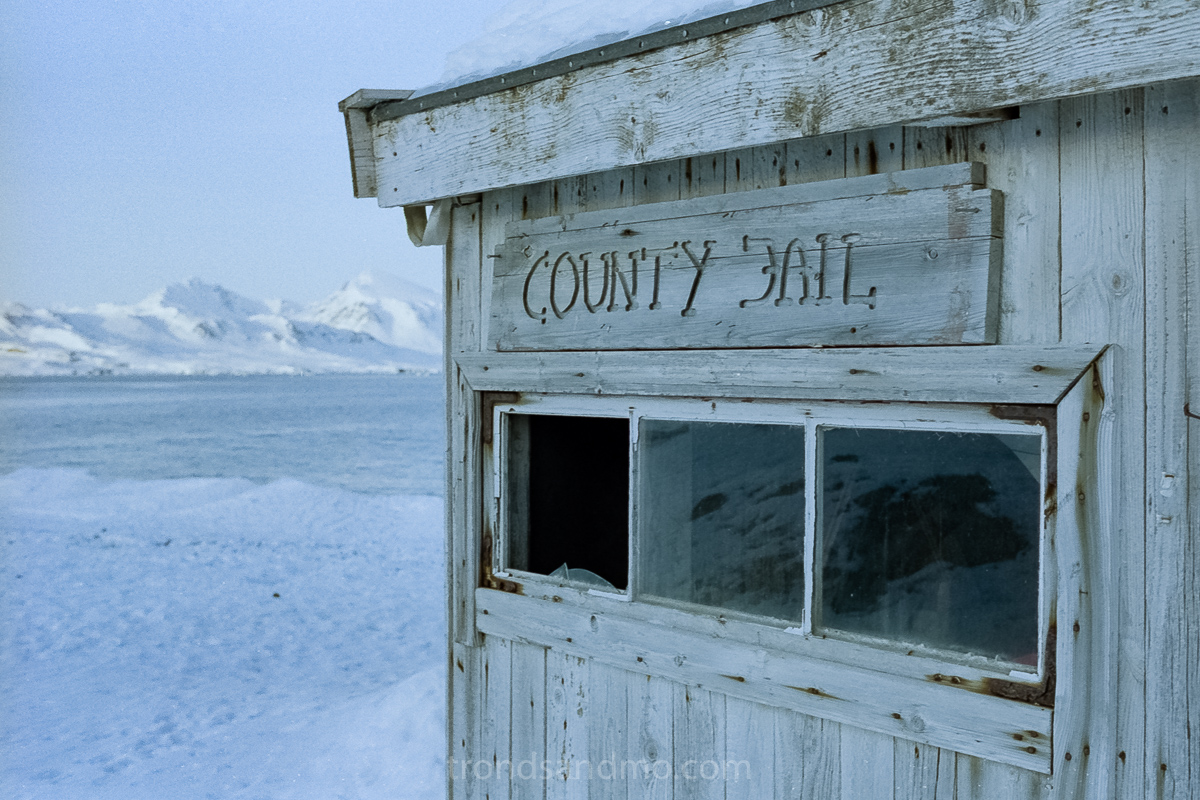
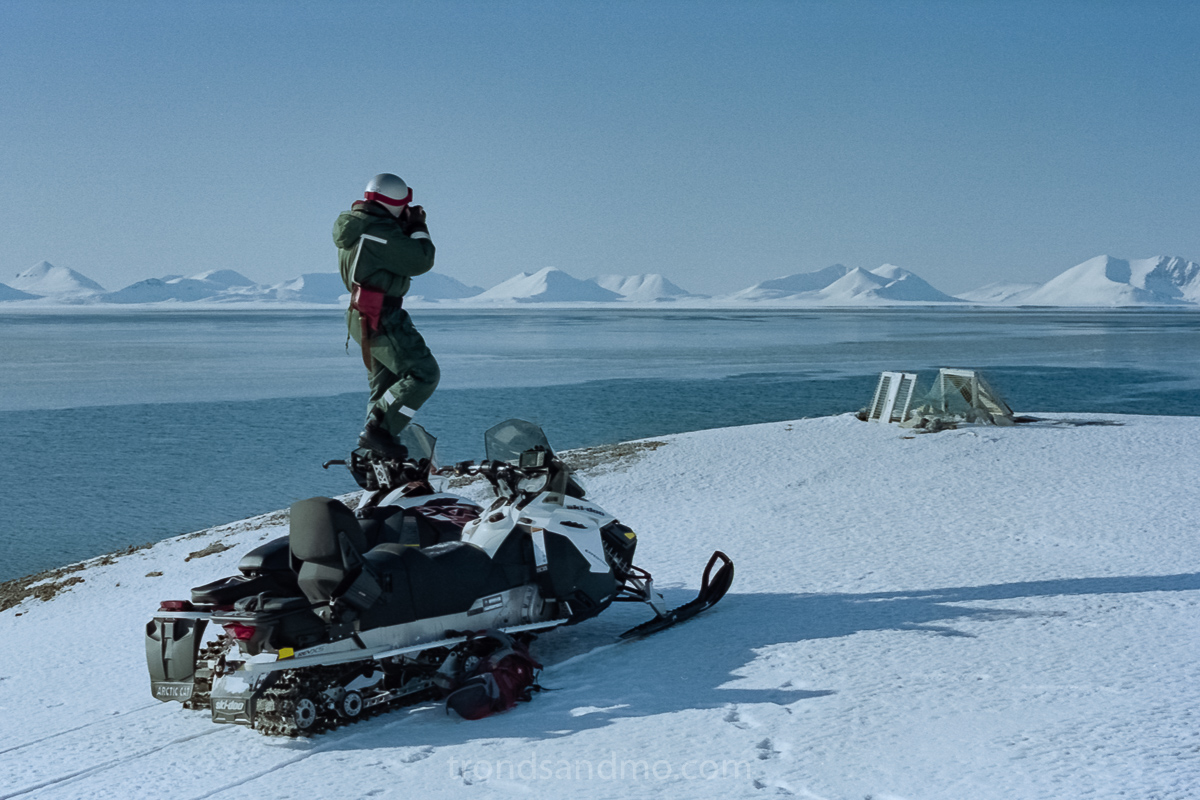
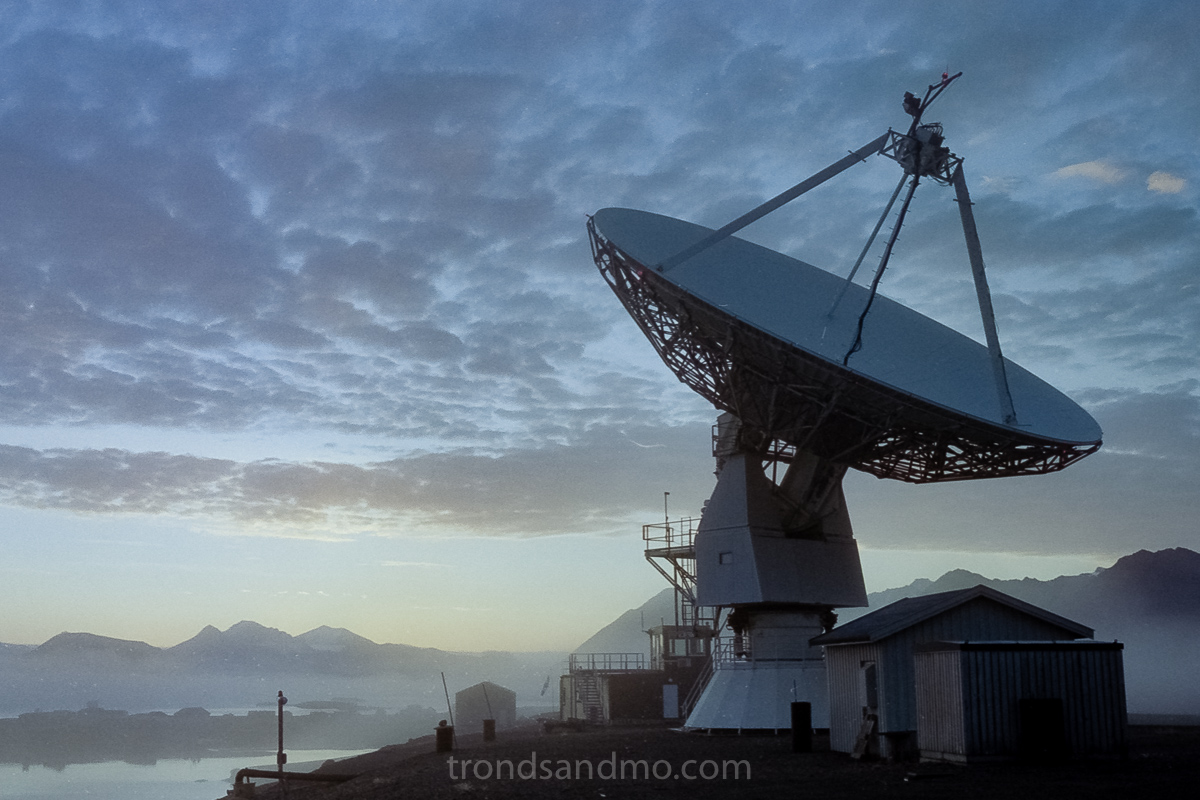
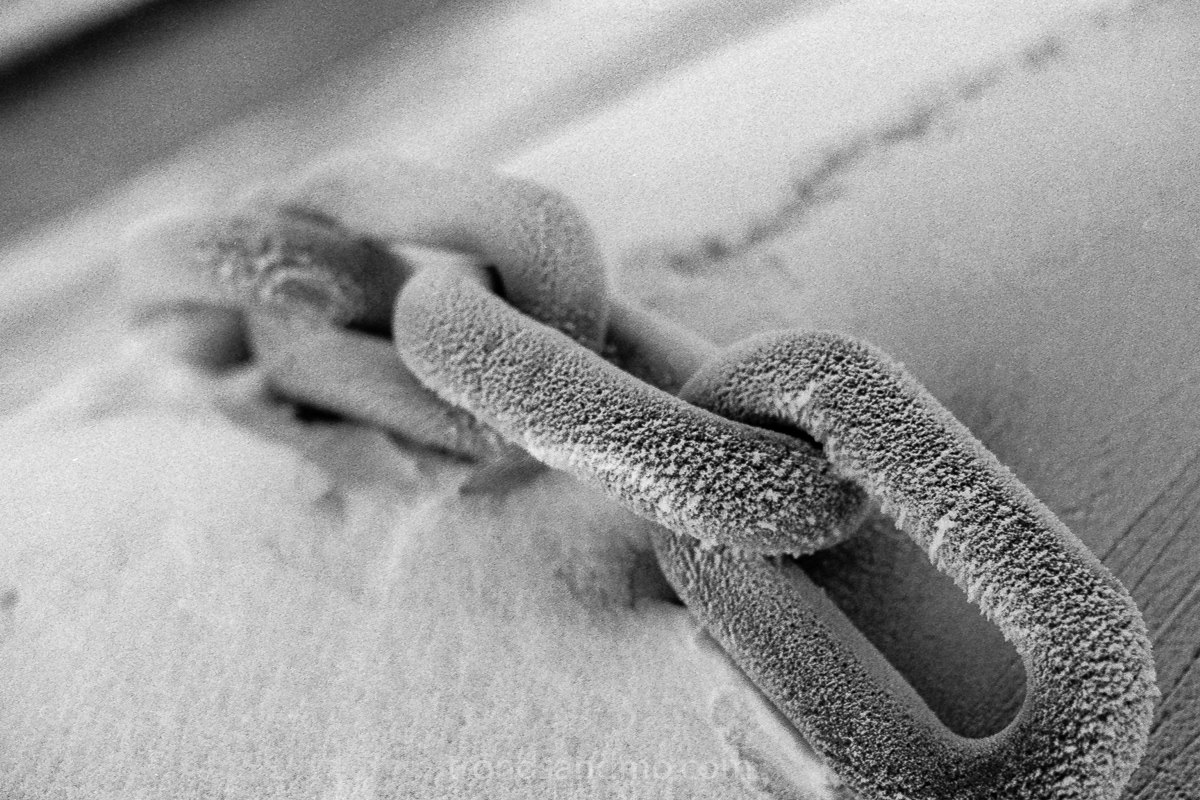
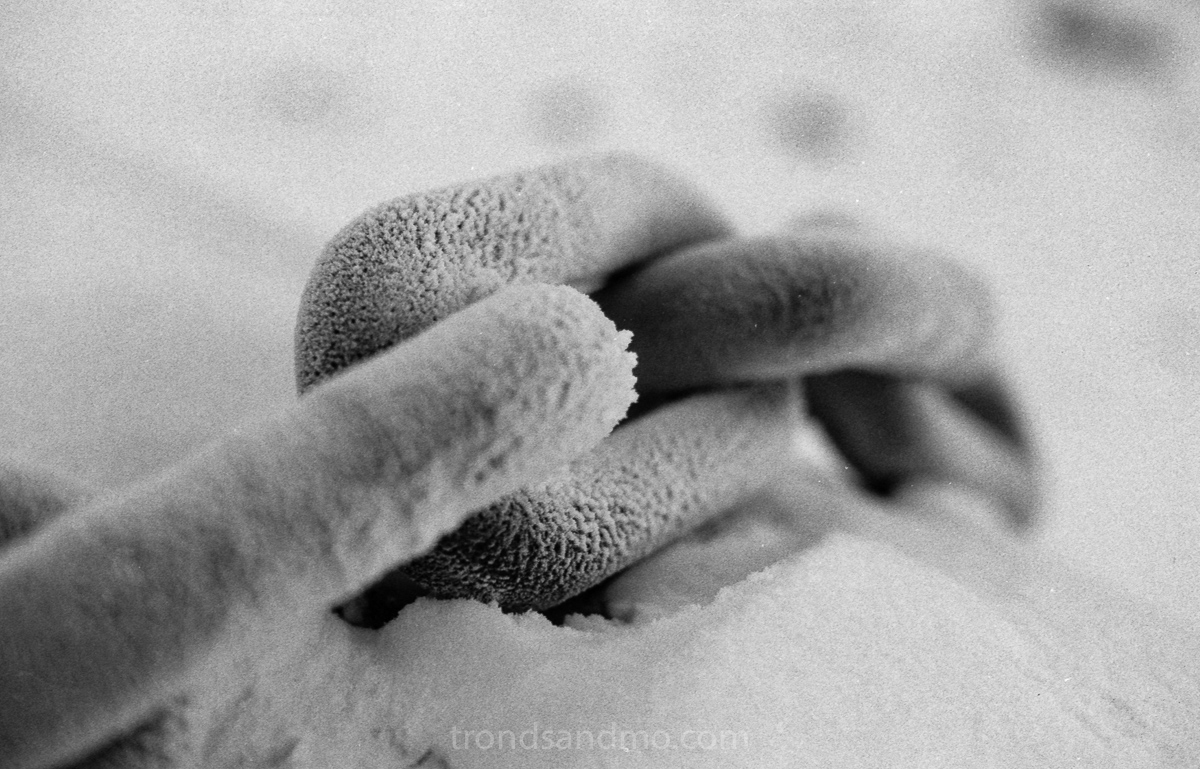
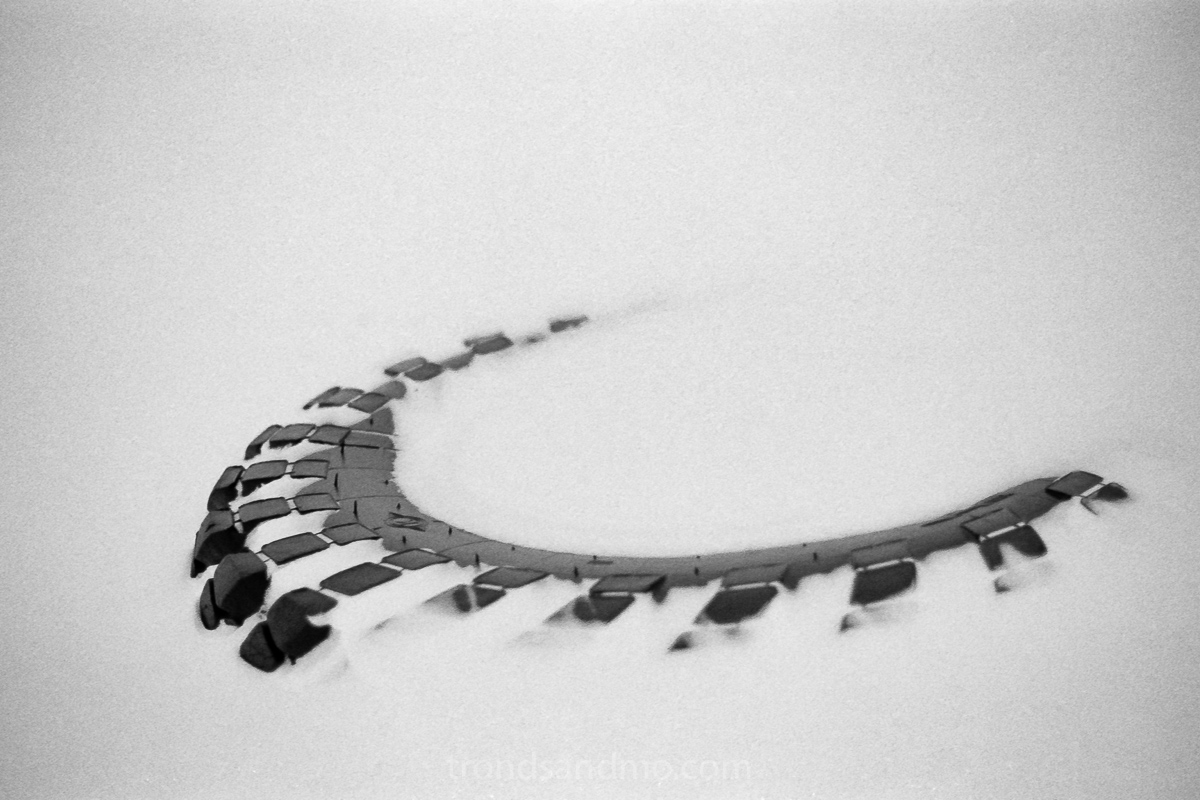
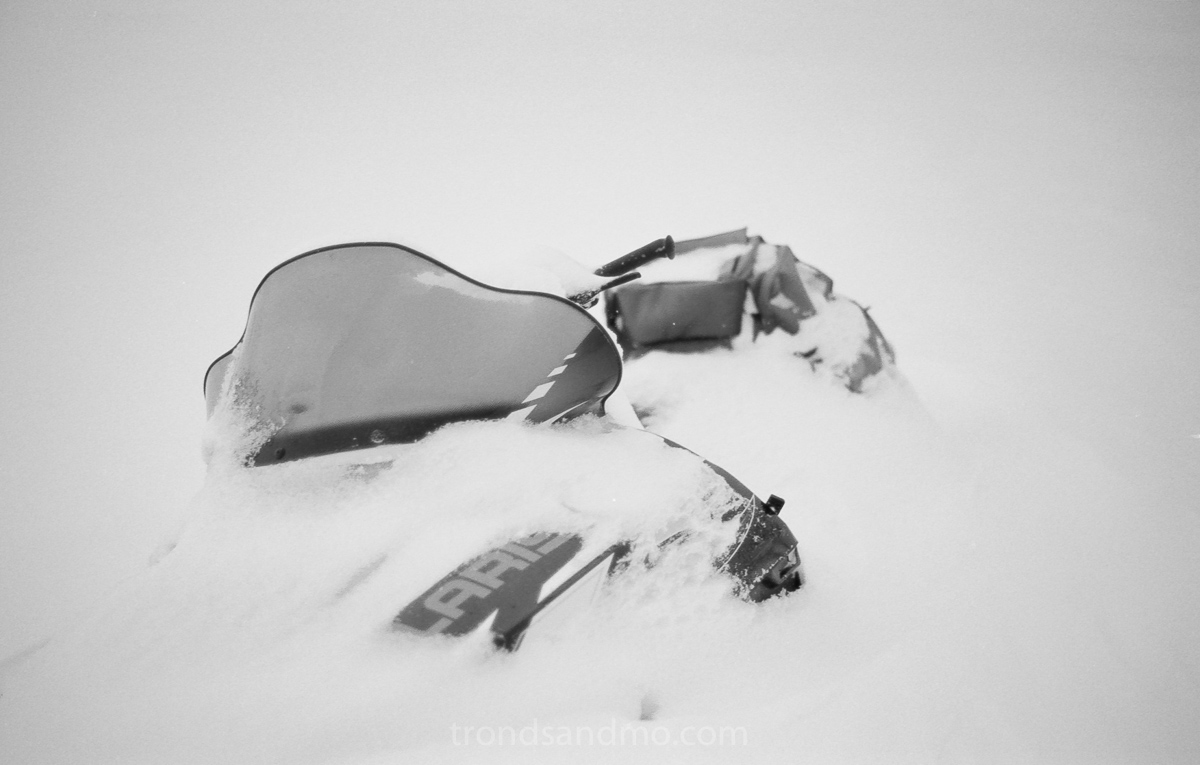
Here are a few photos taken with the Nikon FM2N :
Ny-Ålesund, Svalbard
Ny-Ålesund, Svalbard

Ny-Ålesund, Svalbard
Ny-Ålesund, Svalbard
Longyearbyen, Svalbard
Longyearbyen, Svalbard
Longyearbyen, Svalbard
Ny-Ålesund, Svalbard
Ny-Ålesund, Svalbard
Longyearbyen, Svalbard
Ny-Ålesund, Svalbard
Ny-Ålesund, Svalbard
Ny-Ålesund, Svalbard
Ny-Ålesund, Svalbard

Ny-Ålesund, Svalbard
Longyearbyen, Svalbard
Longyearbyen, Svalbard

Coles bay, Svalbard
Longyearbyen, Svalbard
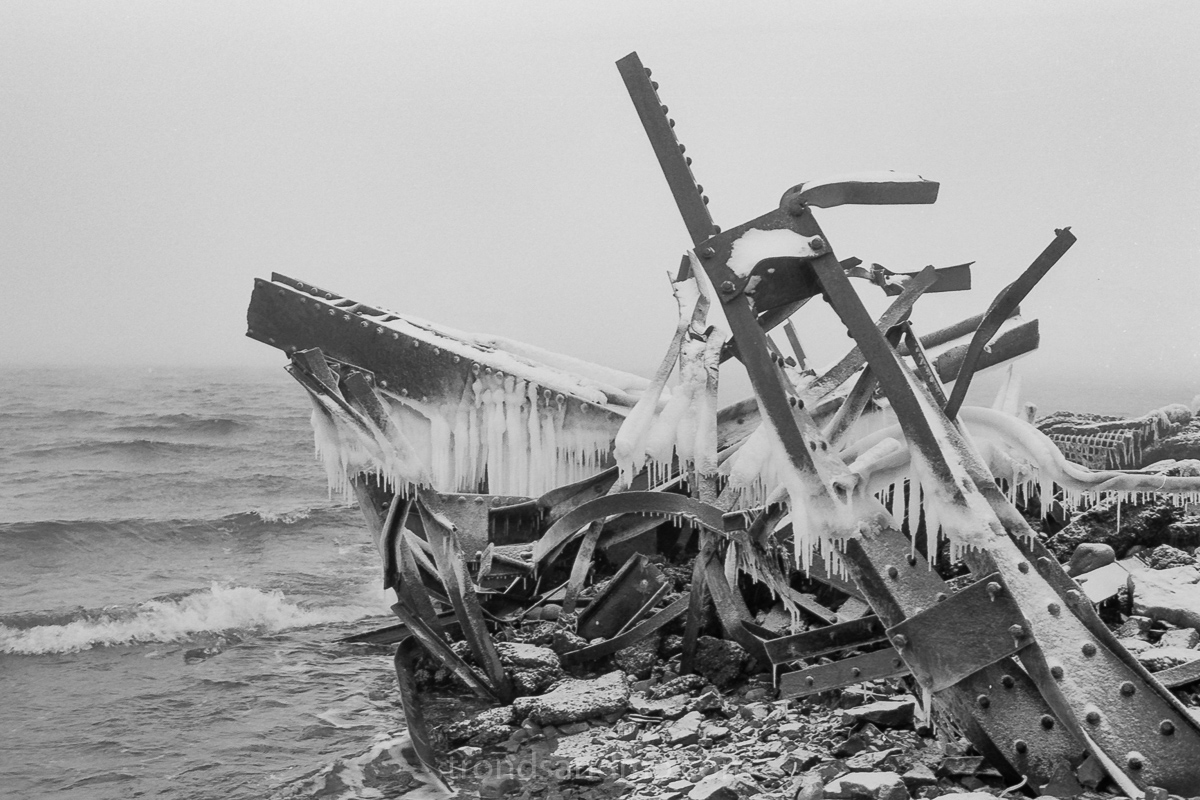
Longyearbyen, Svalbard
Source: Nikon FM2n manual.
Testing coffee toning
I have done another toning test similar to the tea toning test I did before Christmas. I used the same concentration of washing soda for bleaching and the same type of watercolour paper (Arches satin hot pressed 300g).
The recipe is as follows:
Bleach bath: 1 teaspoon Sodium Carbonate (washing soda) for each liter hot water. I mixed up 3 liters.
Toning bath: 3 tablespoons instant coffee (Nescafe gold) for each liter hot water. Also 3 liters in total.
Cool down the bleach and toning bath to room temperature before starting the process. I have been precise when it come to the timing. Especially with the bleach bath. A few seconds longer or shorter time submerged in bleach will produce a noticeable difference in the result. I might consider using a lower concentration on the bleach. I think it should make it easier to get the best result. Golden in the highlights and purple in the shadows is what I try to achieve. Another important ting is the pre-soaking in water (1 minute) and thoroughly cleanse between bleach and toning.
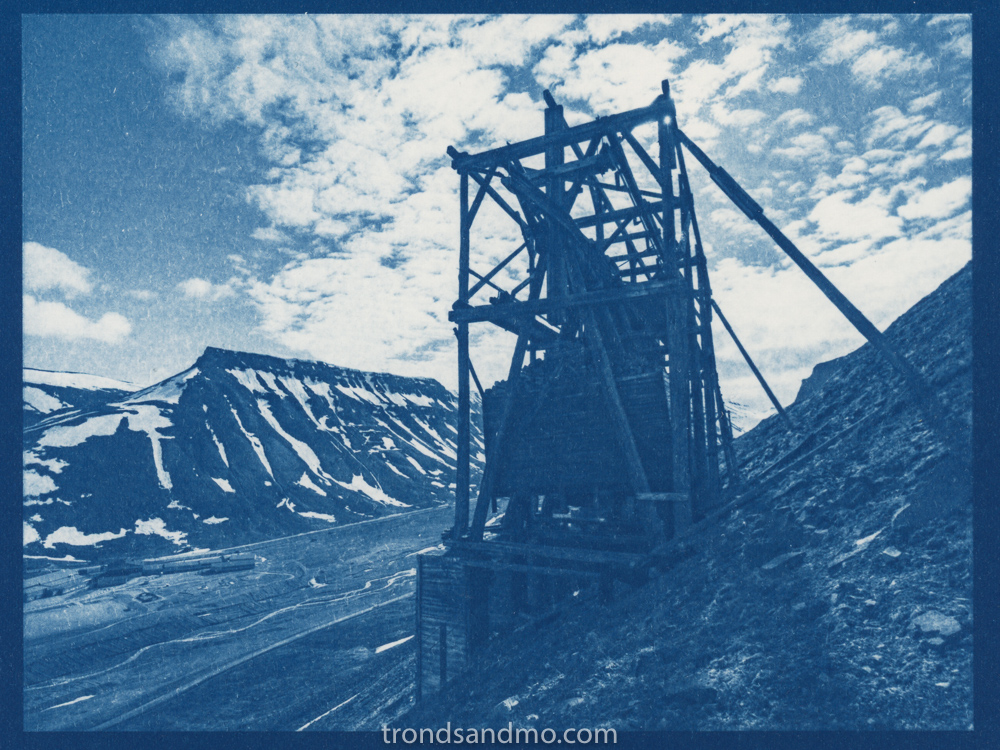
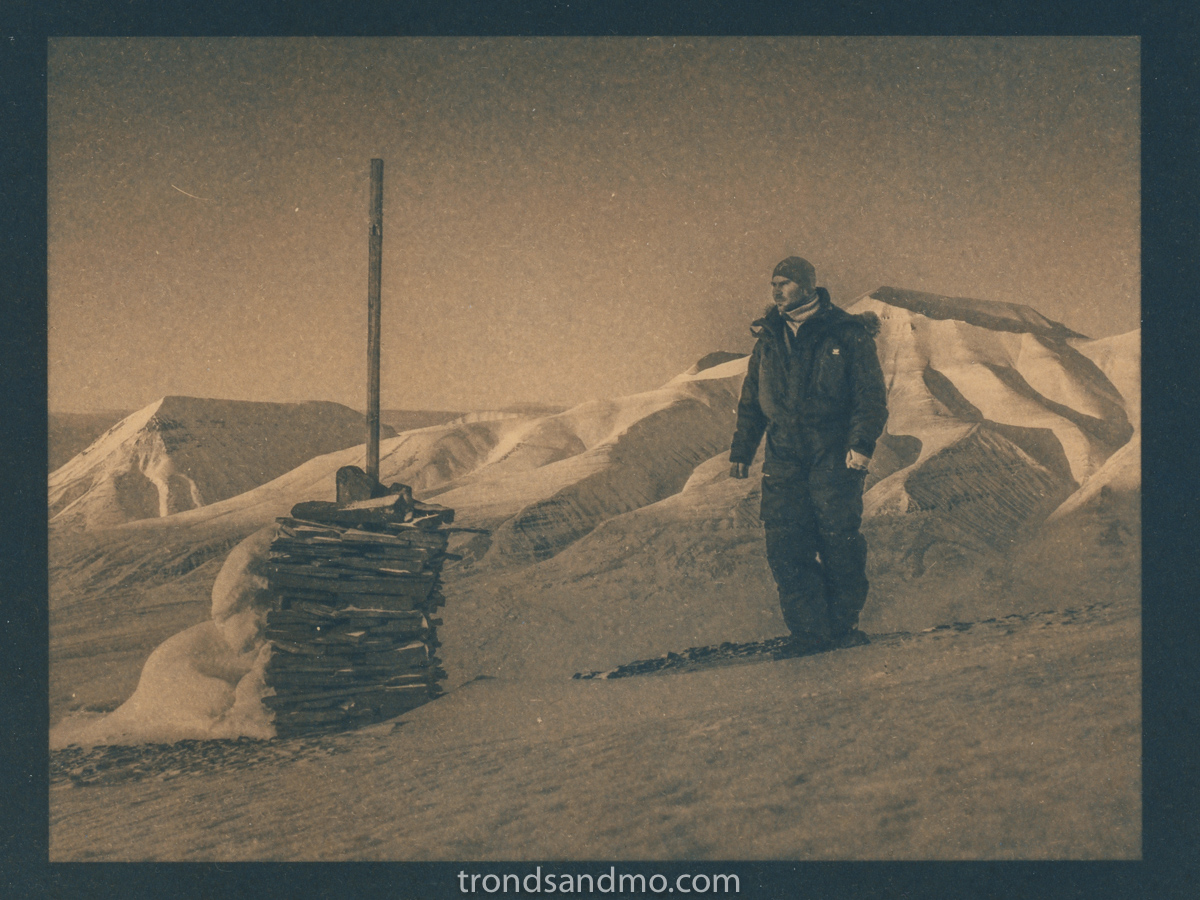
The original:
Failed Solargraphy
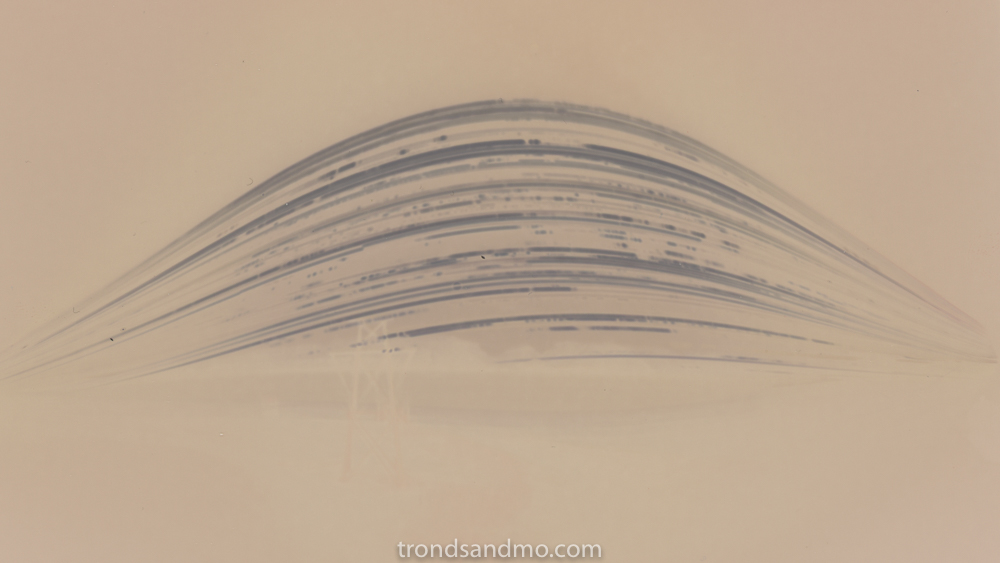
Early 2016 I placed six pinhole cameras in the terrain around Longyearbyen, and let them collect sunlight for about one year. The cameras were made from a beer can with a photographic paper curled inside the can and with a small pinhole to let in sunlight. Apart from the pin hole, the camera was lightproof and mounted on a wooden frame.
When I collected the cameras I soon understood that I had made a mistake. The sun and weather has dried and cracked the wooden frame and it must have caused a movement to the camera during the exposure time. I saw warped wood on all six of my pinhole cameras. The picture below is the one with least movement.
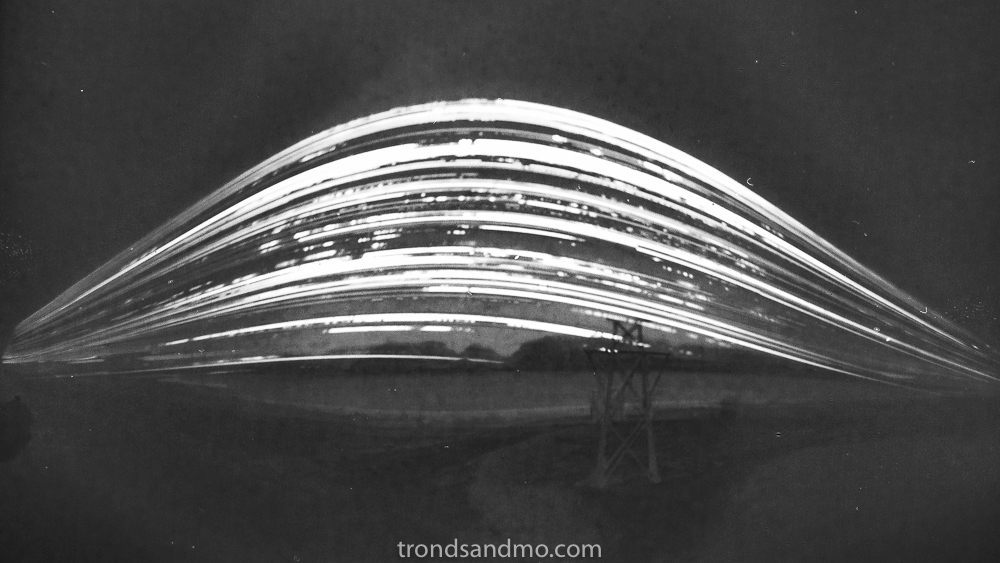
Some edit is needed in lightroom and/or photoshop:
- Horizontal flip. The camera obscura produces a left-right flipped and upside down image
- Color invert. The photographic paper is a negative. More light means darker imprint.
- Convert to BW. Pink converts to blue and I think black/white looks a little better.
- Work with contrast settings so the image become more apparent.
 This last image is the original photographic paper straight from the pinhole camera to the flat bed scanner. No development or other chemicals added. If the paper is submerged in developer it will turn completely black. Don’t do that!
Lesson learned: Create a better foundation for the camera. It must withstand the weather conditions without creating any movement. One year is too long to wait to find out that one has camera movements …
Tea toning cyanotype print
If you like the simple process (and low price!) of cyanotype printing, but wish not everything was bluish. Why not try toning your prints! You will be surprised how different the print appears. This time I have decided to tone my prints in black tea. It is said that it produces a warm black/brown shade! In my opinion the image below came out best:
Mixing ratio and preparations:
- Bleach bath is one teaspoon Sodium Carbonate (washing soda) for each liter hot water.
- Toning bath is 5 teabags per liter hot water. (about 10g black tea)
- Cool the bleach and toning bath to room temperatures before you start the process.
- Rinse bath is cold tap water.
The process:
- Pre soak the cyanotype print in cold water for about one minute.
- Submerge the print in the bleach solution for the selected time.
- Start rinsing in cold water just before the print has bleached enough. (the print will bleach a little after rinse has started)
- Tone the bleached print for the selected time.
- Rinse in cold water
- Dry. I dry mine flat on paper towels. Image side up.
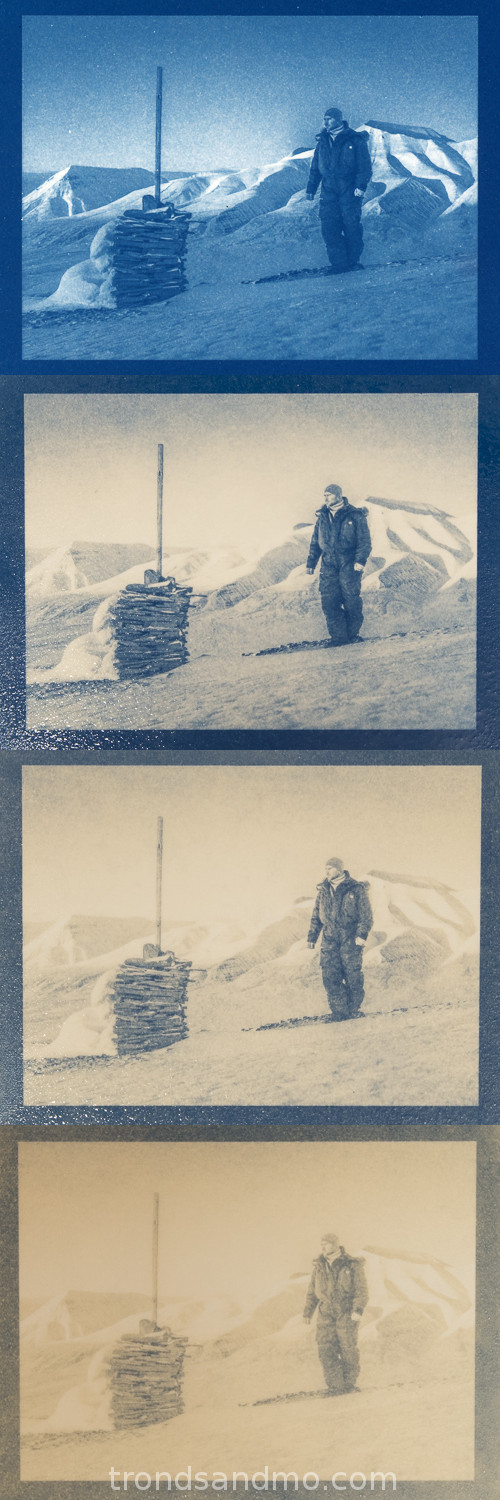 In the image to the right you can study how far I bleached the print. On the top you see the dried original from the flatbed scanner. Number two is briefly bleached. Only 15 seconds. Number tree is bleached for 30 seconds, and the last one for 60 seconds. After the bleach bath I rinse the print in water for at least one minute. If you bleach on eye measure, start rinsing in water a little before you think it is bleached enough. Remember the print will continue bleach for a while after you have removed it from the bleach bath. Photo of the bleached prints were taken when still wet. Sorry about the glare.
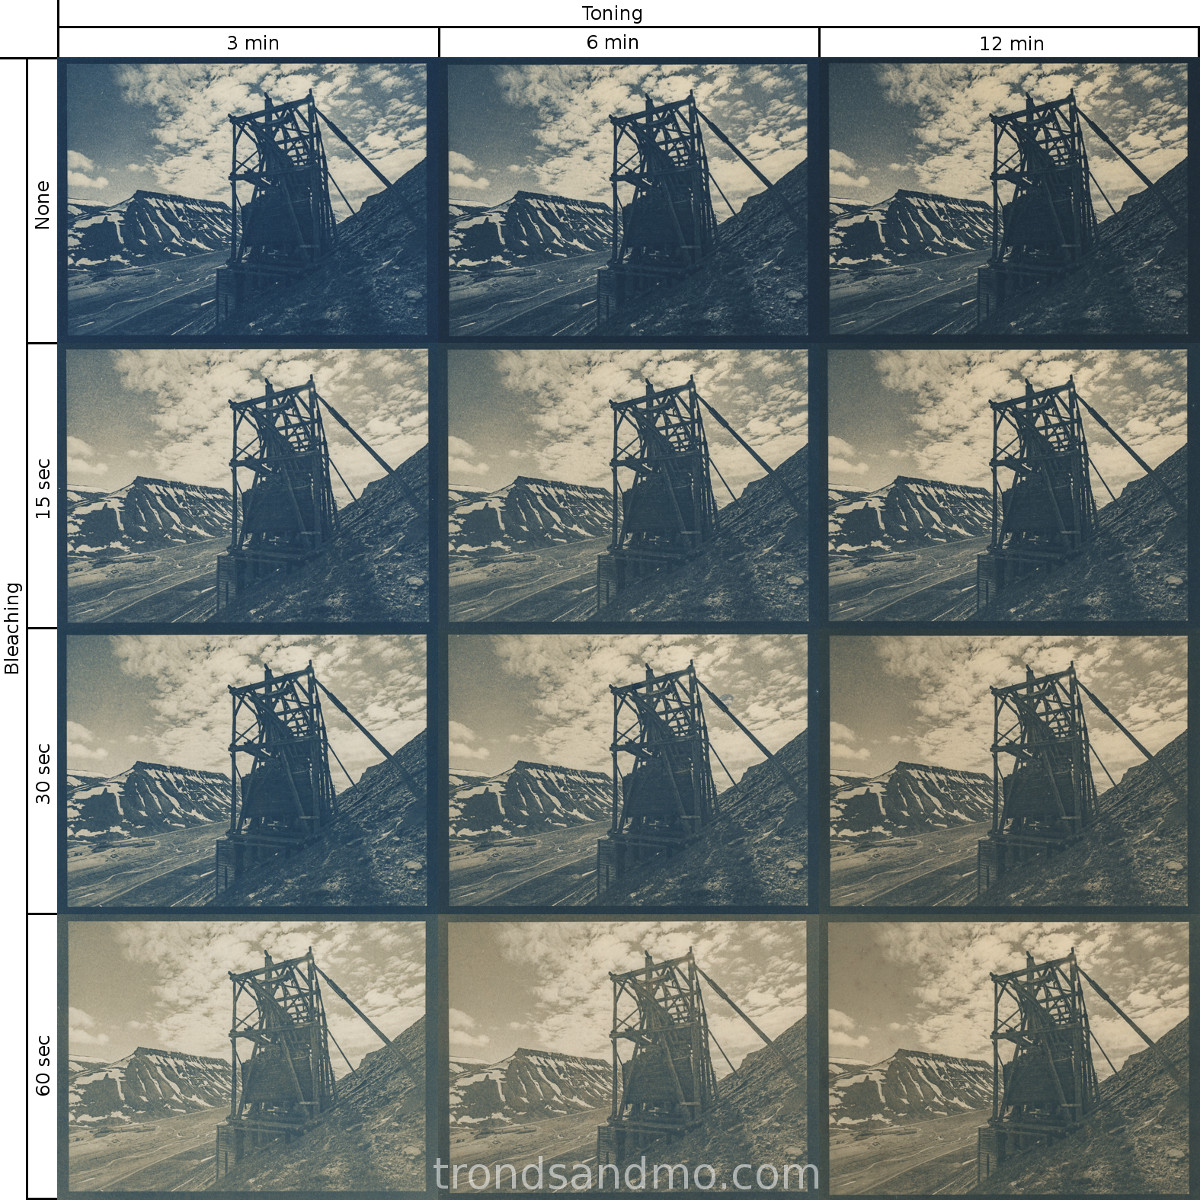
Bleaching and toning cyanotype prints is a bit tricky. There are many variables; paper quality, under/over exposed image, bleaching time and toning time. All those variables are essential for a successful result. My best advise is to experiment with several prints. The result will vary, and do not judge the print before you have seen it dried. I performed some pre tests before I completed this one, and found my paper to stain a lot with long toning baths. The print was completely ruined after 20 minutes, and I decided 12 minutes toning was enough for this test. Another make of paper might produced better (or worse) result.
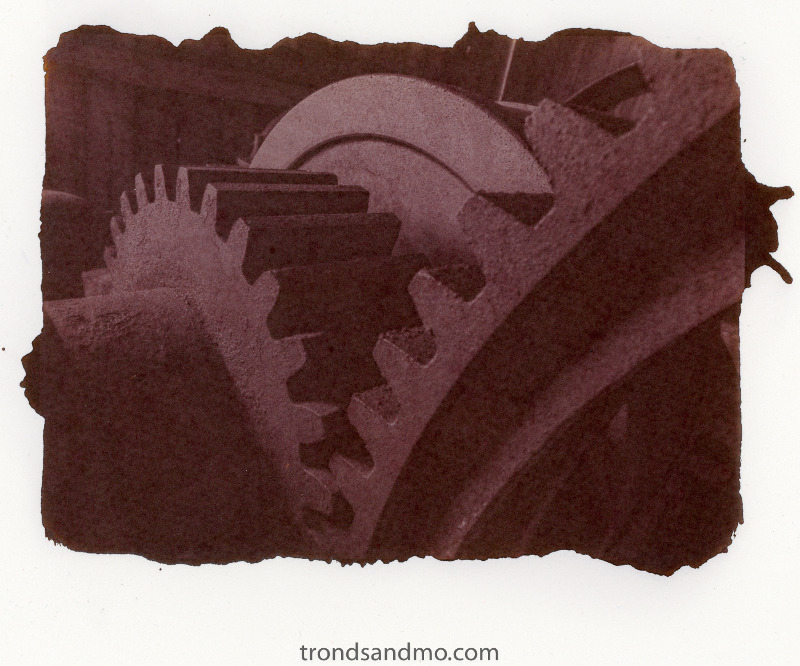
The result:
Out of twelve cyanotype prints, bleached and toned differently I have this result:

From the result I see that the none bleached prints ends up too dark blueish. And the longest bleached prints is a little washed out. I think the best one is number 6; 15 seconds bleach and 12 minutes toning. The darkest parts are black and warm brown in the highlights without looking washed out.
In this test I used Arches hot pressed 300g watercolor paper, Lipton Yellow Lable tea, and Stabil krystall soda (Sodium Carbonate). And of course tap water from Longyearbyen 🙂
Working with salt print
 By coincidence I stumbled over a youtube video that inspired me to examine the old alternative printing techniques more closely. Salt print was the first photographic printing technique I heard about. Ironically it is also the first photographic printing technique ever invented beating the Calotype/Talbotype with two years.
Salt print was the most popular photographic print technique in the middle of the 19 century (1839-1860). In the dark room, silver nitrate solution was brushed on to a salted paper (standard table salt, sodium chloride). This led to a chemical reaction between the silver and salt, creating the light sensitive silver chloride. Once dry, the paper with the negative were put together in a contact printing frame and exposed to sunlight. When the exposure was ended, the print were stabilized in a strong solution of salt. And a final wash in hypo (sodium thiosulfate) made the print light-fast.
 In Norway, most chemicals are really hard to purchase. For example silver nitrate in crystalline form is will not be sold to a private person. It is different for a registered business. This is probably so to prevent people against misuse, however it does not make it easy for a wannabe print expert with good intentions. Luckily I found a salt print kit that is legally sold here. I guess that the concentration of the chemicals is that makes it legal or illegal. Unfortunately the kit says little about what it exactly contains, and it gives me some trouble during the process.
If I was to implement the method completely authentic, I had to have access to a daguerreotype negative or similar. I have not, so I choose to create a more modern photographic negative. In Lightroom and Photoshop I convert the selected image to black and white. Then I invert the picture and makes a horizontal flip. The last step is to print the image to a transparent foil with an inkjet printer.
 The problem with this kit is primarily lack of information on what the chemicals contain. Both silver solution and stabilizes / toner missing this important information. It is described that the different toners / stabilizers gives brown, red and blueish look, but nothing more. I choose to instead use ordinary hypo giving a brownish tone. When it comes to the choice of paper, I think hot pressed satine aquarel paper gave me the best results. I see from the prints I made that bright parts are too dark. Whether this is because I am a bad editor in photoshop or salt print technique is not better I do not know.
If I got hold of pure silver nitrate I would not used it in standard salt print. I rather go for the album print technique. That technique is much like the original salt print, however using egg white in addition to salt. It is told that the print is ON the paper not IN the fibers of the paper (which is the case with salt print). It will be a much better results.
Well, at the moment I am out of the silver solution provided with the kit. So I think I have made the last salt print. It was interesting, but not a technique for a high quality photo print.