Posts in Category: Alternative printing
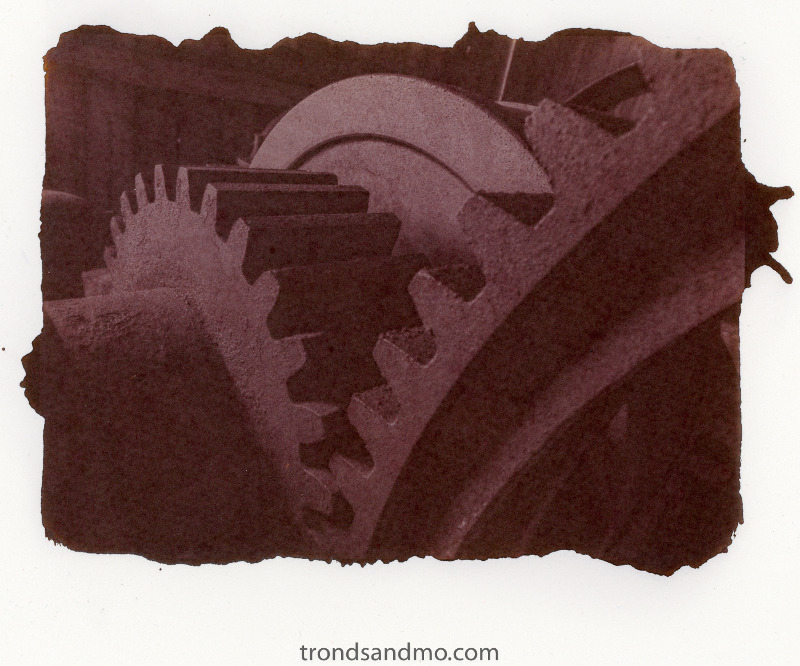
Testing coffee toning
I have done another toning test similar to the tea toning test I did before Christmas. I used the same concentration of washing soda for bleaching and the same type of watercolour paper (Arches satin hot pressed 300g).
The recipe is as follows:
Bleach bath: 1 teaspoon Sodium Carbonate (washing soda) for each liter hot water. I mixed up 3 liters.
Toning bath: 3 tablespoons instant coffee (Nescafe gold) for each liter hot water. Also 3 liters in total.
Cool down the bleach and toning bath to room temperature before starting the process. I have been precise when it come to the timing. Especially with the bleach bath. A few seconds longer or shorter time submerged in bleach will produce a noticeable difference in the result. I might consider using a lower concentration on the bleach. I think it should make it easier to get the best result. Golden in the highlights and purple in the shadows is what I try to achieve. Another important ting is the pre-soaking in water (1 minute) and thoroughly cleanse between bleach and toning.
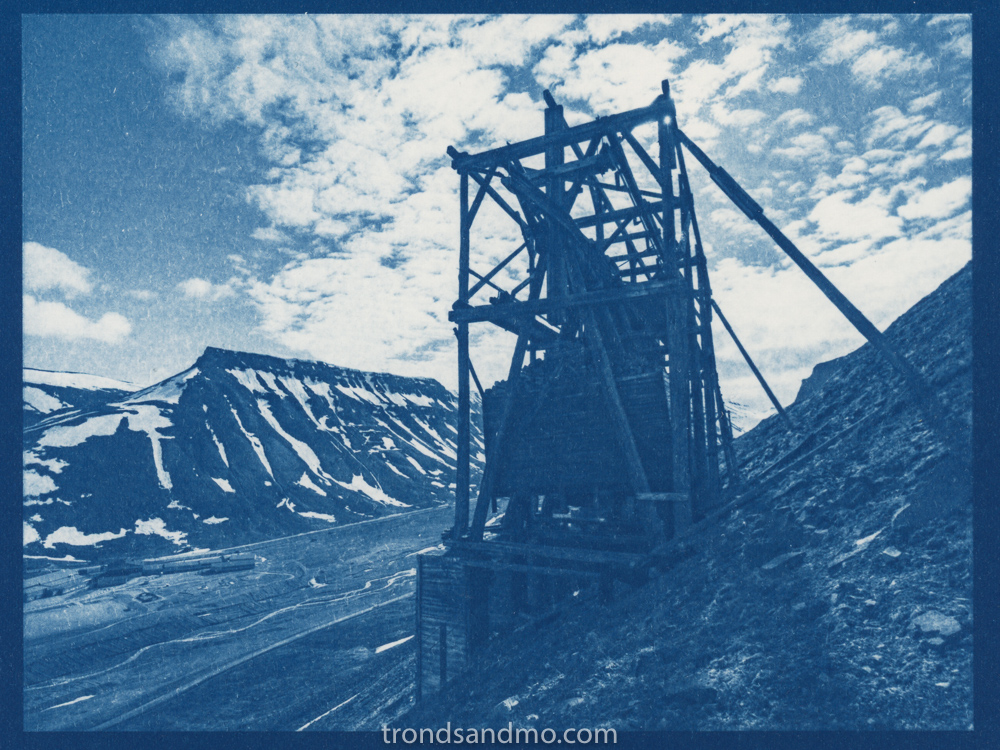
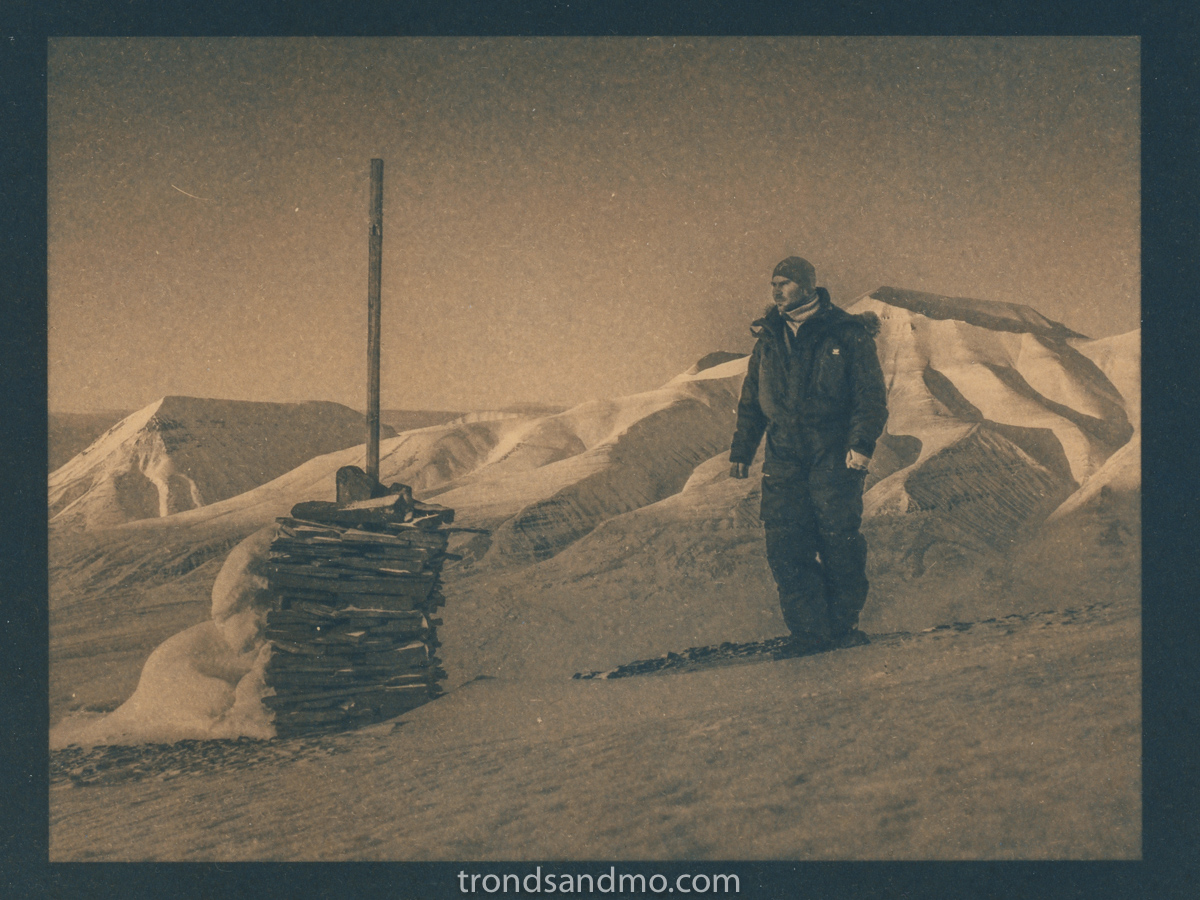
The original:
Tea toning cyanotype print
If you like the simple process (and low price!) of cyanotype printing, but wish not everything was bluish. Why not try toning your prints! You will be surprised how different the print appears. This time I have decided to tone my prints in black tea. It is said that it produces a warm black/brown shade! In my opinion the image below came out best:
Mixing ratio and preparations:
- Bleach bath is one teaspoon Sodium Carbonate (washing soda) for each liter hot water.
- Toning bath is 5 teabags per liter hot water. (about 10g black tea)
- Cool the bleach and toning bath to room temperatures before you start the process.
- Rinse bath is cold tap water.
The process:
- Pre soak the cyanotype print in cold water for about one minute.
- Submerge the print in the bleach solution for the selected time.
- Start rinsing in cold water just before the print has bleached enough. (the print will bleach a little after rinse has started)
- Tone the bleached print for the selected time.
- Rinse in cold water
- Dry. I dry mine flat on paper towels. Image side up.
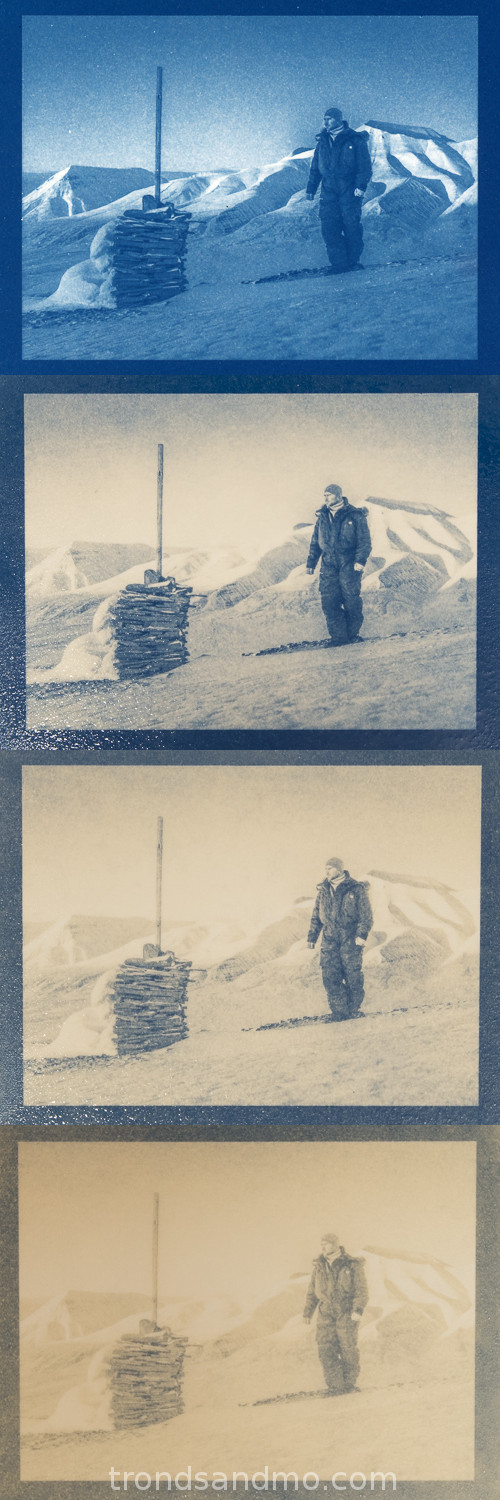 In the image to the right you can study how far I bleached the print. On the top you see the dried original from the flatbed scanner. Number two is briefly bleached. Only 15 seconds. Number tree is bleached for 30 seconds, and the last one for 60 seconds. After the bleach bath I rinse the print in water for at least one minute. If you bleach on eye measure, start rinsing in water a little before you think it is bleached enough. Remember the print will continue bleach for a while after you have removed it from the bleach bath. Photo of the bleached prints were taken when still wet. Sorry about the glare.
Bleaching and toning cyanotype prints is a bit tricky. There are many variables; paper quality, under/over exposed image, bleaching time and toning time. All those variables are essential for a successful result. My best advise is to experiment with several prints. The result will vary, and do not judge the print before you have seen it dried. I performed some pre tests before I completed this one, and found my paper to stain a lot with long toning baths. The print was completely ruined after 20 minutes, and I decided 12 minutes toning was enough for this test. Another make of paper might produced better (or worse) result.
The result:
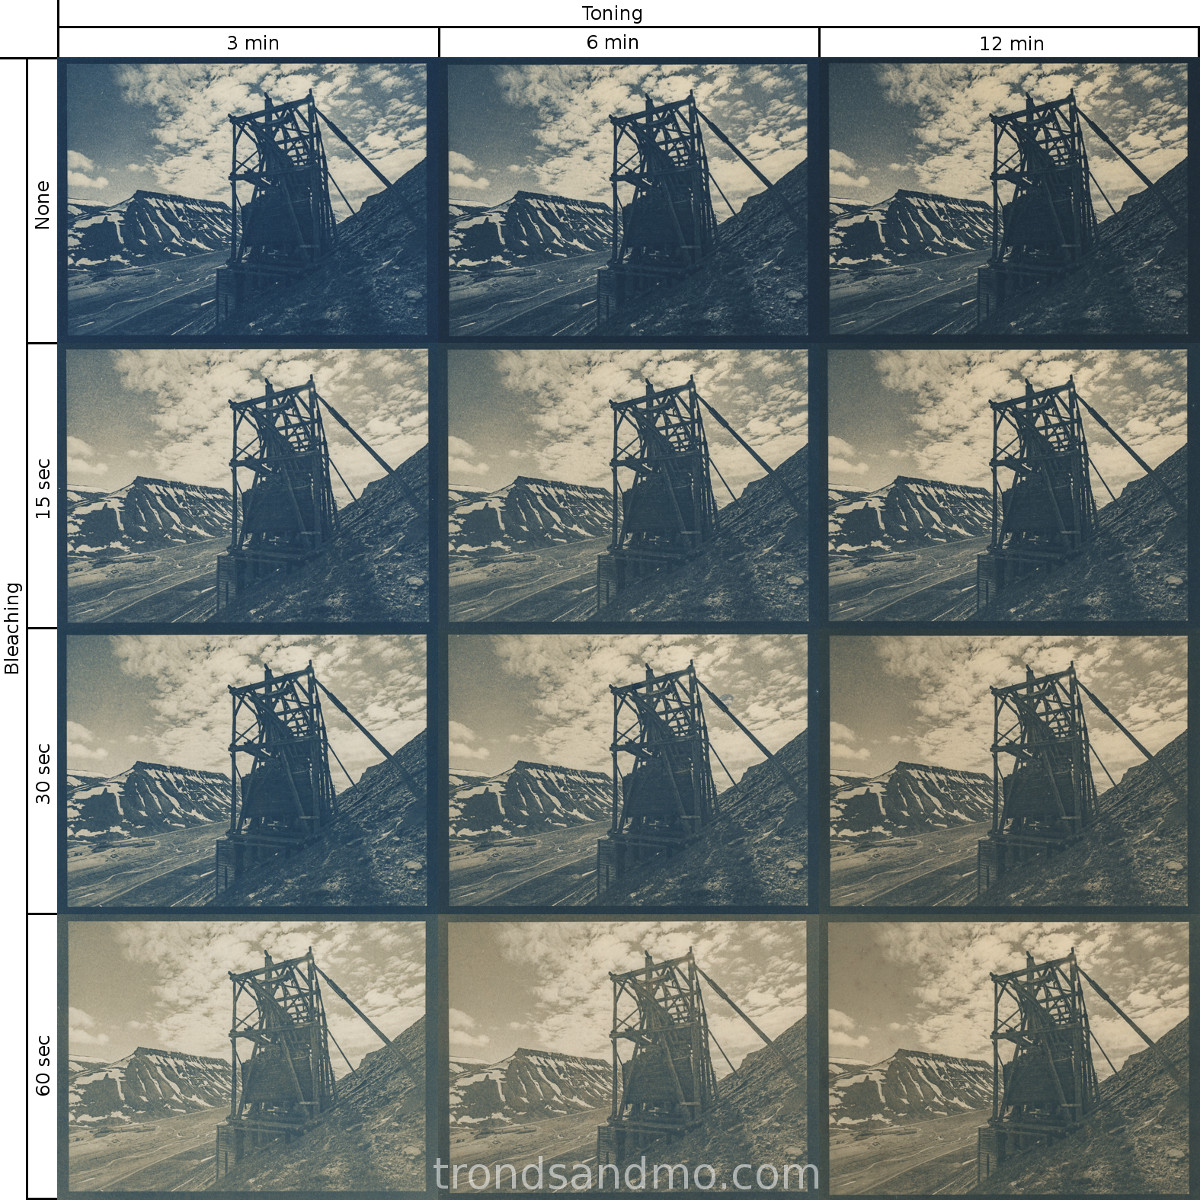
Out of twelve cyanotype prints, bleached and toned differently I have this result:

From the result I see that the none bleached prints ends up too dark blueish. And the longest bleached prints is a little washed out. I think the best one is number 6; 15 seconds bleach and 12 minutes toning. The darkest parts are black and warm brown in the highlights without looking washed out.
In this test I used Arches hot pressed 300g watercolor paper, Lipton Yellow Lable tea, and Stabil krystall soda (Sodium Carbonate). And of course tap water from Longyearbyen 🙂
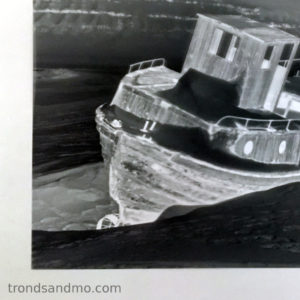
Working with salt print
 By coincidence I stumbled over a youtube video that inspired me to examine the old alternative printing techniques more closely. Salt print was the first photographic printing technique I heard about. Ironically it is also the first photographic printing technique ever invented beating the Calotype/Talbotype with two years.
Salt print was the most popular photographic print technique in the middle of the 19 century (1839-1860). In the dark room, silver nitrate solution was brushed on to a salted paper (standard table salt, sodium chloride). This led to a chemical reaction between the silver and salt, creating the light sensitive silver chloride. Once dry, the paper with the negative were put together in a contact printing frame and exposed to sunlight. When the exposure was ended, the print were stabilized in a strong solution of salt. And a final wash in hypo (sodium thiosulfate) made the print light-fast.
 In Norway, most chemicals are really hard to purchase. For example silver nitrate in crystalline form is will not be sold to a private person. It is different for a registered business. This is probably so to prevent people against misuse, however it does not make it easy for a wannabe print expert with good intentions. Luckily I found a salt print kit that is legally sold here. I guess that the concentration of the chemicals is that makes it legal or illegal. Unfortunately the kit says little about what it exactly contains, and it gives me some trouble during the process.
If I was to implement the method completely authentic, I had to have access to a daguerreotype negative or similar. I have not, so I choose to create a more modern photographic negative. In Lightroom and Photoshop I convert the selected image to black and white. Then I invert the picture and makes a horizontal flip. The last step is to print the image to a transparent foil with an inkjet printer.
 The problem with this kit is primarily lack of information on what the chemicals contain. Both silver solution and stabilizes / toner missing this important information. It is described that the different toners / stabilizers gives brown, red and blueish look, but nothing more. I choose to instead use ordinary hypo giving a brownish tone. When it comes to the choice of paper, I think hot pressed satine aquarel paper gave me the best results. I see from the prints I made that bright parts are too dark. Whether this is because I am a bad editor in photoshop or salt print technique is not better I do not know.
If I got hold of pure silver nitrate I would not used it in standard salt print. I rather go for the album print technique. That technique is much like the original salt print, however using egg white in addition to salt. It is told that the print is ON the paper not IN the fibers of the paper (which is the case with salt print). It will be a much better results.
Well, at the moment I am out of the silver solution provided with the kit. So I think I have made the last salt print. It was interesting, but not a technique for a high quality photo print.
Cyanotype printing process
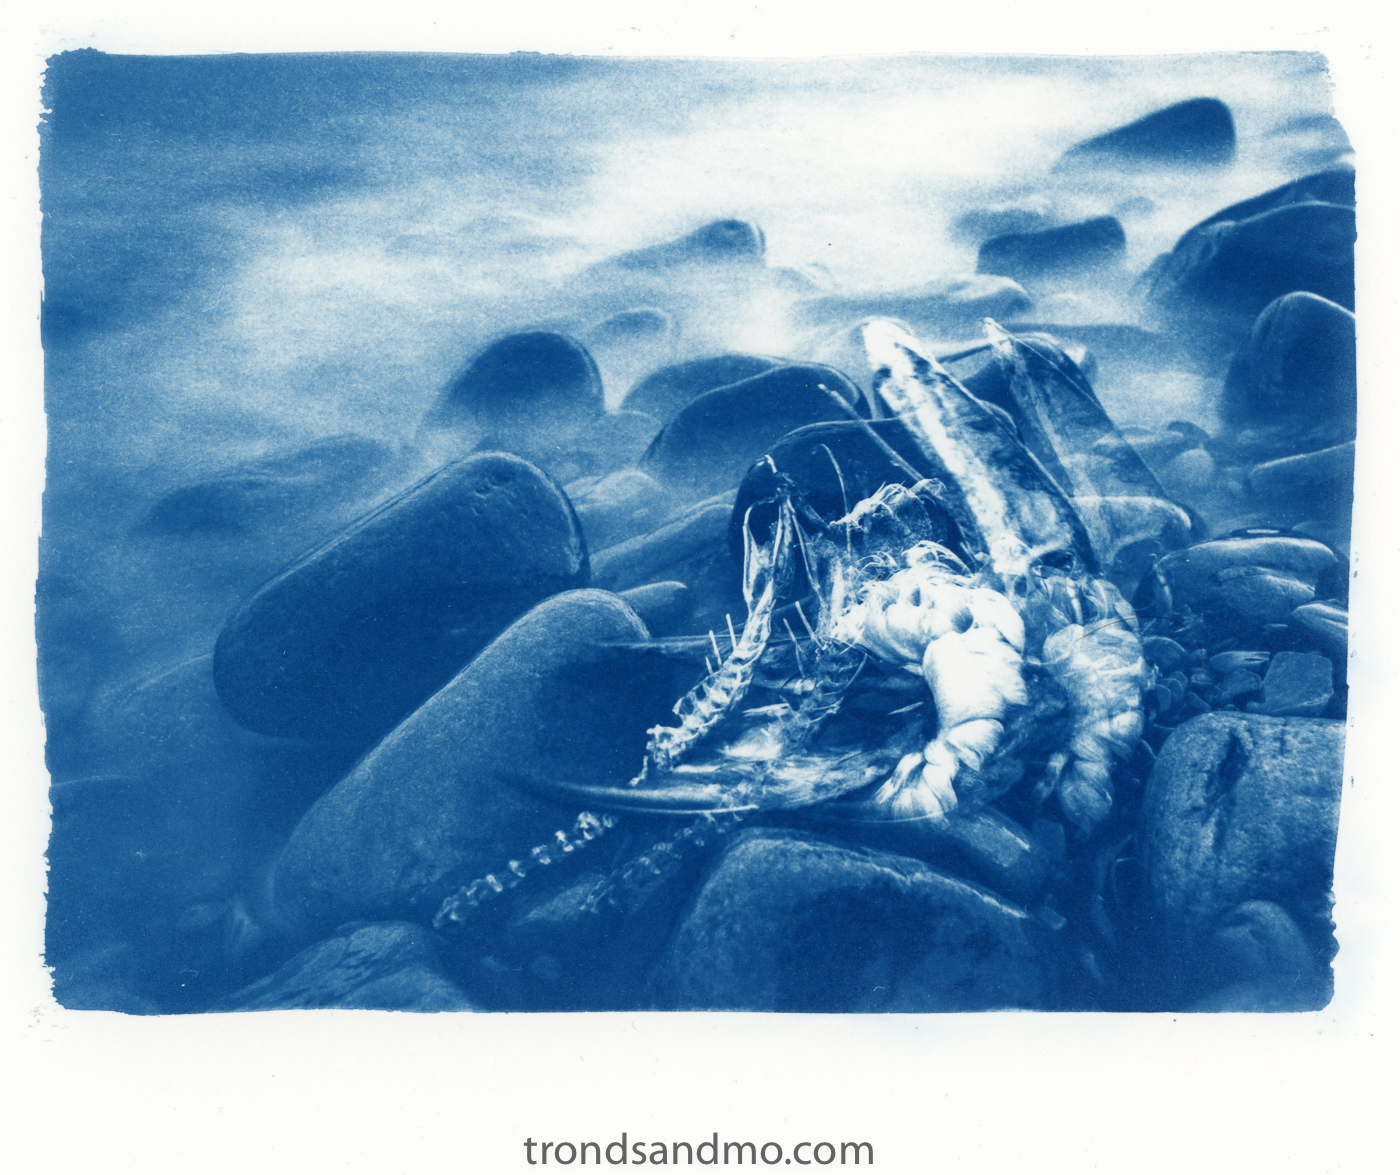 These are my notes on the cyanotype printing process.
Lately I have been working hard to learn all there is to know about cyanotype printing. Cyanotype is a photographic printing process that produces a cyan-blue print. The process uses two chemicals: ammonium iron(III) citrate and potassium ferricyanide. The procedure was discovered in 1842 and was used for reproducing notes and diagrams, as in blueprints. The cyanotype technique was also used to make a photogram by placing flora and other objects onto coated paper.
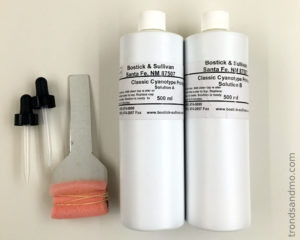 The Sentisizer. I ordered the chemicals from Bostick & Sulivan, a company that is specialized on handcrafted photography. They had no problem delivering to Europe and I received the goods at Svalbard in less than a week. Good service! Before I could mix and use the solution A and solution B, I had to apply distilled water to both bottles. Solution A is potassium ferricyanide and Solution B is ferric ammonium citrate. Equal amount from each bottles is mixed and then applied to the paper.
Choice of paper. I printed a long time with Saunders Waterford Cold Press NOT 300g. Which is a medium texture and hardness aquarell paper. But cyanotype did not print well with that kind of paper. I did some experimentation with different Daler Rowney satin quality paper. I tested Aquafine, the langton and the langton prestige. I found the cheapest paper (Aquafine) actually printed best due to a harder and smoother surface. However the Aquafine is a little harder to coat perfectly.
 Digital Negative. I make a digital negative in lightroom + photoshop and use a inkjet printer to transfer to transparent foil. I make sure the digital negative is Inverted and flipped horizontally compared to the original image. I keep the digital negative between 15% and 85% gray tones.
Workplace. It is recommended to have a flat clean surface to work on. You don’t want dust or other thing in your print. The sensitizer will stain so be careful. The area you are working in should have subdued lightning from a tungsten light bulb or under darkroom safe light.
Coating the paper. Mix equal number of drops from Solution A and solution B in a cup. My preferred method of coating the paper is by using a home made brush and a template to mark the area to coat. The brush is simply a piece of foam attached with rubber band to a handle. The template is made of a board of plastic with opening for a print of 13x18cm. This one suits a A4 paper. Some people recommend double coating the paper, however I find it to be harder to wash away the unexposed sensitizer and the paper is harder to coat evenly. I prefer single coating. I let the paper dry for at least one hour before I put it to storage in a dark place. I do not use the paper before it has “cured” over night. About 12-24 hours. Never longer.
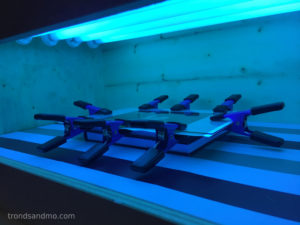 Exposure under UV light. At the moment I do not have a contact printing frame, however I press the digital negative and coated paper between between two glass plates. And use clamps to keep them tight together. I have made my own UV lightbox because the daylight is not always consistent at my location. I normally expose the print for 7 minutes.
Washing. I take the exposed image and soak it in cold water. Very carefully I make movement to the tray so that unexposed sensitizer washes of the paper. The image is not hardened yet so I make sure not to touch the image in any way and I never let the water run over it. I replace the water with fresh clean water for 3-4 times till all unexposed yellow sensitizer is removed from the print.
Hydrogen peroxide bath. Normally I give the print a bath of hydrogen peroxide solution. I mix 100 ml of 3% hydrogen peroxide from the drug store with 900 ml water and soak the print for a minute. This speeds up the oxidation process and makes a brilliant blue color. Complete with a wash bath for about 10 minutes.
Drying the print. I let the print hang for about 30 minutes before I press it between paper towels and a heavy book. This makes sure that the print is flat and is a little easier to frame.
For the future. I have been reading a little about the toning process, however never tried it on my own prints. It looks interesting and I will try it out later. Maybe I make a blog post out of it 🙂 Another thing that I have seen done to prints is varnishing. It makes the print more richer and with higher contrast. There is also a lot of different papers to try. I might one day do a test of different papers and find the best one for cyanotype printing.
Hello world
Every blog needs a first post.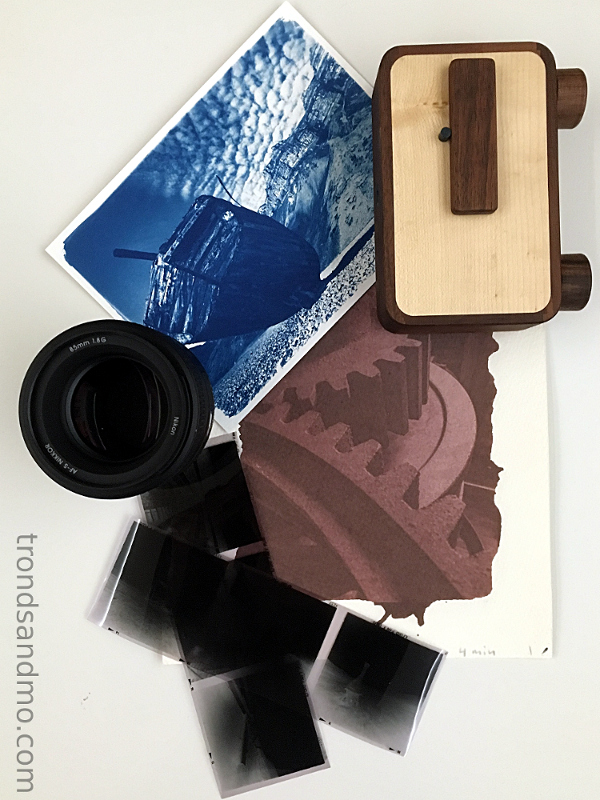
For a long time I have been wondering about what to do with my website trondsandmo.com. Till now the website has just contaied some of my photos and not much more. So what should I upload? Pictures and prints? My thoughts in a blog? Videos? The Internet is full of artists portfolios and everything seems to be for sale. Is it a success for people? Could I do something different? I don`t know exactly, but I will try to post something out there!
Photography has been a hobby of mine for years, and I have spent a lot of time doing it without a goal to reach for. That is going to change! With this blog I hope to become a better photographer. I want to learn analog photography, and master old alternative printing techniques. I hope that by becoming more active and by sharing my progress here in the blog will speed up my learning curve.
Well, for the time, these are my thoughts about this website. It will primarily contain photography related material, however other topics might be covered. Time will show!
I am not a professional photographer. This is my hobby, and I do it for personal development. Just for fun.
-trond