Cyanotype printing process
 These are my notes on the cyanotype printing process.
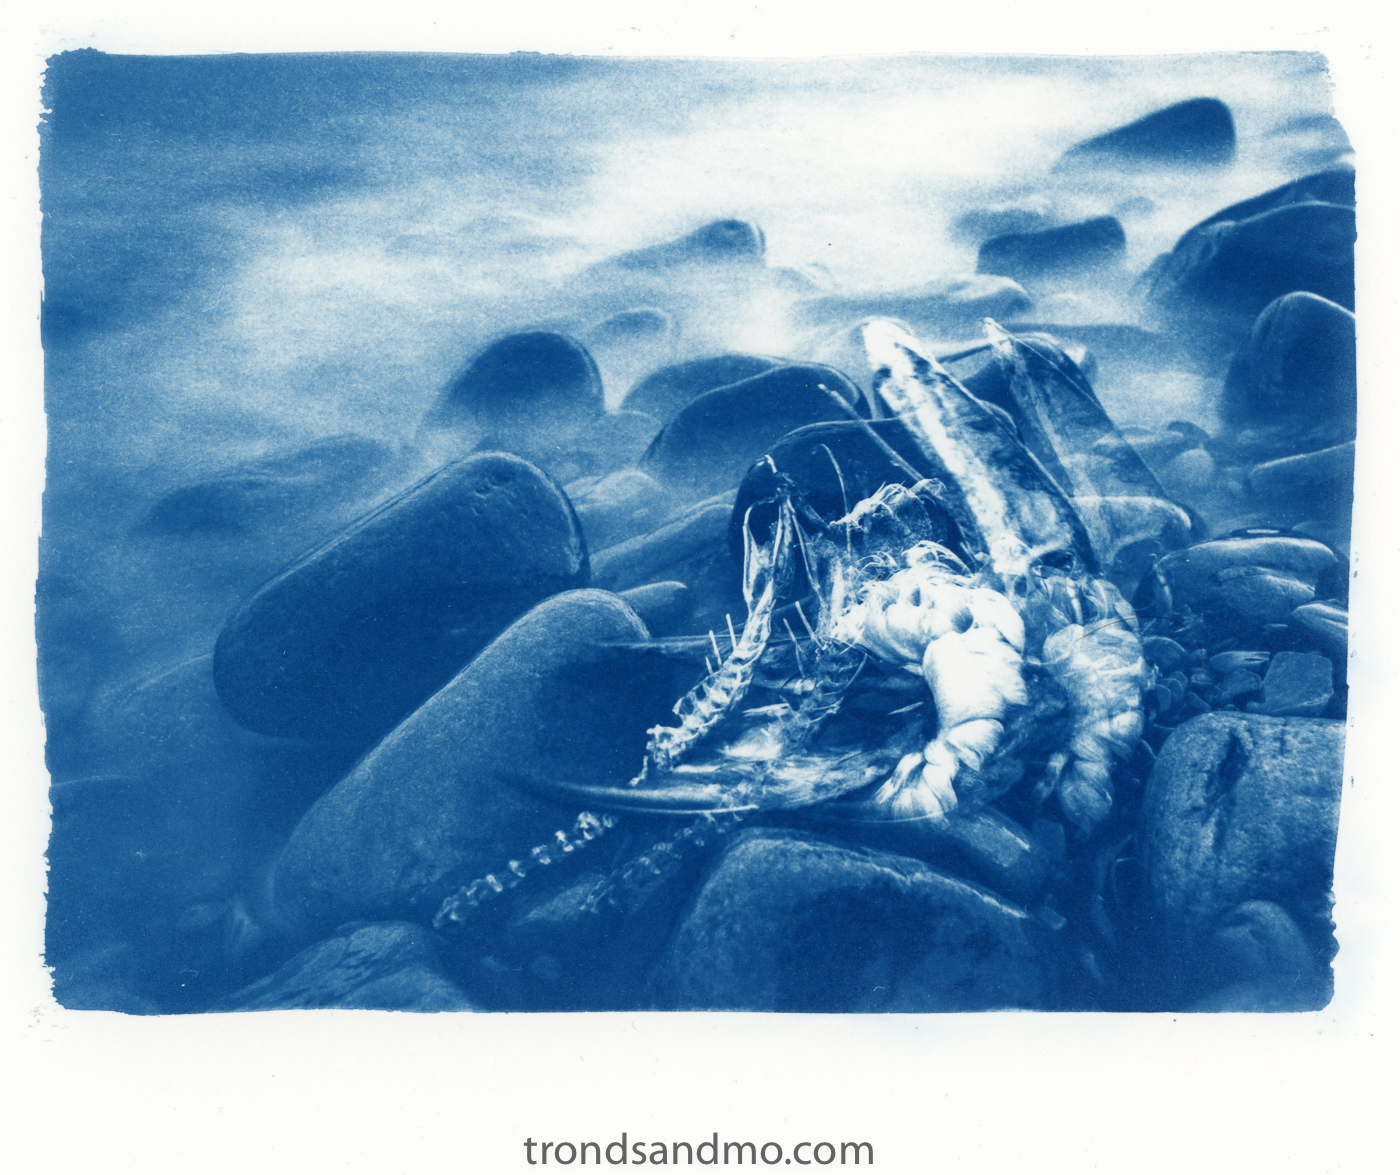
Lately I have been working hard to learn all there is to know about cyanotype printing. Cyanotype is a photographic printing process that produces a cyan-blue print. The process uses two chemicals: ammonium iron(III) citrate and potassium ferricyanide. The procedure was discovered in 1842 and was used for reproducing notes and diagrams, as in blueprints. The cyanotype technique was also used to make a photogram by placing flora and other objects onto coated paper.
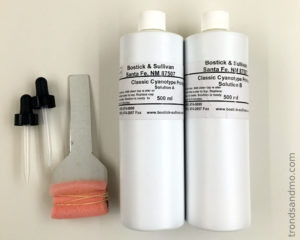 The Sentisizer. I ordered the chemicals from Bostick & Sulivan, a company that is specialized on handcrafted photography. They had no problem delivering to Europe and I received the goods at Svalbard in less than a week. Good service! Before I could mix and use the solution A and solution B, I had to apply distilled water to both bottles. Solution A is potassium ferricyanide and Solution B is ferric ammonium citrate. Equal amount from each bottles is mixed and then applied to the paper.
Choice of paper. I printed a long time with Saunders Waterford Cold Press NOT 300g. Which is a medium texture and hardness aquarell paper. But cyanotype did not print well with that kind of paper. I did some experimentation with different Daler Rowney satin quality paper. I tested Aquafine, the langton and the langton prestige. I found the cheapest paper (Aquafine) actually printed best due to a harder and smoother surface. However the Aquafine is a little harder to coat perfectly.
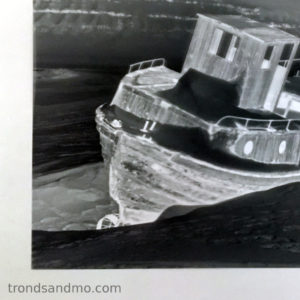 Digital Negative. I make a digital negative in lightroom + photoshop and use a inkjet printer to transfer to transparent foil. I make sure the digital negative is Inverted and flipped horizontally compared to the original image. I keep the digital negative between 15% and 85% gray tones.
Workplace. It is recommended to have a flat clean surface to work on. You don’t want dust or other thing in your print. The sensitizer will stain so be careful. The area you are working in should have subdued lightning from a tungsten light bulb or under darkroom safe light.
Coating the paper. Mix equal number of drops from Solution A and solution B in a cup. My preferred method of coating the paper is by using a home made brush and a template to mark the area to coat. The brush is simply a piece of foam attached with rubber band to a handle. The template is made of a board of plastic with opening for a print of 13x18cm. This one suits a A4 paper. Some people recommend double coating the paper, however I find it to be harder to wash away the unexposed sensitizer and the paper is harder to coat evenly. I prefer single coating. I let the paper dry for at least one hour before I put it to storage in a dark place. I do not use the paper before it has “cured” over night. About 12-24 hours. Never longer.
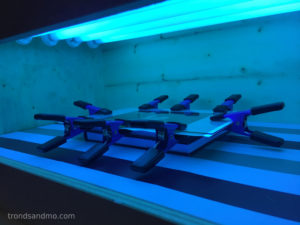 Exposure under UV light. At the moment I do not have a contact printing frame, however I press the digital negative and coated paper between between two glass plates. And use clamps to keep them tight together. I have made my own UV lightbox because the daylight is not always consistent at my location. I normally expose the print for 7 minutes.
Washing. I take the exposed image and soak it in cold water. Very carefully I make movement to the tray so that unexposed sensitizer washes of the paper. The image is not hardened yet so I make sure not to touch the image in any way and I never let the water run over it. I replace the water with fresh clean water for 3-4 times till all unexposed yellow sensitizer is removed from the print.
Hydrogen peroxide bath. Normally I give the print a bath of hydrogen peroxide solution. I mix 100 ml of 3% hydrogen peroxide from the drug store with 900 ml water and soak the print for a minute. This speeds up the oxidation process and makes a brilliant blue color. Complete with a wash bath for about 10 minutes.
Drying the print. I let the print hang for about 30 minutes before I press it between paper towels and a heavy book. This makes sure that the print is flat and is a little easier to frame.
For the future. I have been reading a little about the toning process, however never tried it on my own prints. It looks interesting and I will try it out later. Maybe I make a blog post out of it 🙂 Another thing that I have seen done to prints is varnishing. It makes the print more richer and with higher contrast. There is also a lot of different papers to try. I might one day do a test of different papers and find the best one for cyanotype printing.
Comments are Disabled